Written by Linda Chaney, mother and Laura Chaney, daughter
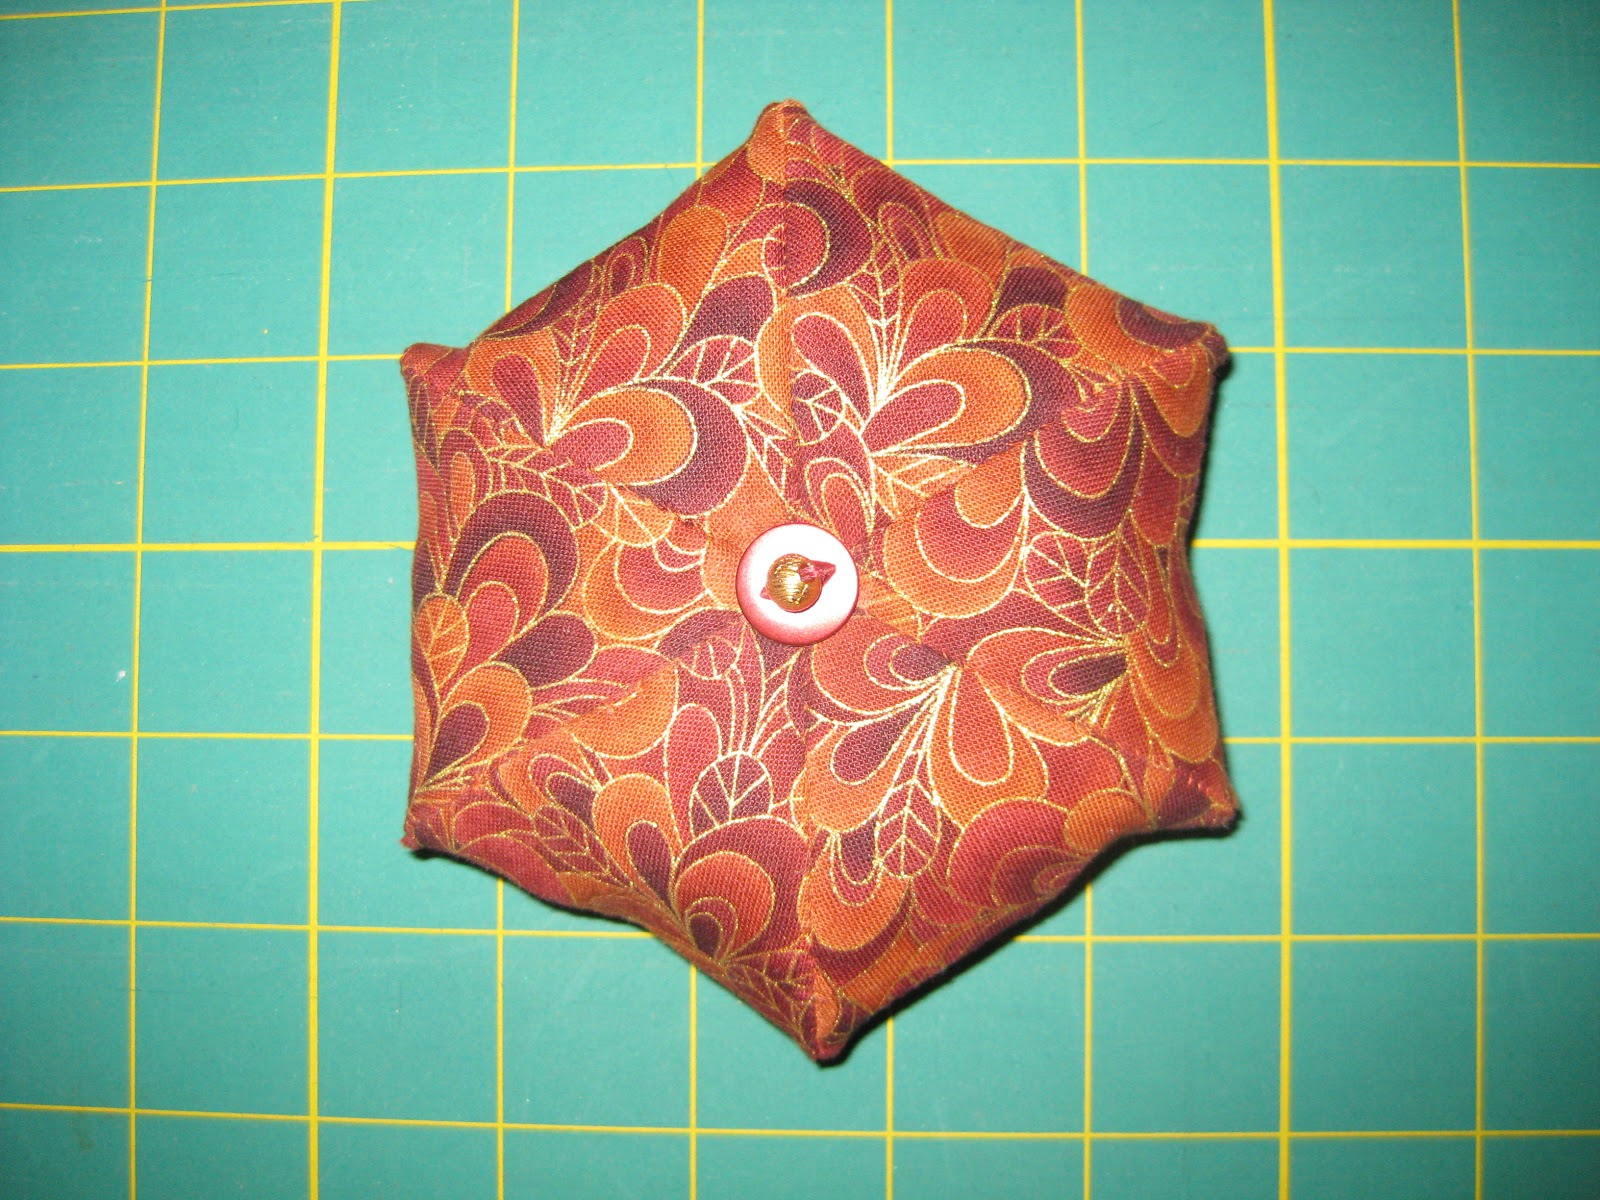
The Pincushion Star is a perfect shape to use at your sewing machine. Filled with crushed walnut shells, it will also keep those pins and needles sharp. The simple construction uses one pattern piece from our book, Contain It! English Paper-Pieced Accessories
Supplies needed:
- Contain It! English Paper Pieced-Accessories Template 34
- 2 fat quarters of fabric (18″ x 22″)
- Stabilizer (Peltex, Timtex or Buckram) measuring 20″ x 25″
- 1/4″ Fusible Tape (we like Steam-a-Seam 2)
- Iron with Steam
- Coordinating thread
- Basic sewing supplies (needle, scissors, thimble, wonderclips or pins etc)
- Crushed walnut shells (for stuffing the pincusion)
In addition to using some of the templates from Contain It! to make this gift box, the book will also serve as the full set of instructions for prepping the materials and constructing the box and lid.
Directions:
1.Gather the supplies listed above and review the basic container instructions in Contain It! starting on page 9.
2. Make your templates and cut the following pieces. As always, be sure to label everything!
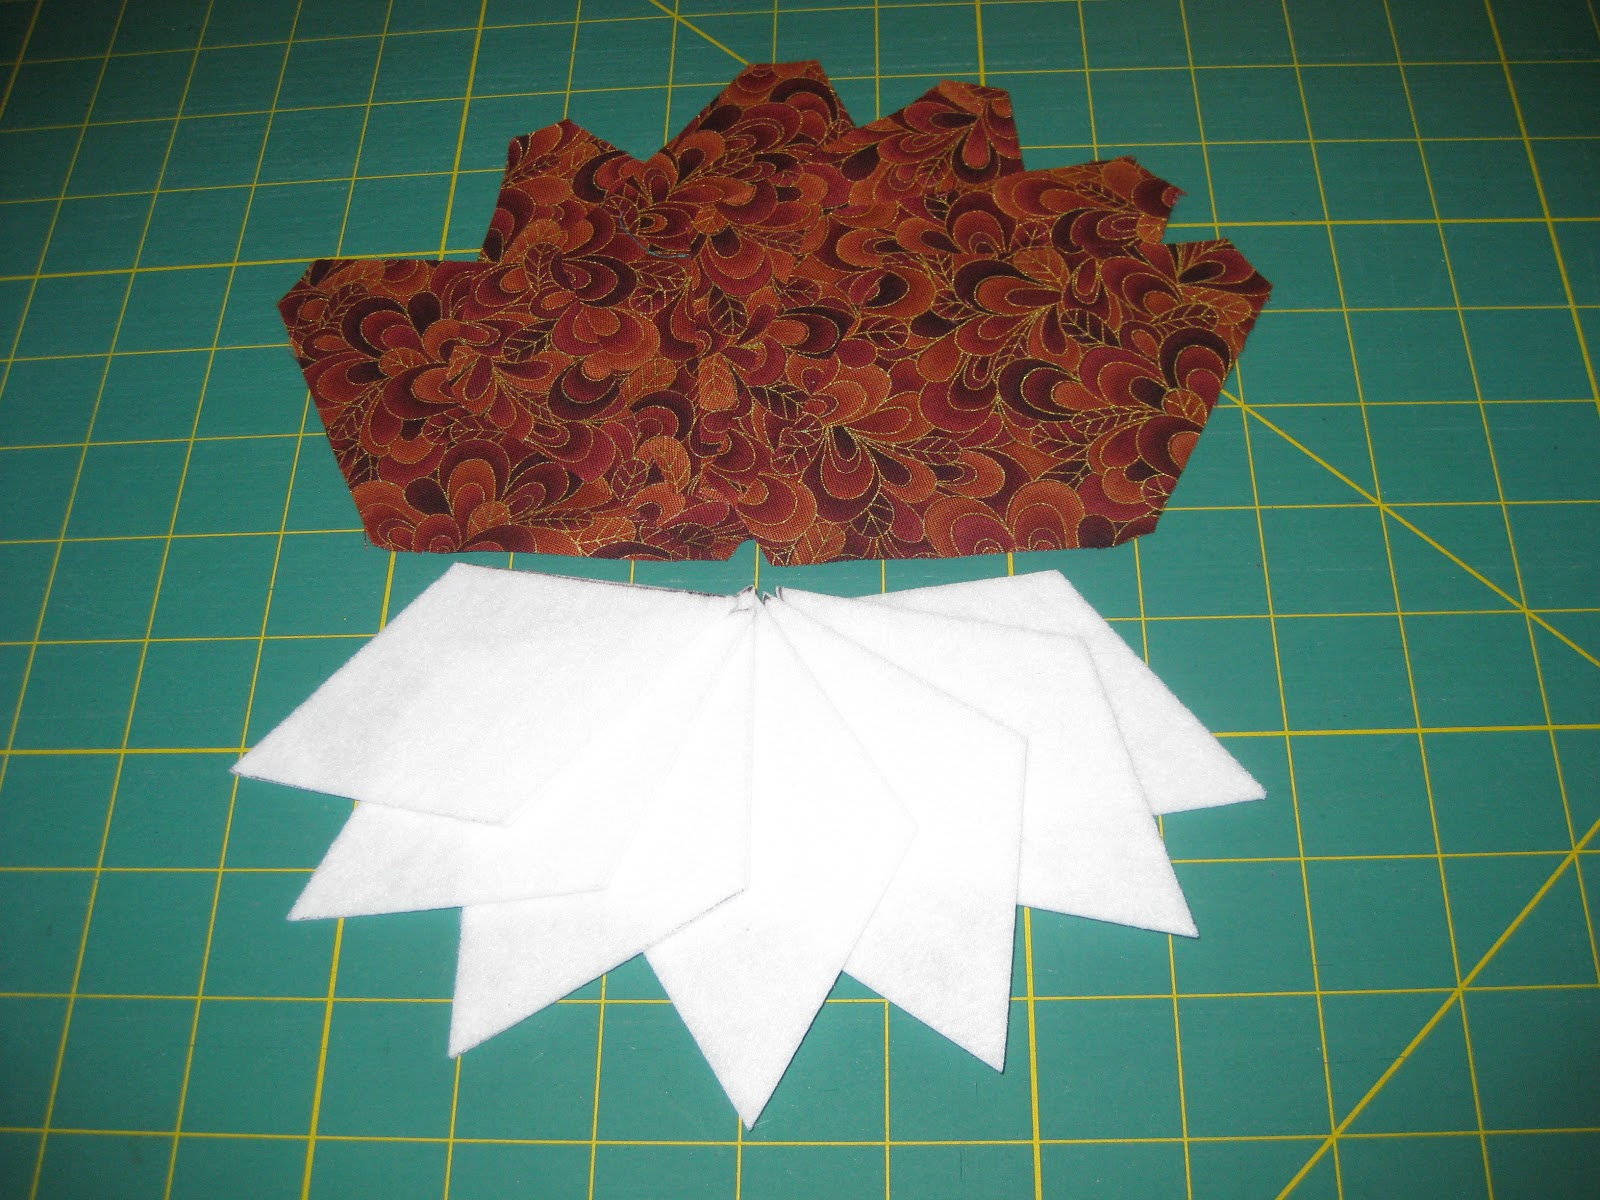
- Cut 6 stabilizer pieces
- Cut 6 fabric pieces
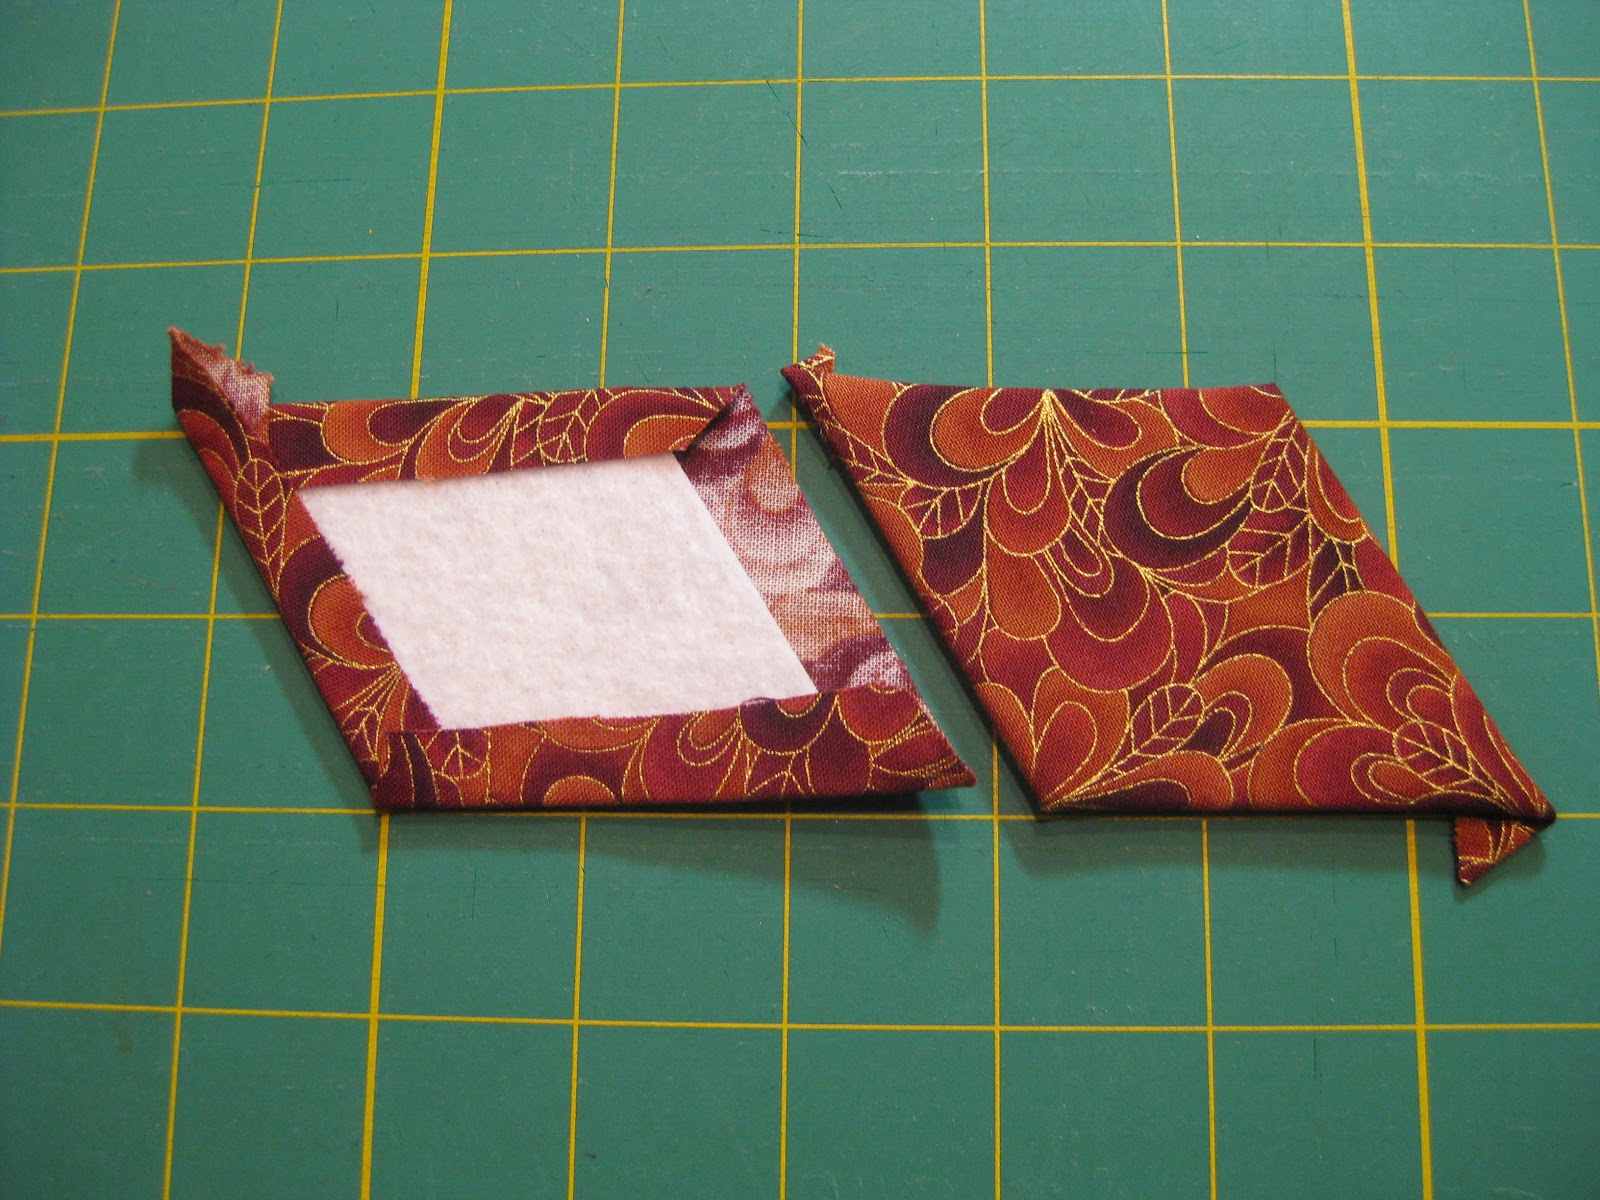
3.Baste Fabric onto Stabilizer using 1/4″ double sided fusible tape. Review the detailed directions on pages 9-16 with any questions.
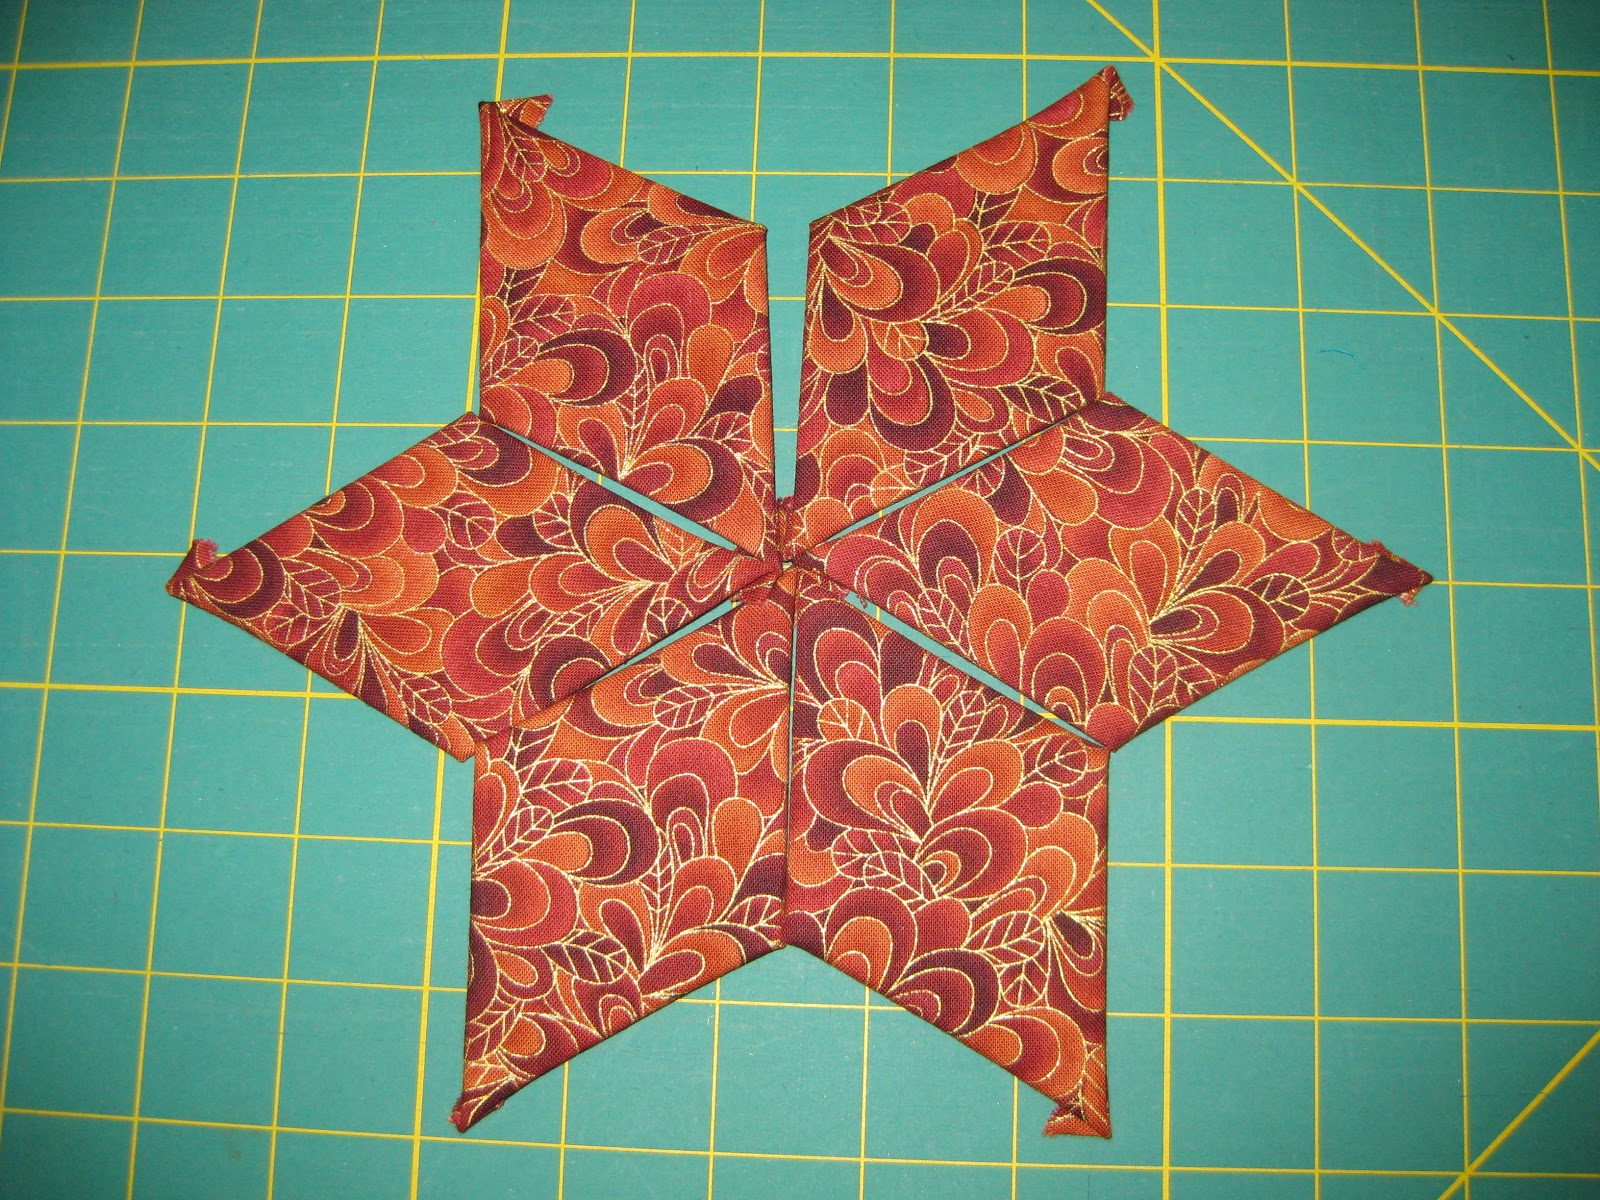
4. Layout “Octopus”, being sure to place fused fabric pieces in the order in which they are to be sewn.
5. Construction is similar to that described for Stuffed Ornaments using diamond shaped pieces.
- Stitch pieces together (wrong sides together) using a short whip stitch.
- During this process, after one half of the side seam is sewn, the fused fabric pieces will need to “bend” to sew the other half of the side seam together.
- Continue adding pieces until the last side seam needs to be sewn together.
- Partially stitch the side seams together and turn the pincushion right side out.
- Add filler, such as crushed walnut shells, and close the rest of the seam using a whip stitch.
- If desired, add a button on each side in the center.
5. Enjoy your new pincushion!!
Be sure to post your pictures on the Prairie Sewn Studios Facebook Page or email them to us at contact@PrairieSewnStudios.com.


Leave a Reply