Written by Linda Chaney, mother and Laura Chaney, daughter
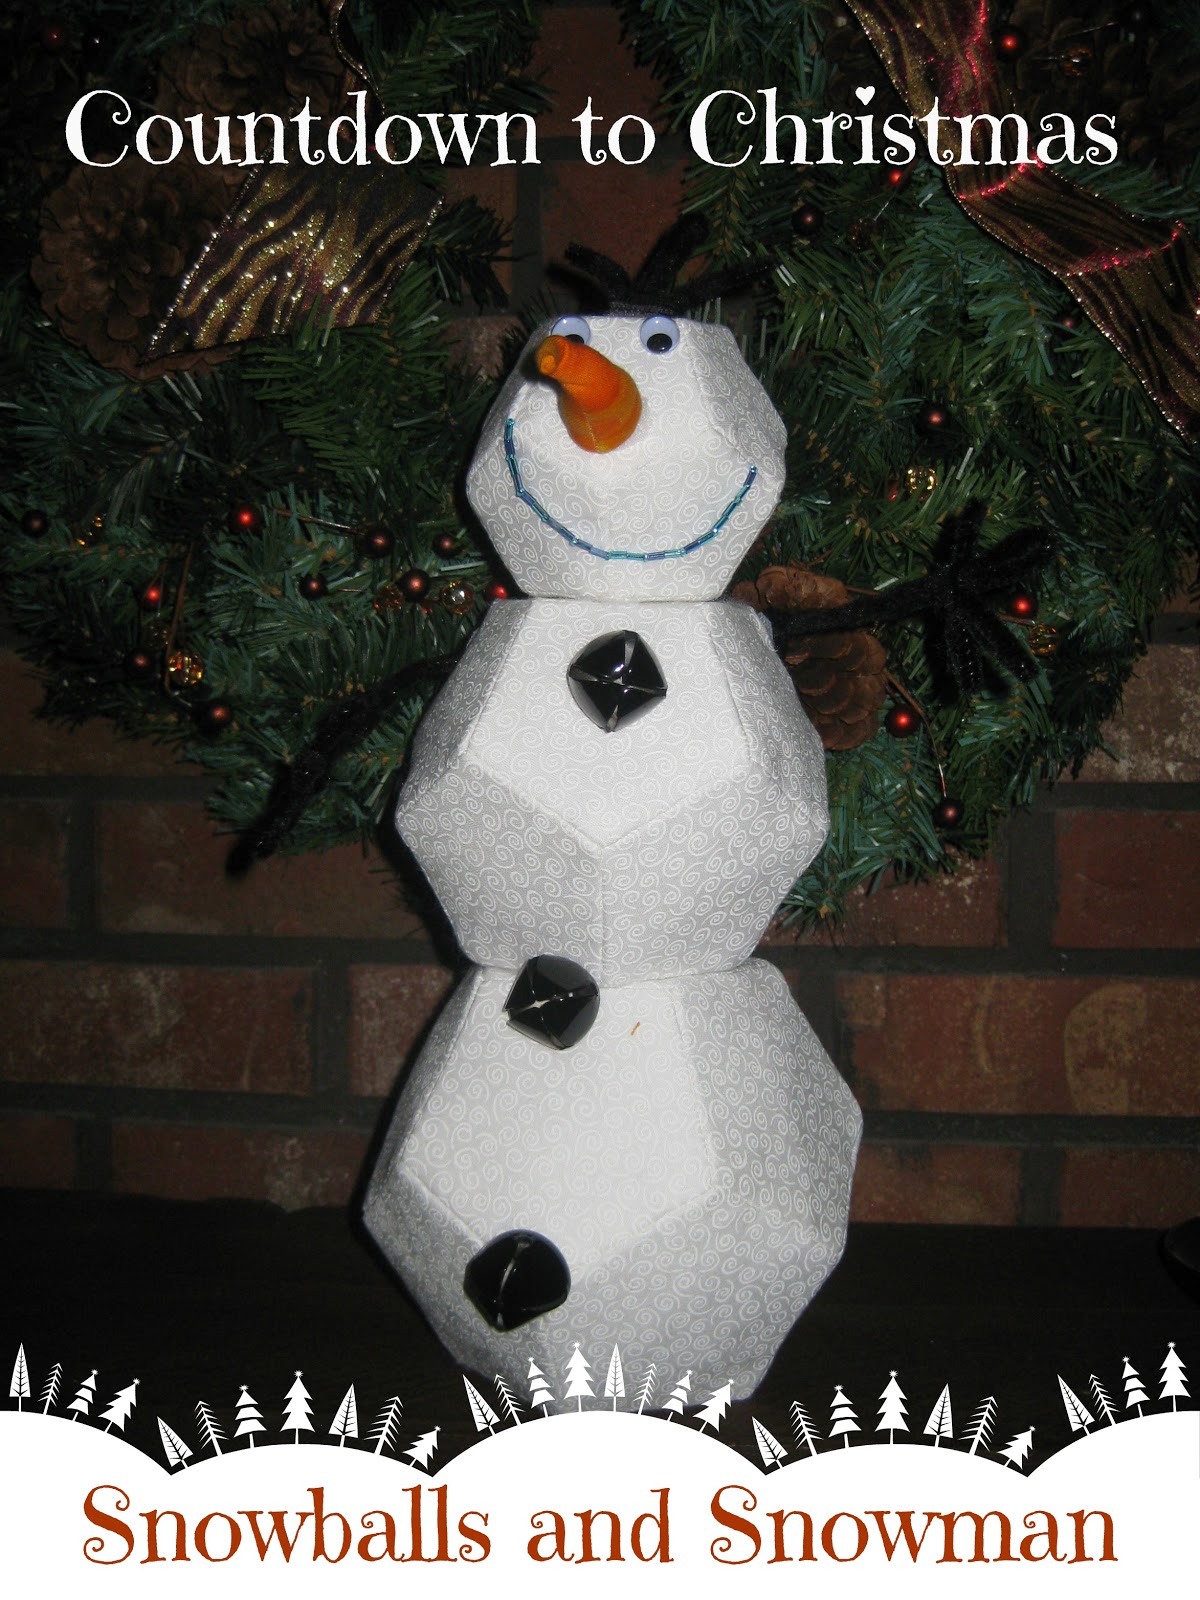
Today’s Countdown to Christmas post can be made as individual snowballs, or stack them together to make your very own snowman! You’ll need a copy of Contain It! English Paper-Pieced Accessories for all of the templates and the full directions.
Supplies needed:
- Contain It! English Paper Pieced-Accessories
- 2 fat quarters of fabric (18″ x 22″) PER snowball
- Stabilizer (Peltex, Timtex or Buckram) (see individual snowballs for measurements)
- 1/4″ Fusible Tape (we like Steam-a-Seam 2)
- Iron with Steam
- Coordinating thread
- Basic sewing supplies (needle, scissors, thimble, wonderclips or pins etc)
In addition to using the templates from Contain It! to make these snowballs, the book will also serve as the full set of instructions for prepping the materials and the basics for constructing the snowballs. These can be a little tricky to make, so be sure to also read the below directions carefully.
Directions:
NOTE: If you truly want to build a snowman, just use one set of templates from each size, cut out 12 peltex and 12 fabric pieces for each size, sew just as we described and add the additional base to close off the open space. I suggest using Pattern Pieces #44 (largest), #62 (medium), and #75 (small). Embellish as desired!
Small – Template #74 – Inner Pentagon
Template #75 – Outer Pentagon
Medium – Template #62 – Inner Pentagon
Template #63 – Outer Pentagon
Large – Template #44 – Outer Pentagon
Template #45 Inner Pentagon
Peltex:
Small – 7″ x 20″ – Cut 11 Inner Pentagons
Cut 11 Outer Pentagons
Medium – 13″ x 20″ – Cut 11 Inner Pentagons
Cut 11 Outer Pentagons
Large – 15″ x 20 – Cut 11 Inner Pentagons
Cut 11 Outer Pentagons
Fabric:
Small – 2 fat quarters – Cut 11 Inner Pentagons
Cut 11 Outer Pentagons
Medium – 2 fat quarters – Cut 11 Inner Pentagons
Cut 11 Outer Pentagons
Large – 2 fat quarters OR 22 charm squares
Cut 11 Inner Pentagons
Cut 11 Outer Pentagons
- Make the templates
- Cut the stabilizer pieces
- Cut the fabric pieces
- Fuse the fabric and stabilizer pieces together
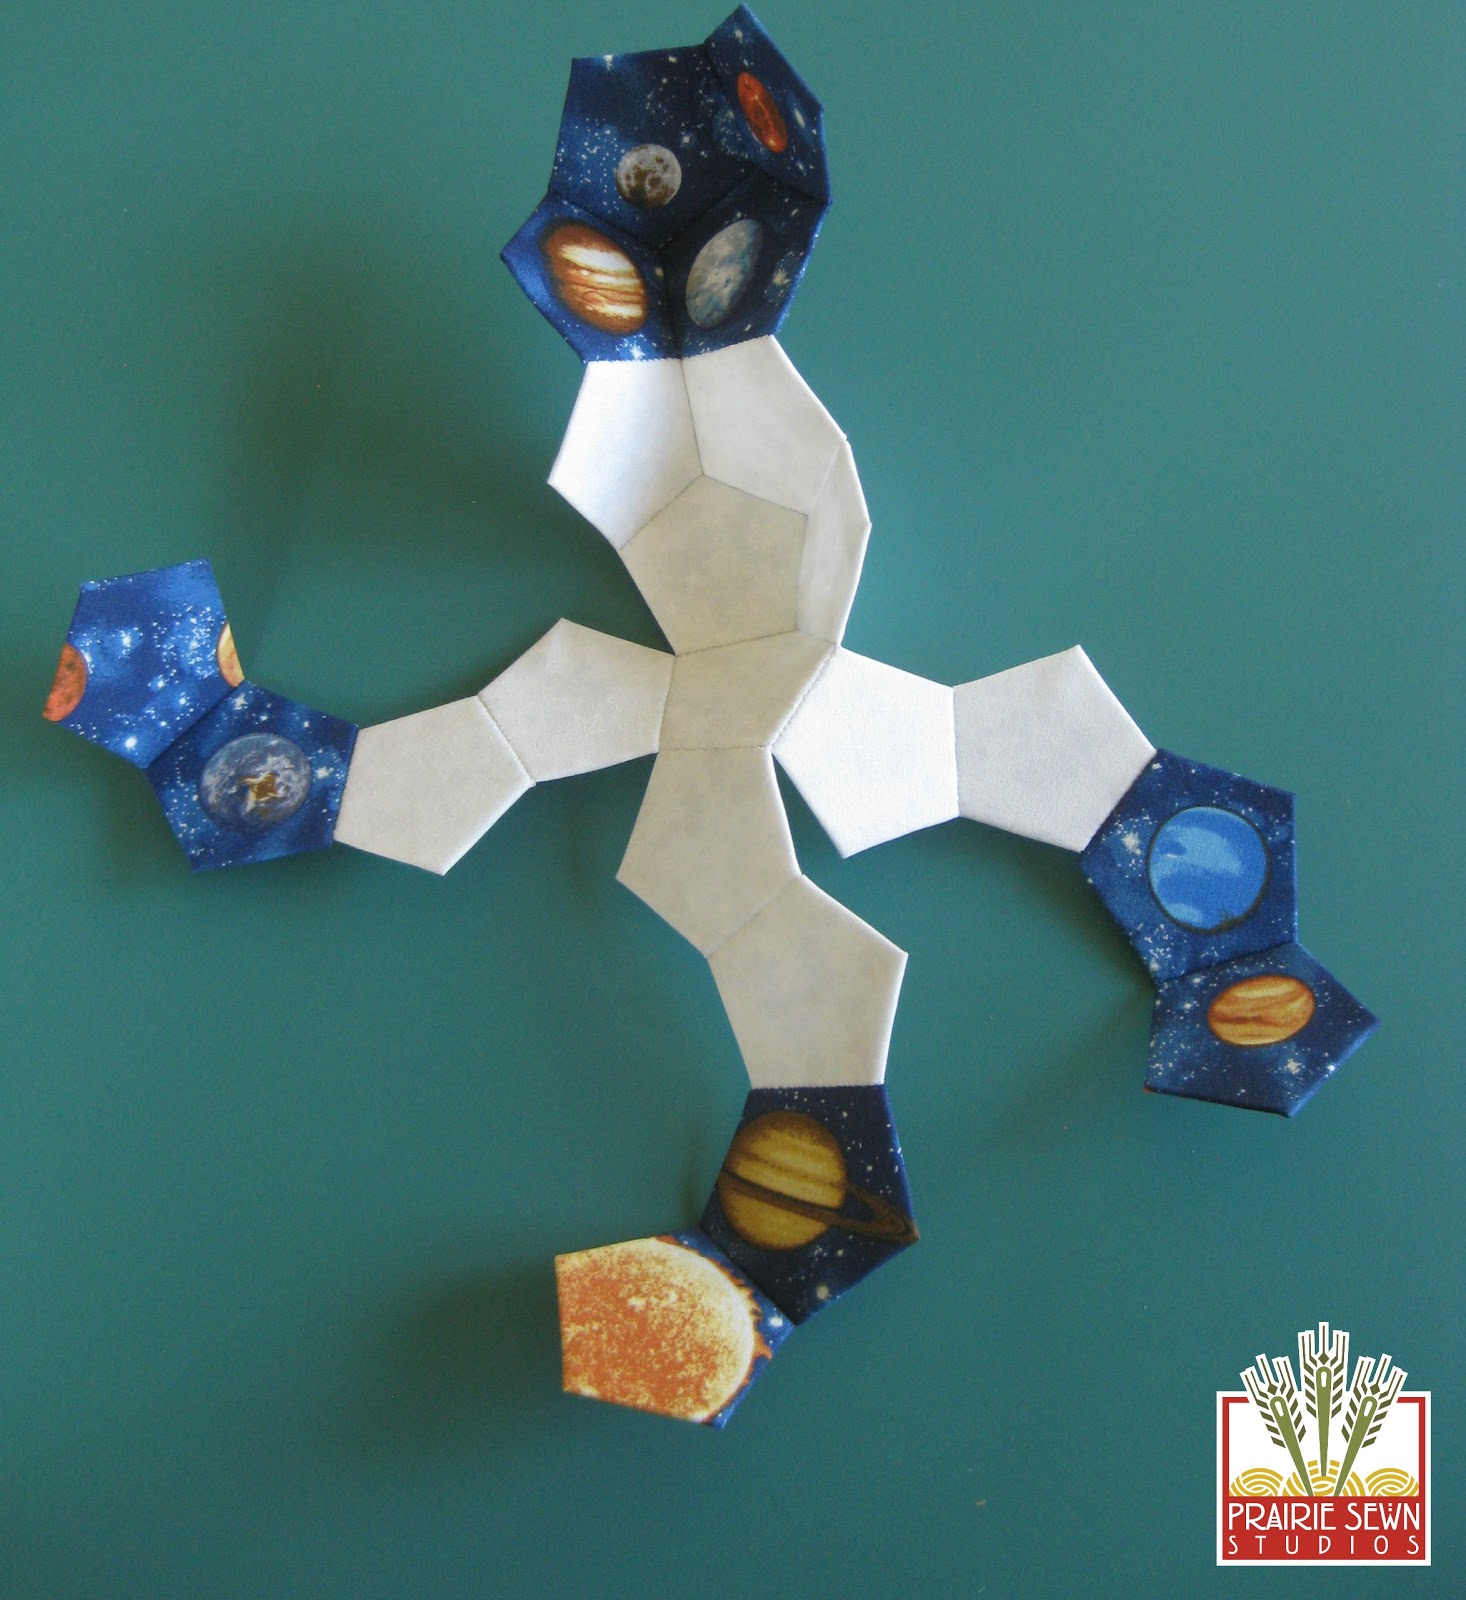
- Assemble the Octopus
- Sew the Octopus (hand or machine-see pages 13-15)
- Complete the container with the outside base
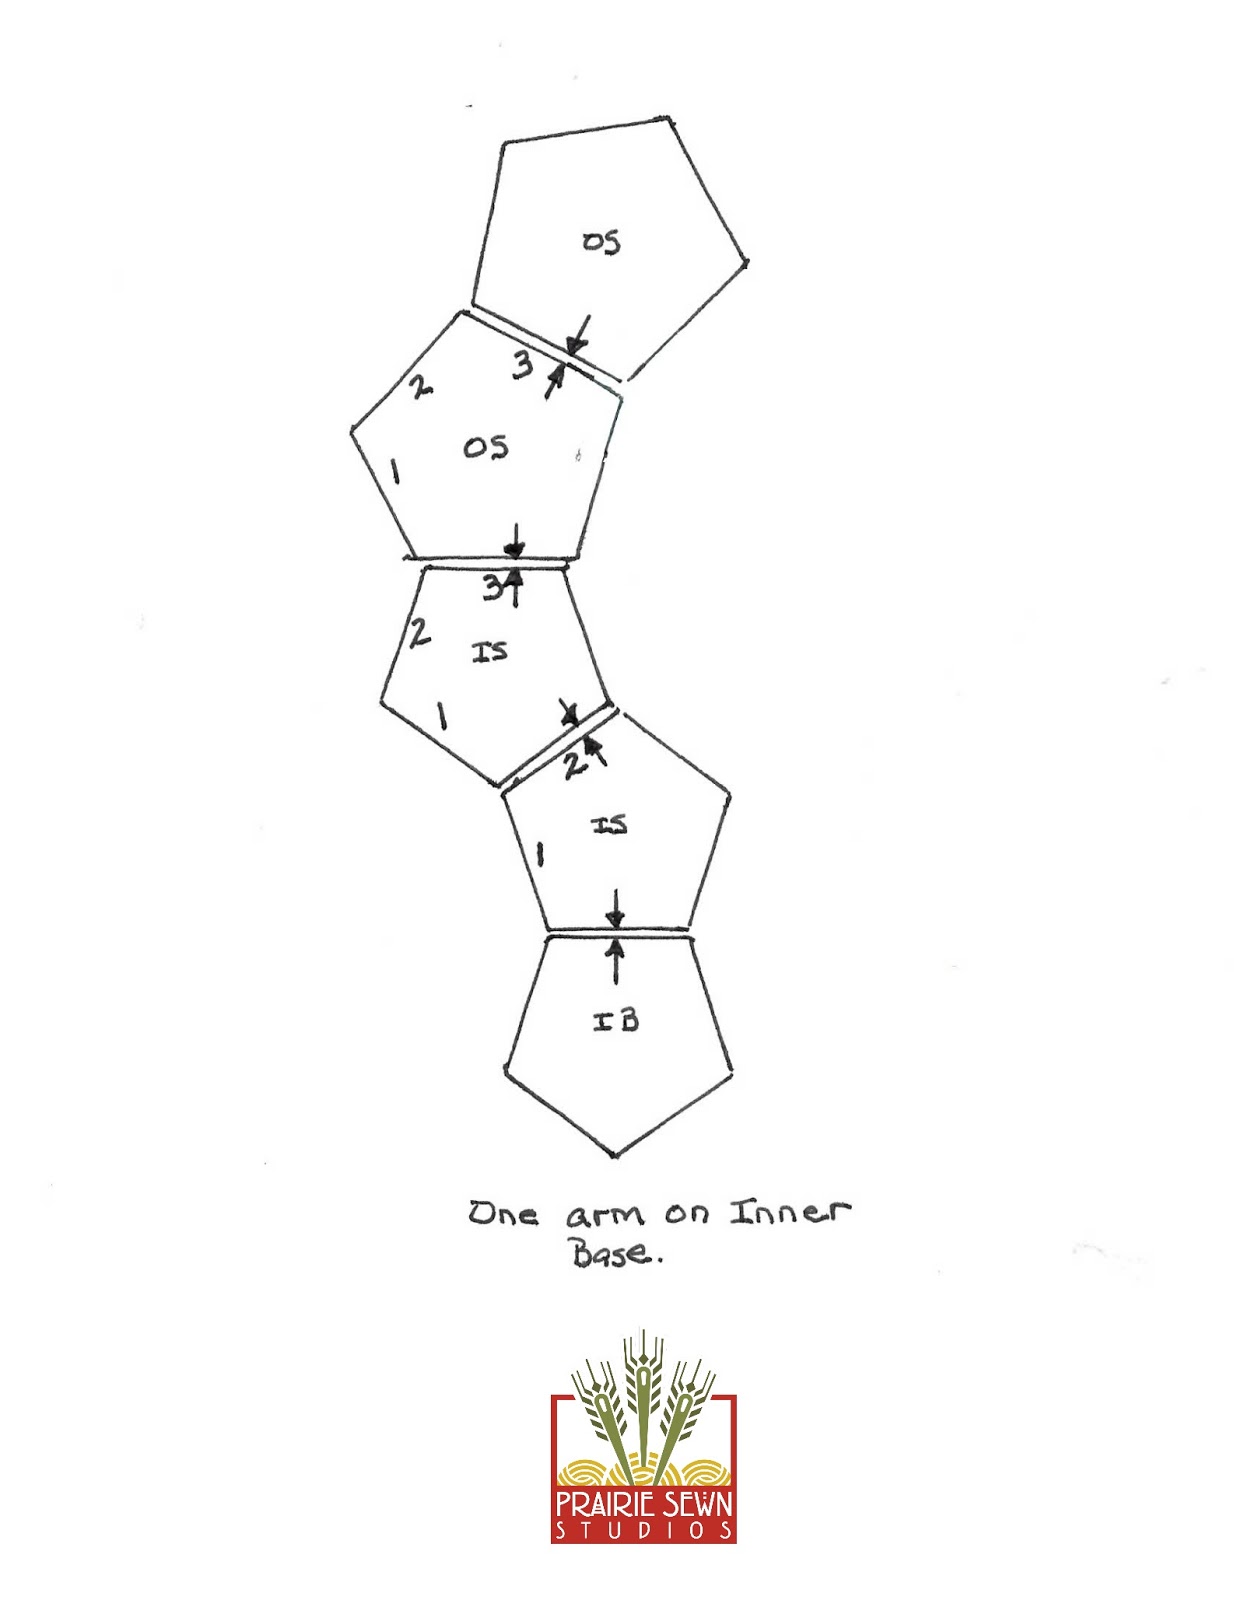
Examine the One Arm on Inner Base diagram. The sewn side, where the two arrows point towards each other, is the starting point for numbering the sides of each pentagon (1,2,3).
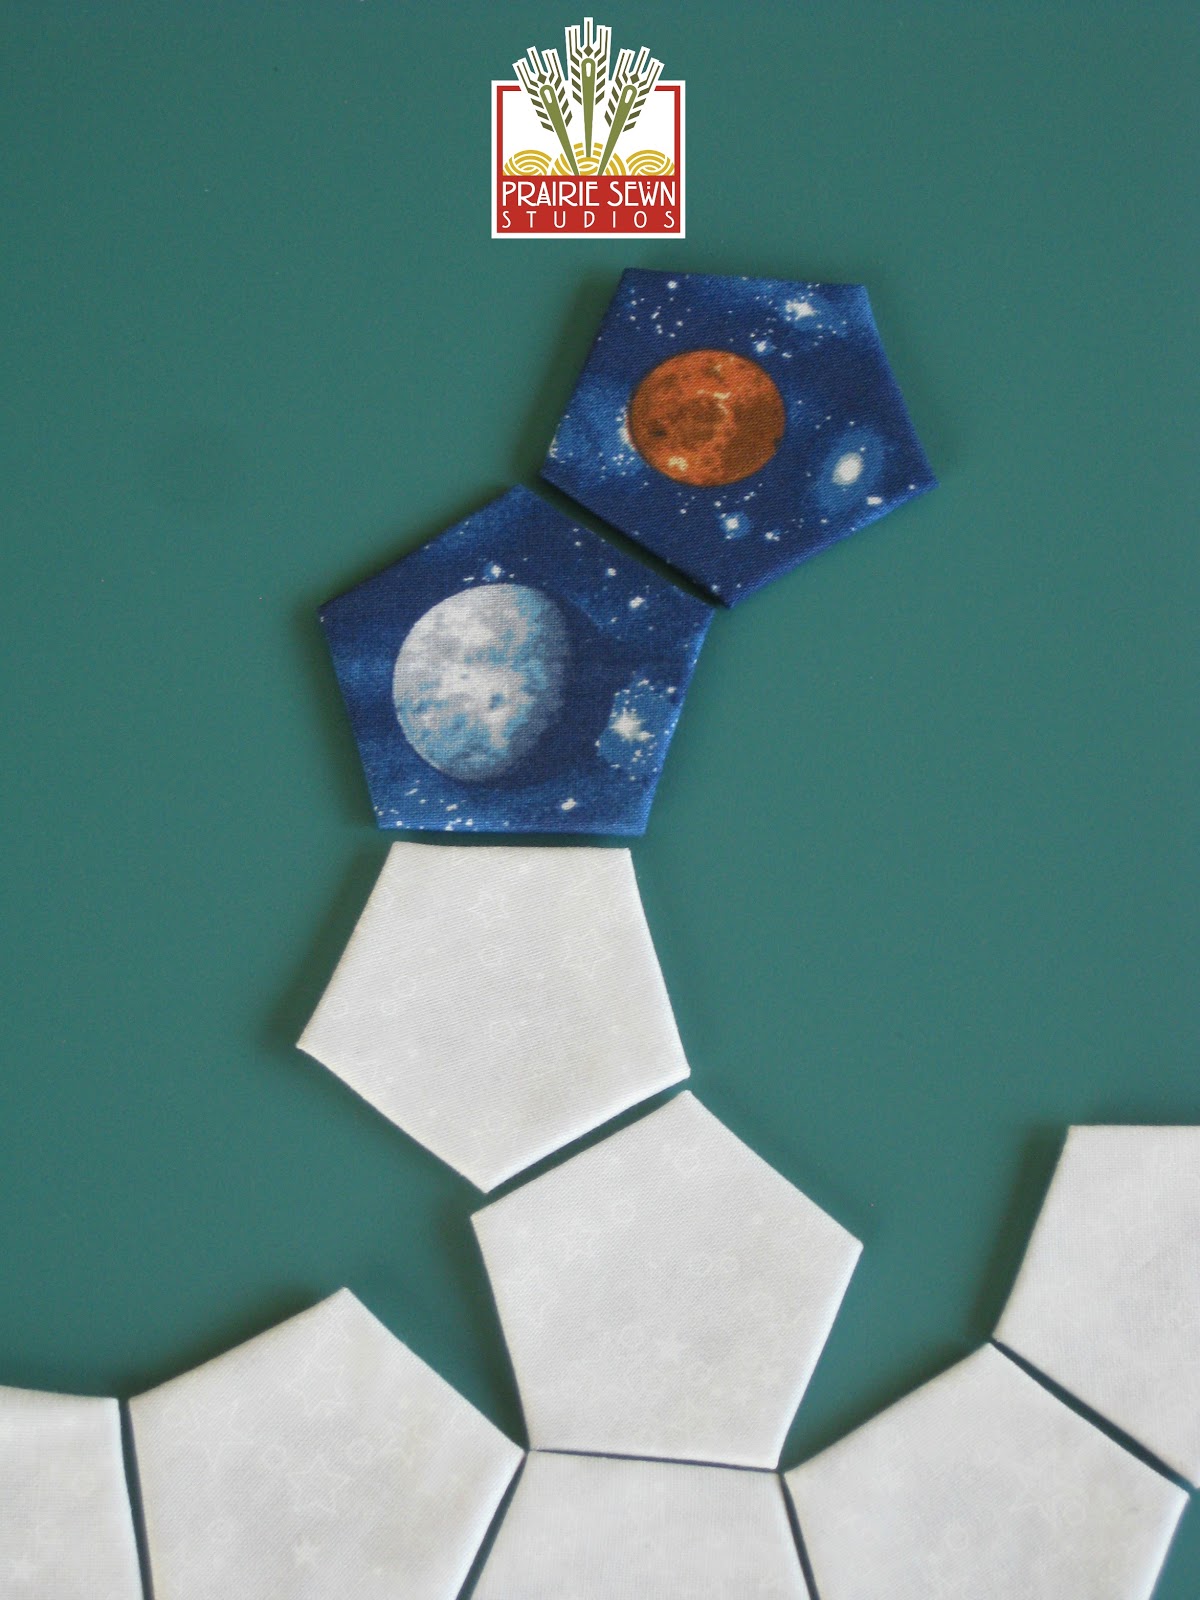
An Inner Side (IS) is laid next to the Inner Base (IB). The next Inner Side is laid along Side 2 of the first Inner Side. An Outer Side (OS) is laid along Side 3 of the second Inner Side . The joining of the Outer Side to the Inner Side will form the top of the Snowball container. The last Outer Side is laid along Side 3 of the first Outer Side.
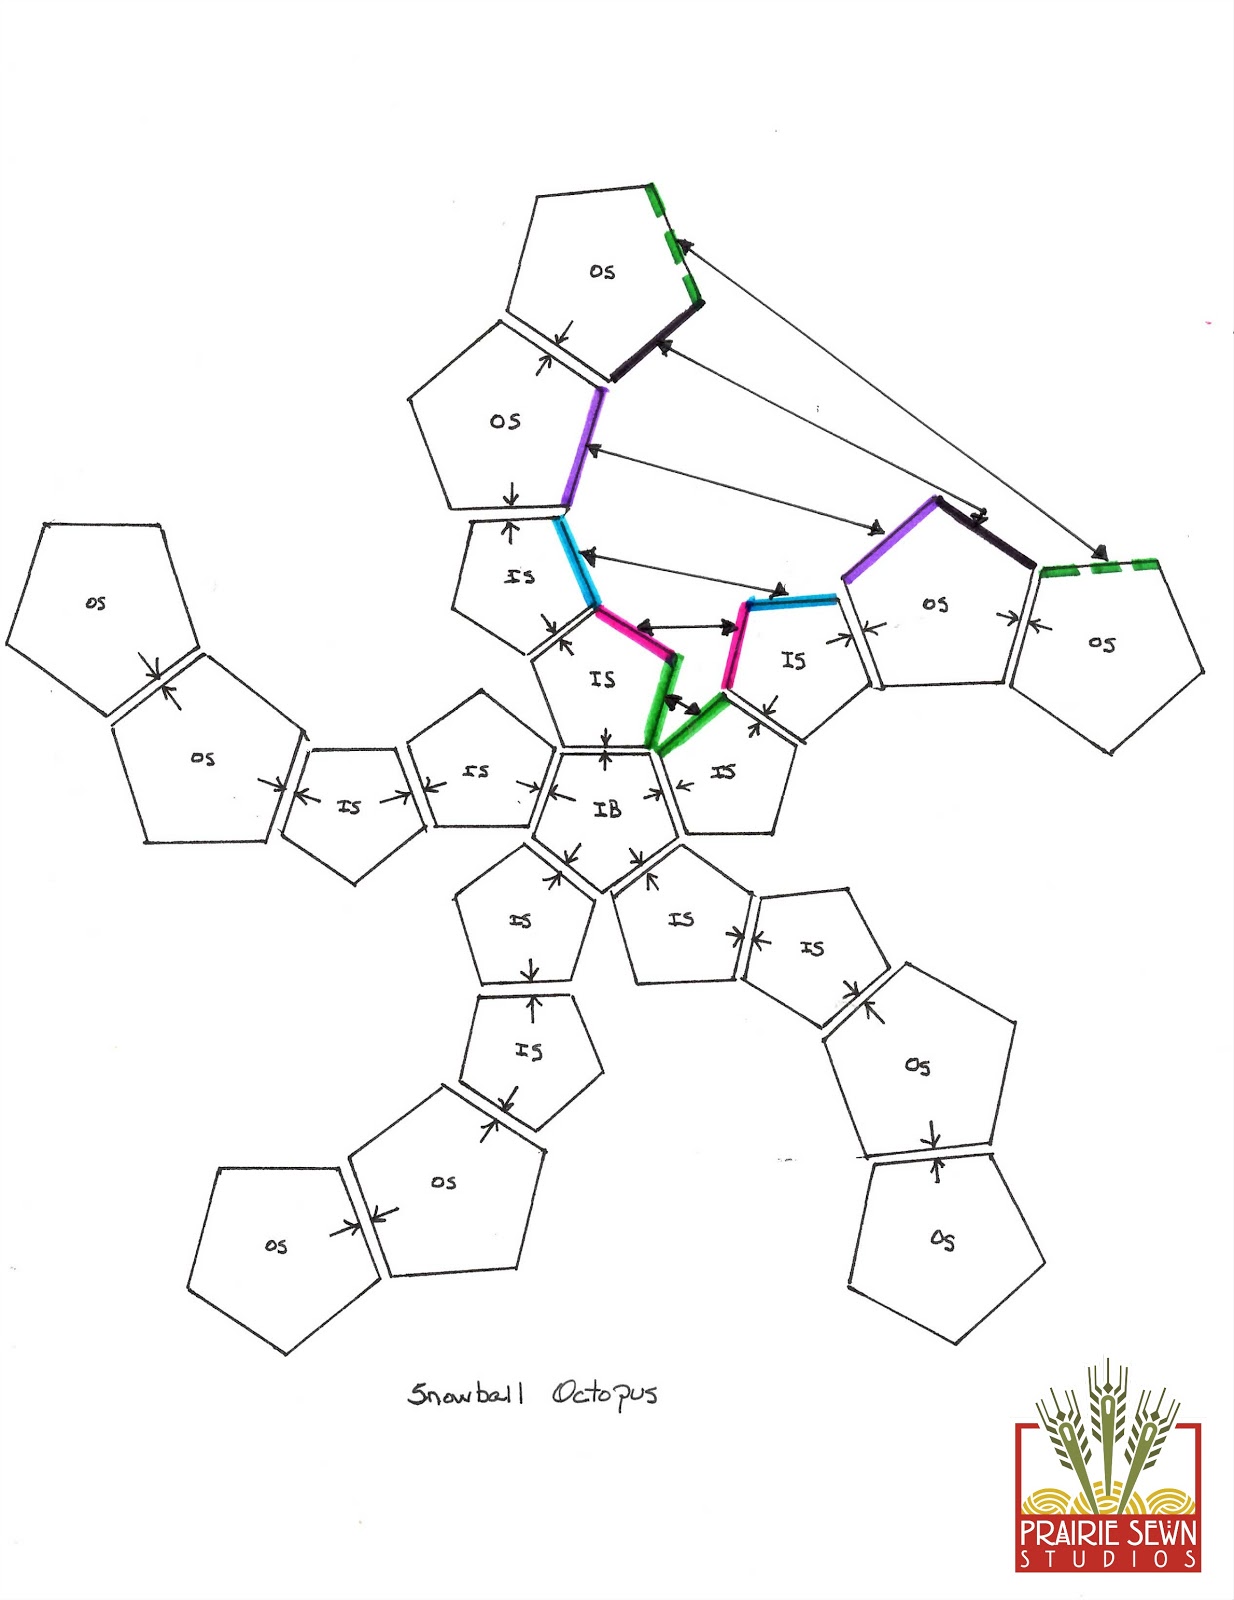
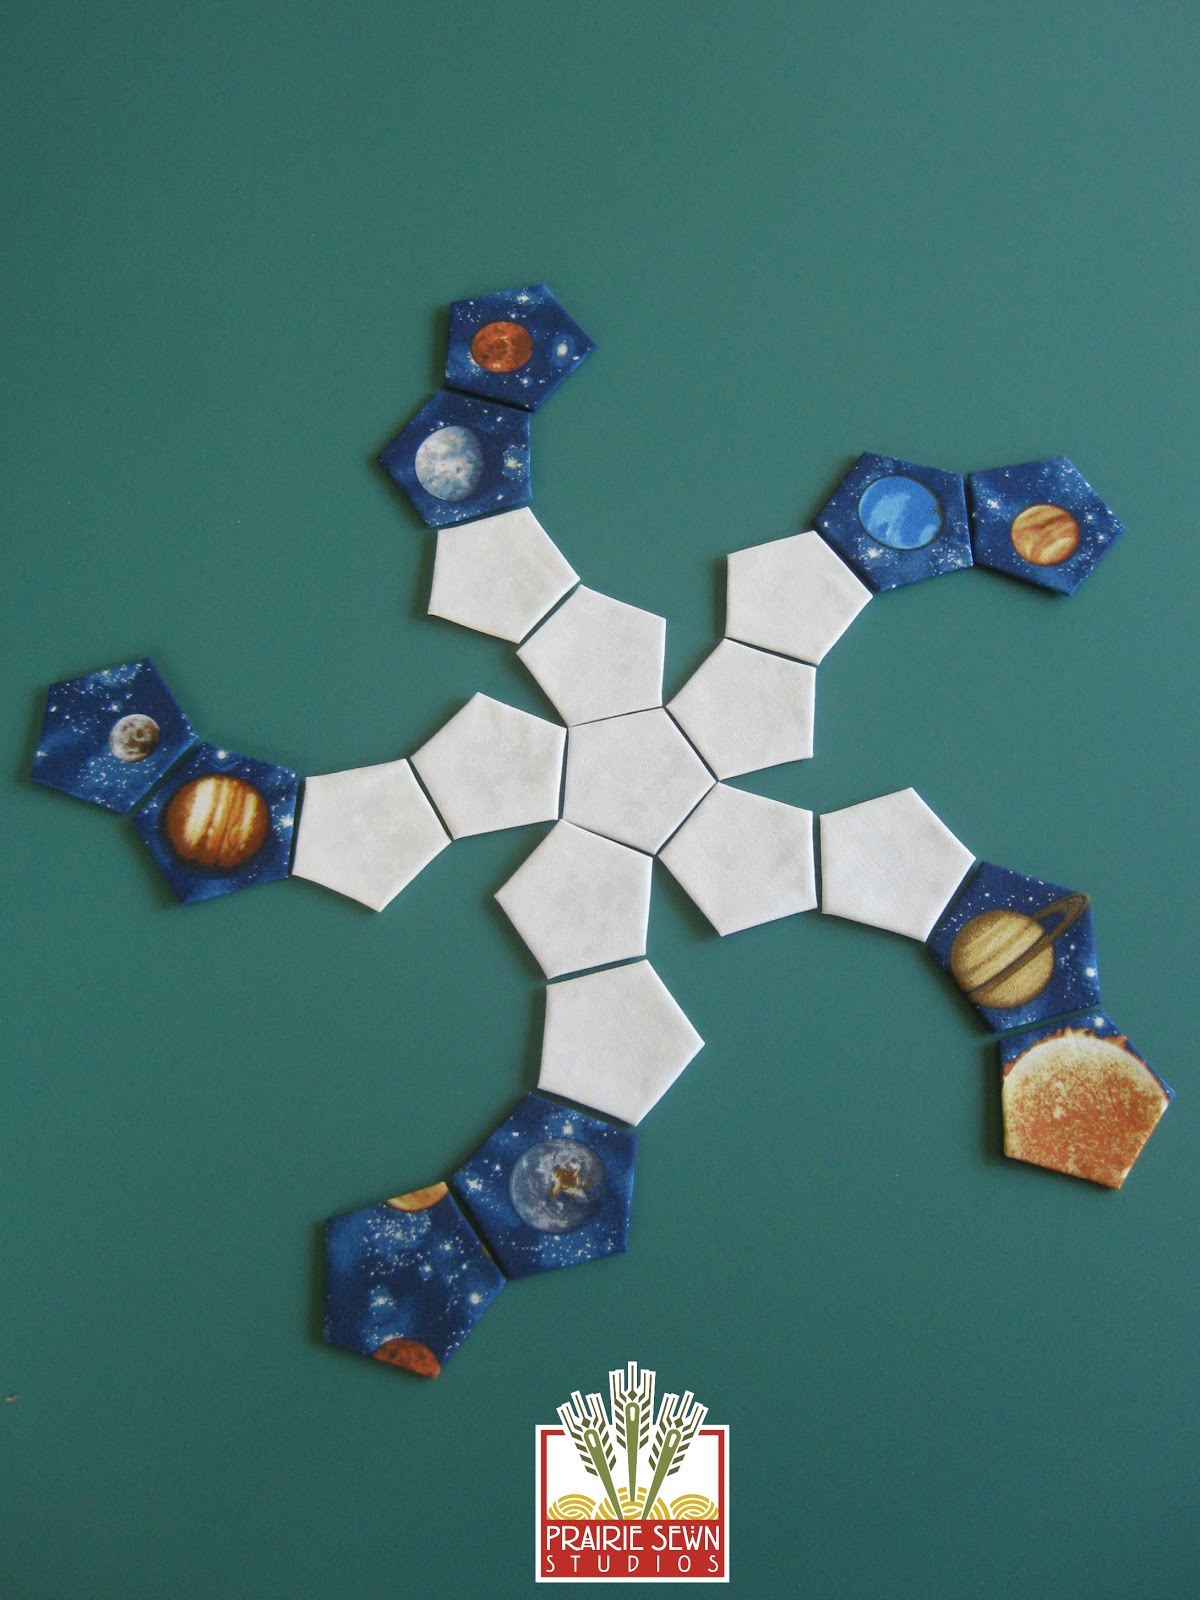
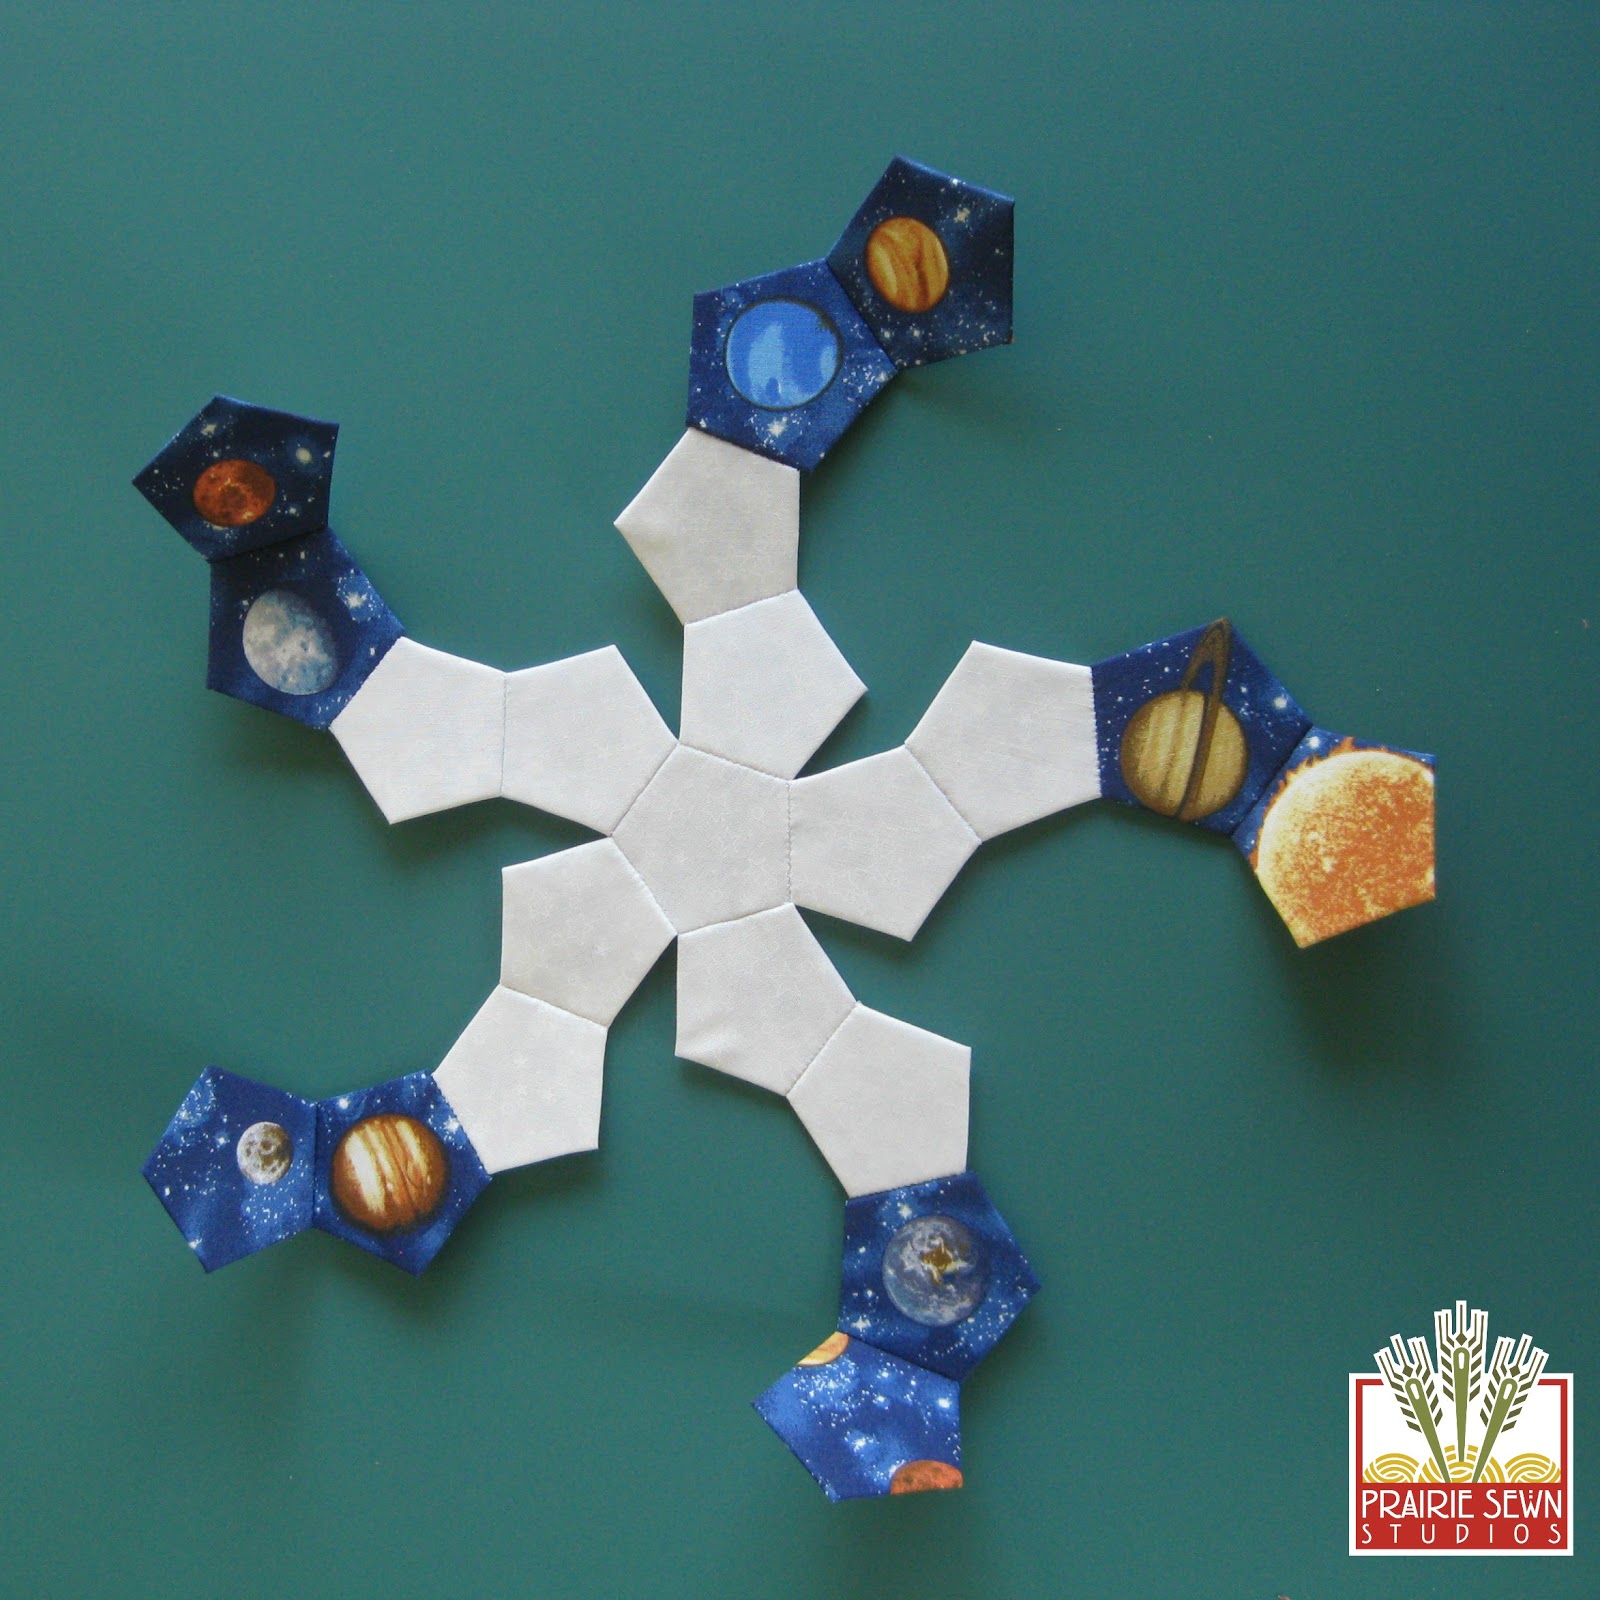
This is done for EACH arm of the Octopus – all 5 arms – and should form a Snowball Octopus as shown in the Snowball Octopus diagram.
After the Octopus is laid out, start to sew the arms together. Remember, the first Outer Side is centered on the second Inner Side, forming the top of the Snowball.
When all the arms are attached, check to be sure the correct sides have been sewn together.
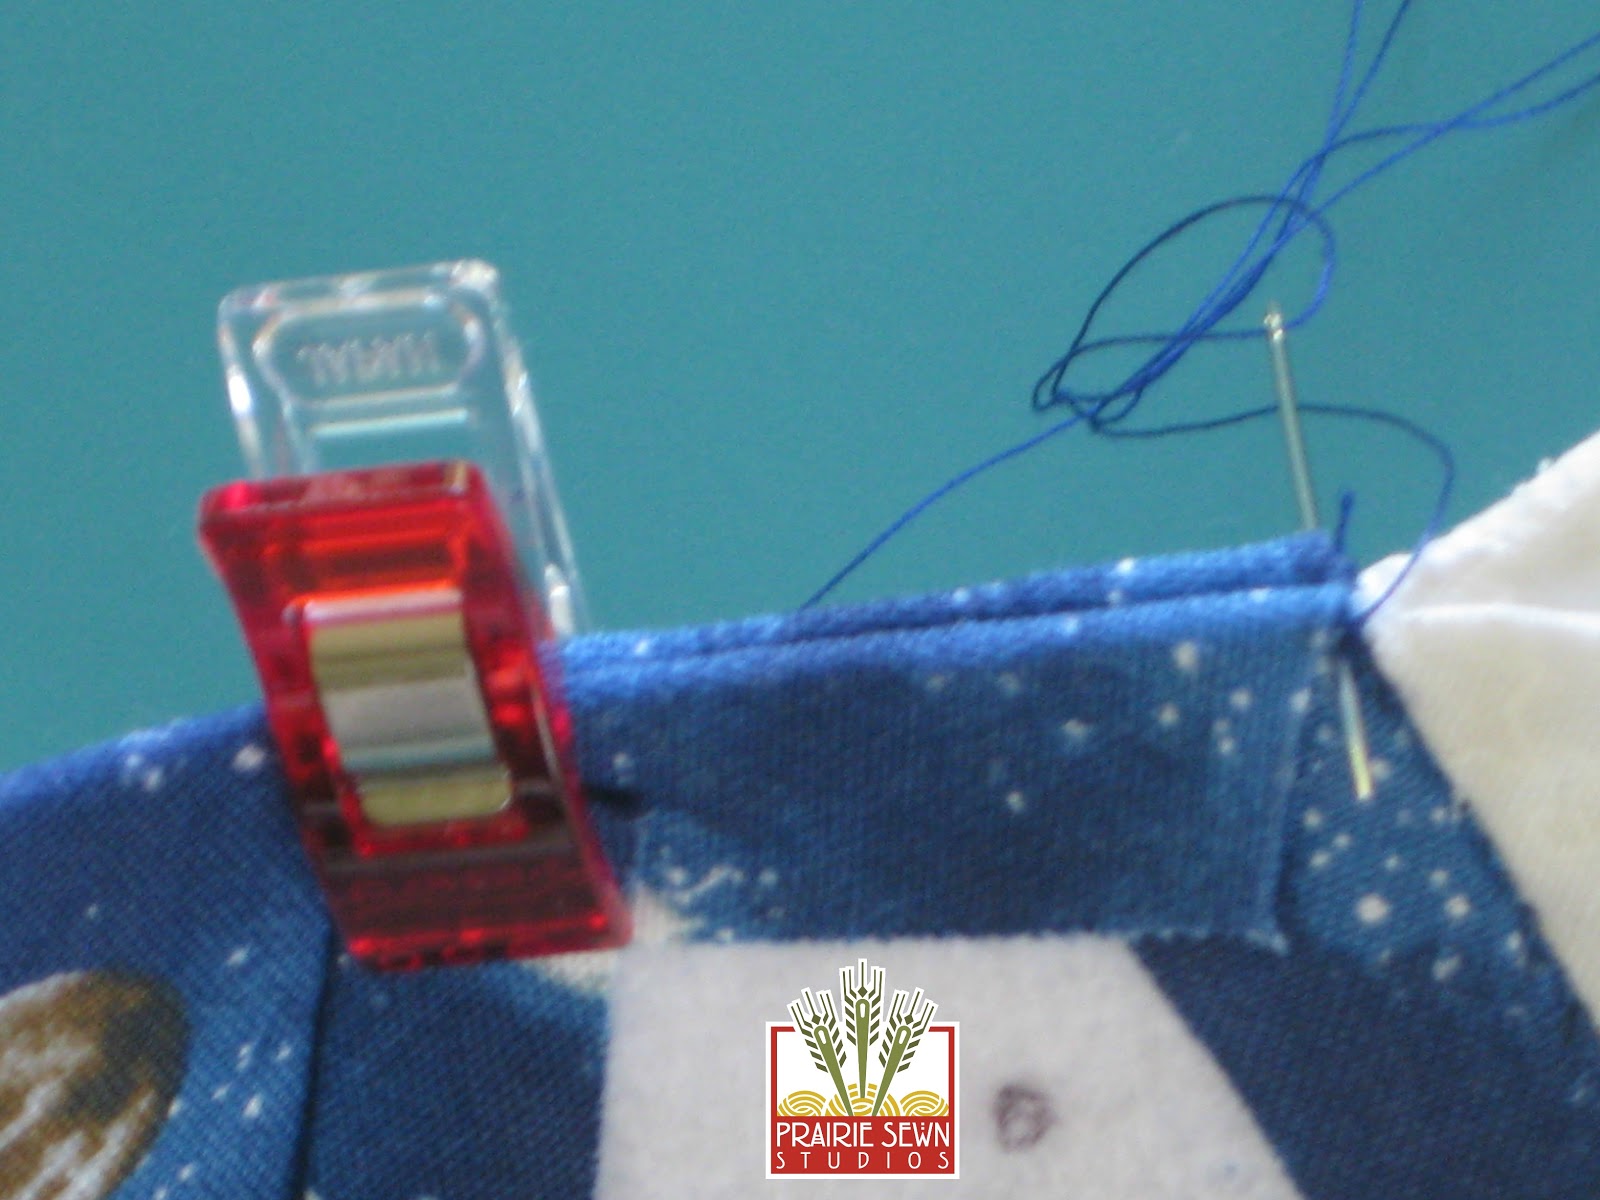
Be sure to take a double stitch at the beginning and end of each side seam segment. Continue to the next segment, joining the side seams marked in RED in the Octopus Diagram above.
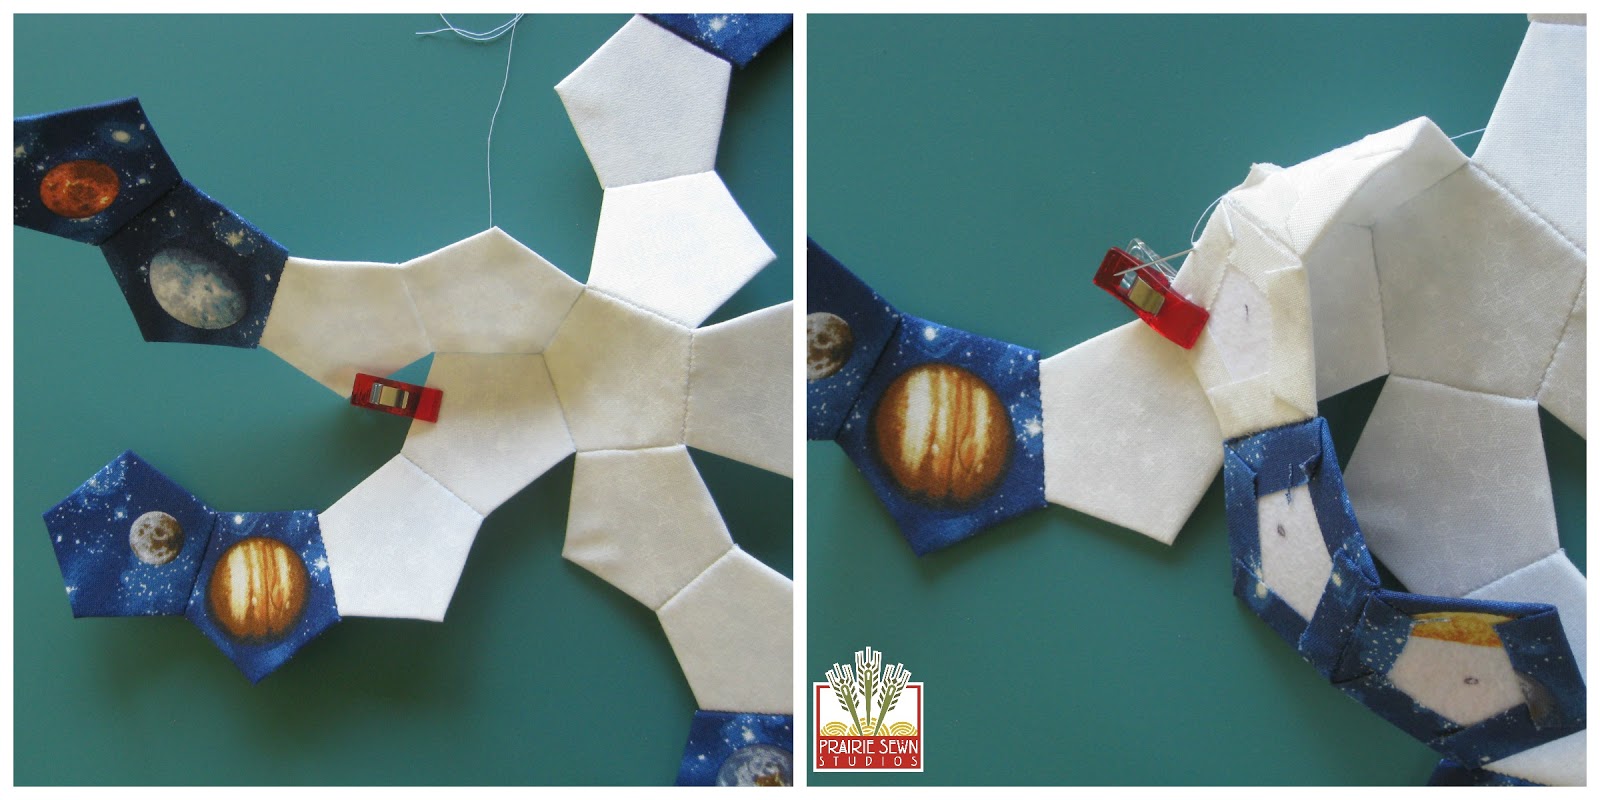
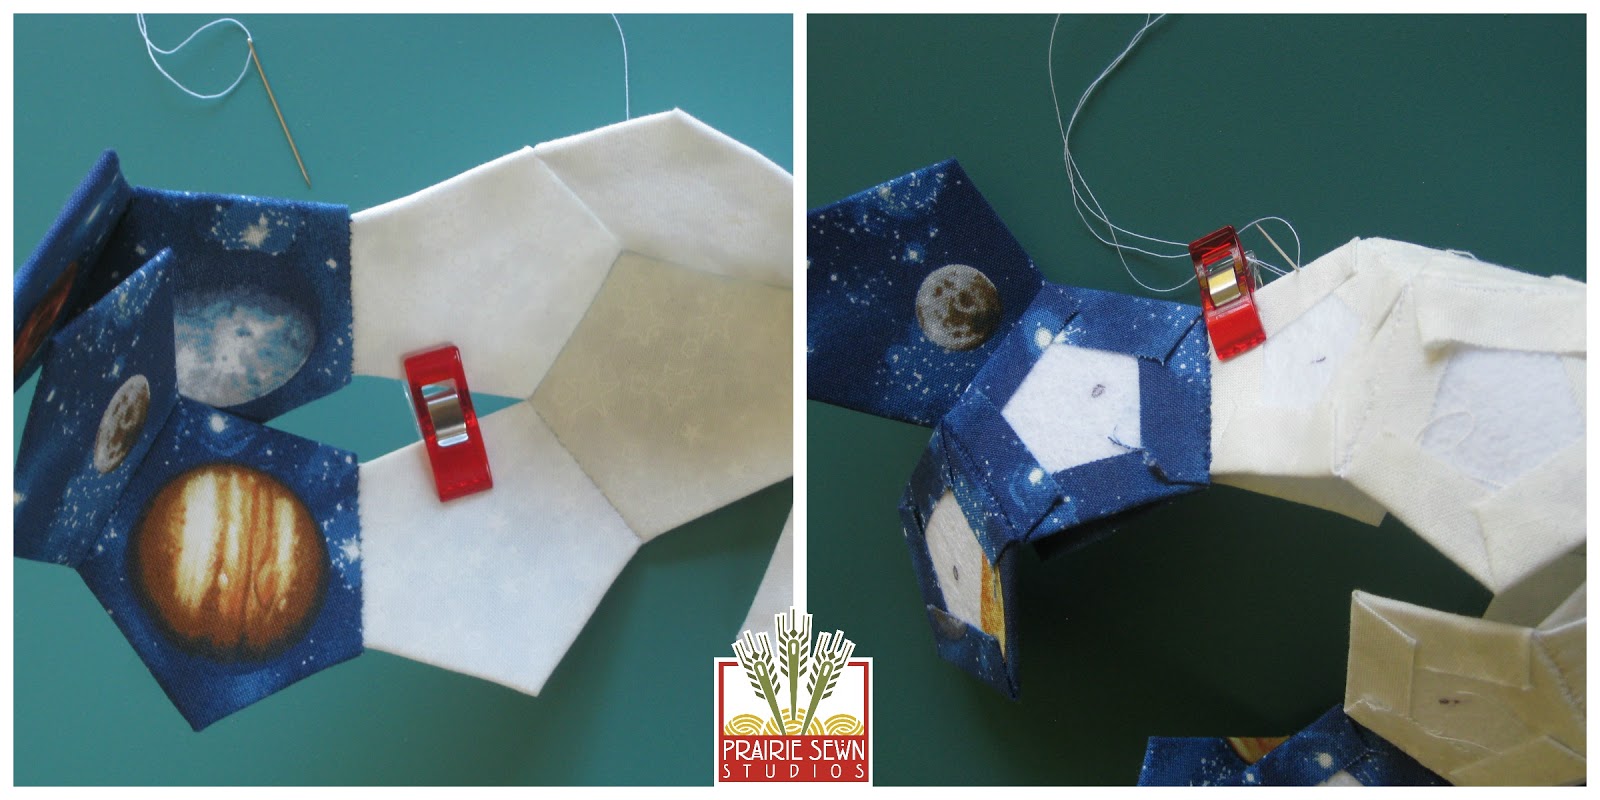
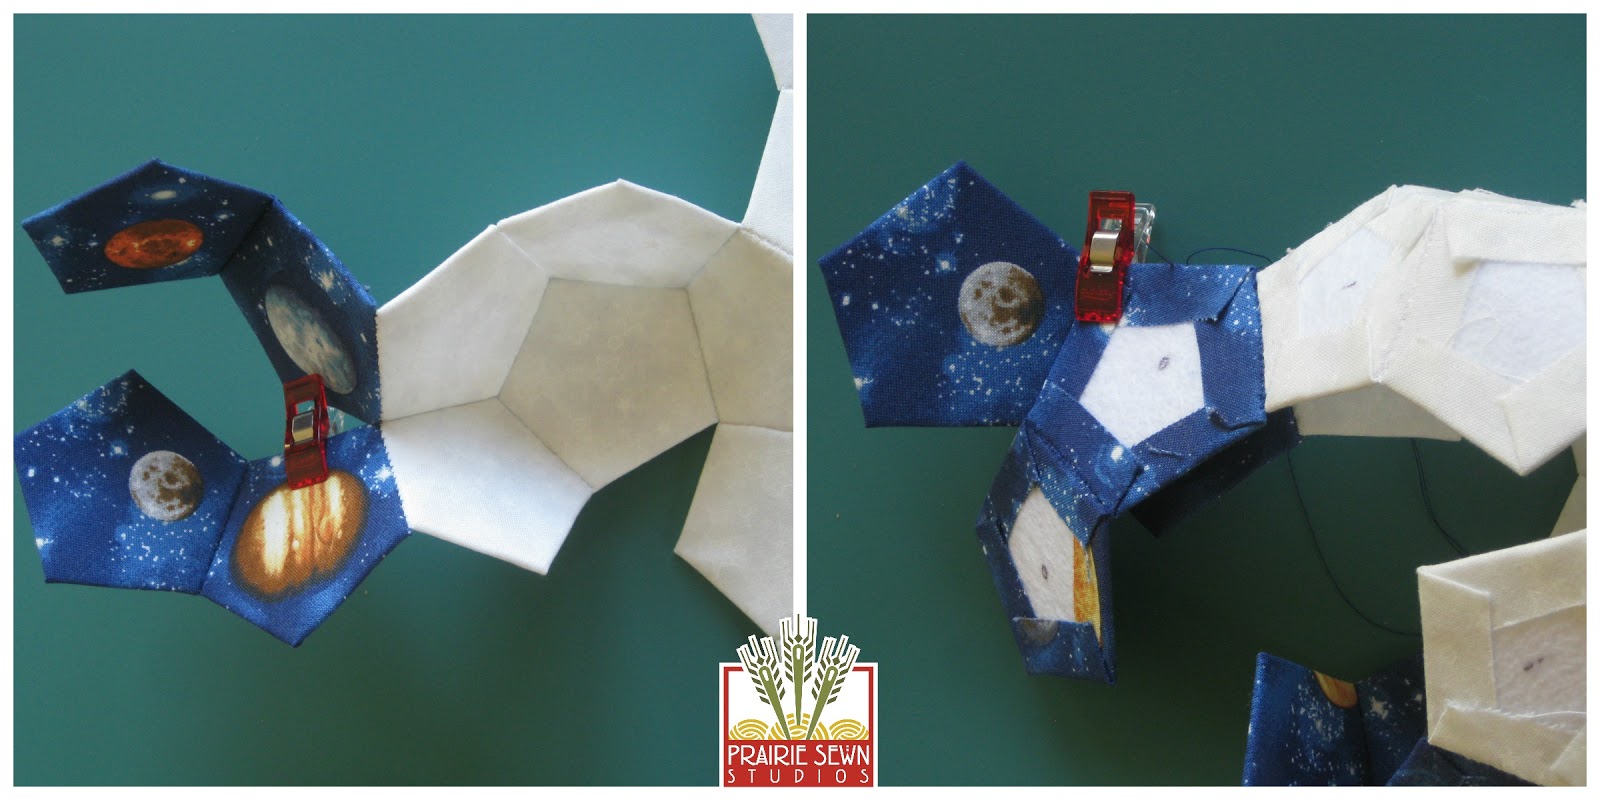
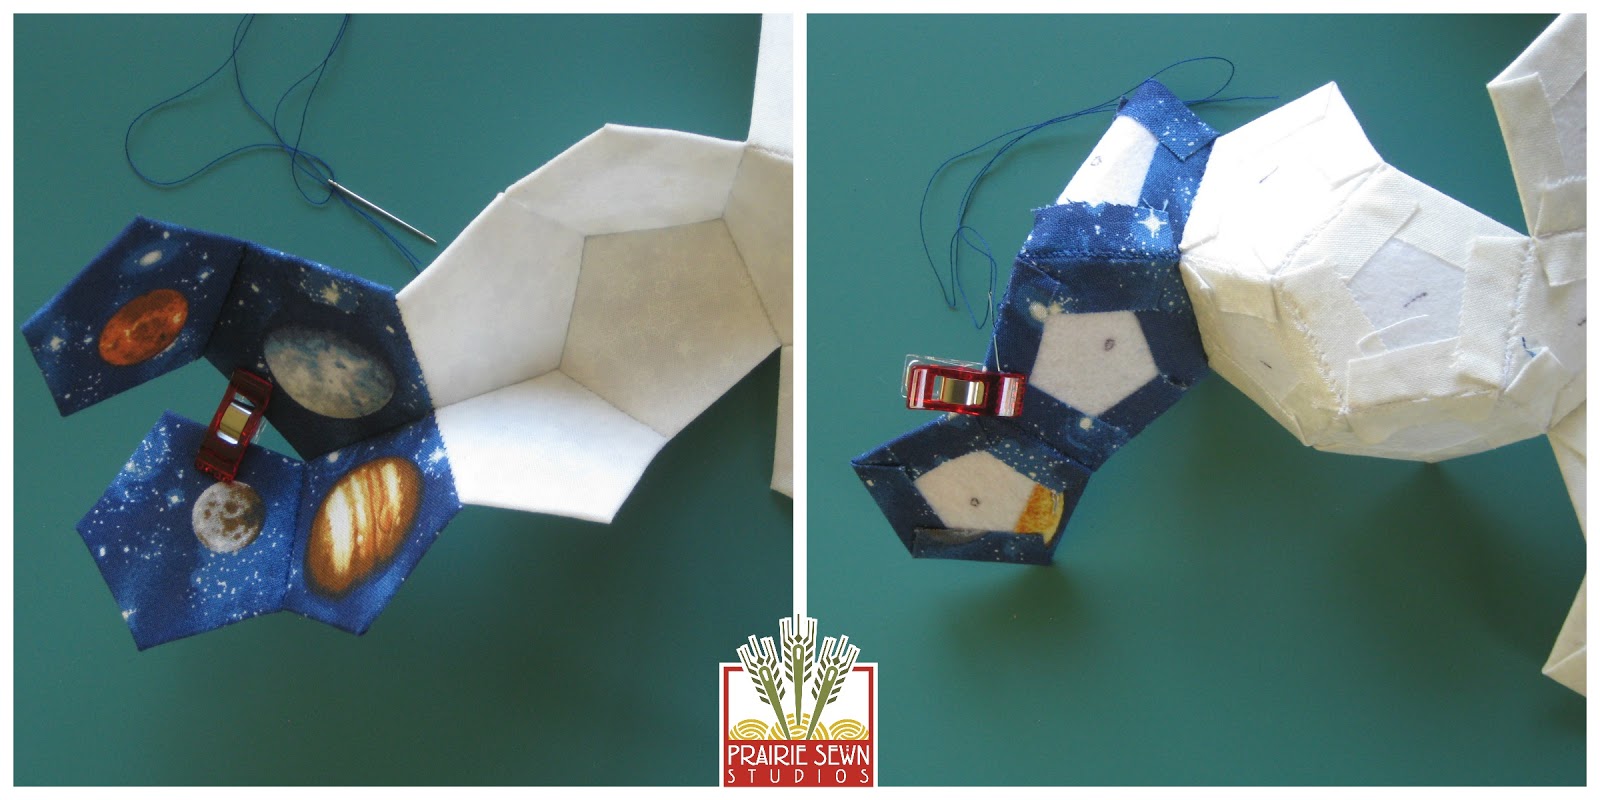
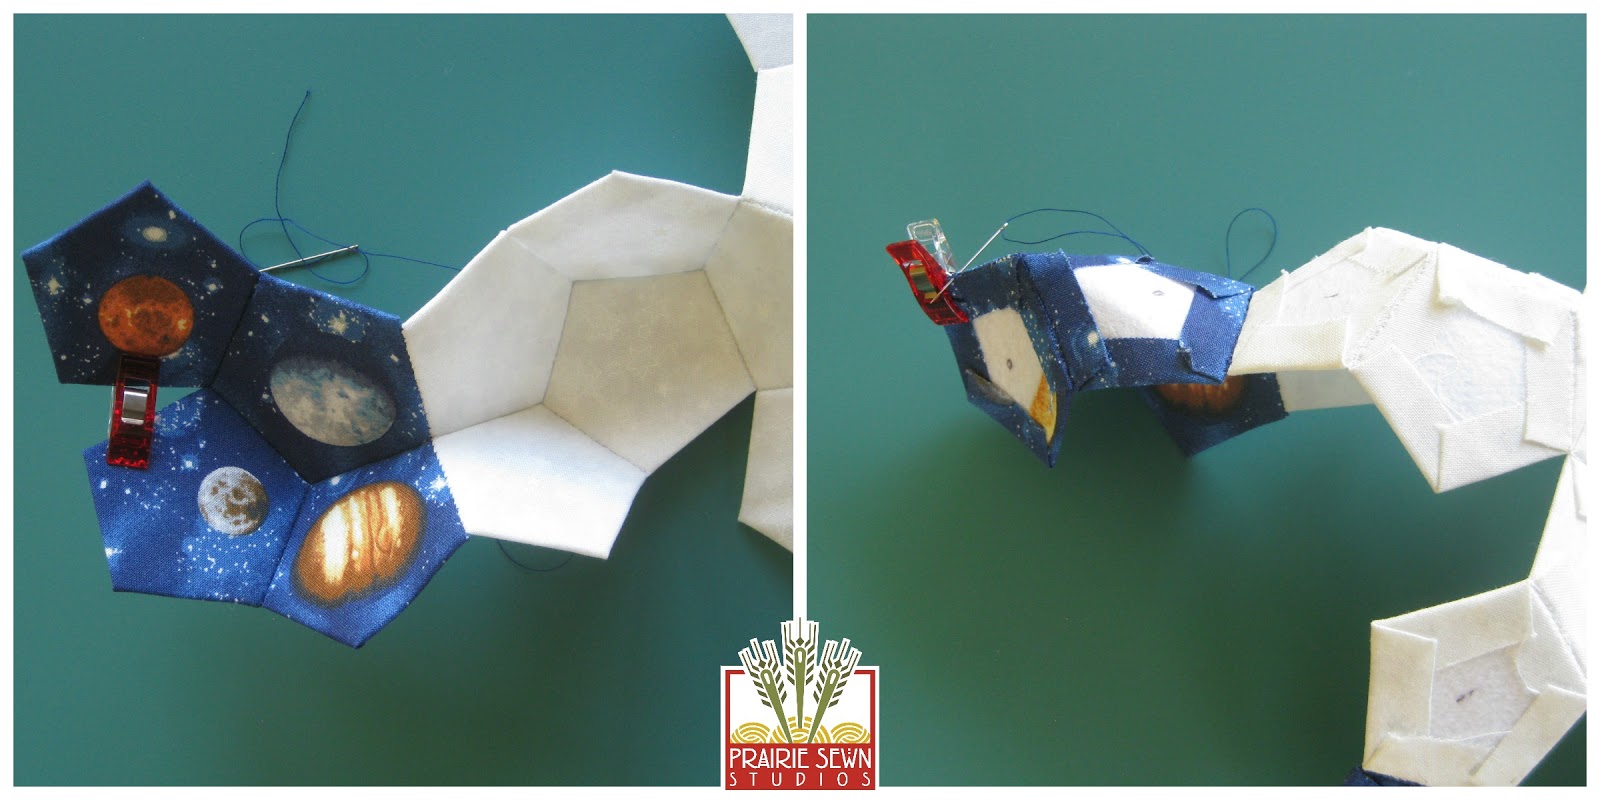
Note that the first photo shows the red Wonderclip on one side seam pointing to the adjacent side seam to be joined; the second photo shows the two seams held together, ready to be sewn). Continue to the next segment, joining the side seams marked in BLUE in the Octopus Diagram Above.
Thus far, only Inner Sides have been joined. The Outer Sides have been reached; two Outer sides will be joined with the PURPLE lines in the Octopus Diagram above.
Be sure to take the extra stitches in the lip!
Continue to the next segment, joining the seams marked by two BLACK lines in the Octopus Diagram above.
The last Outer Sides to join together are marked by the DOTTED GREEN lines in the Octopus Diagram above.
One side seam has been sewn.
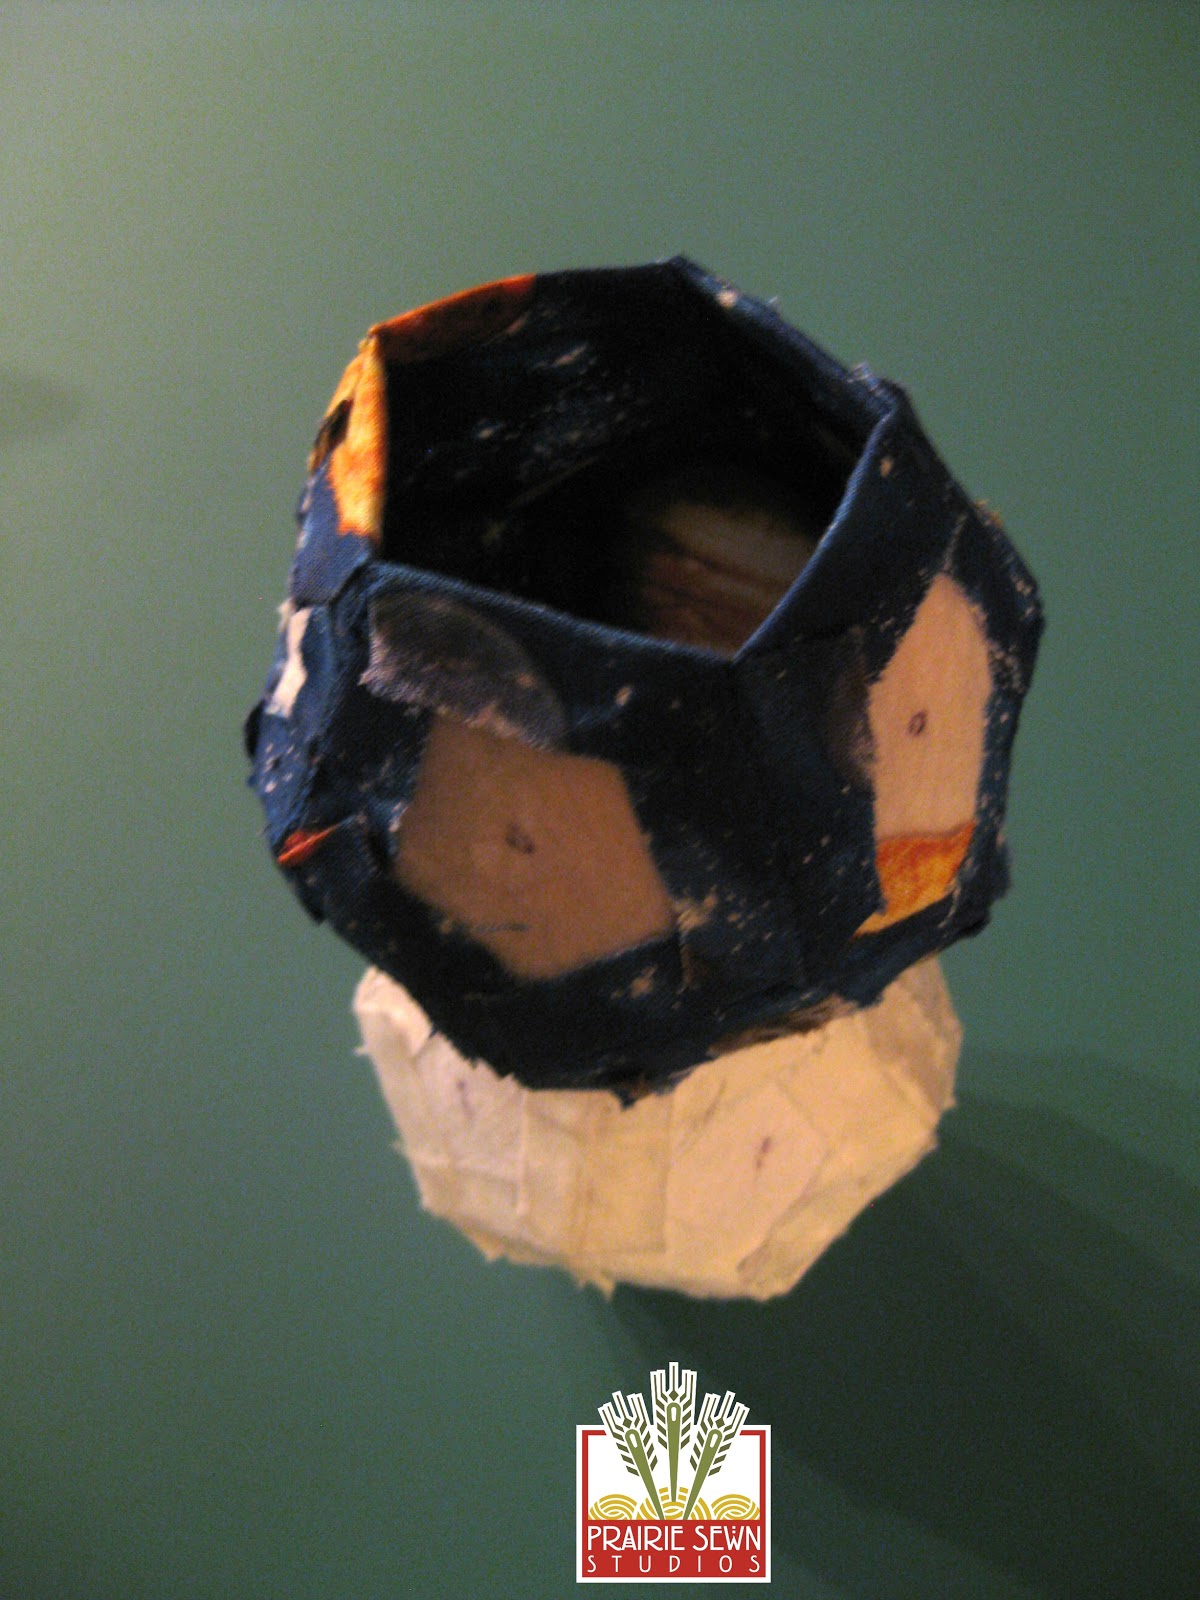
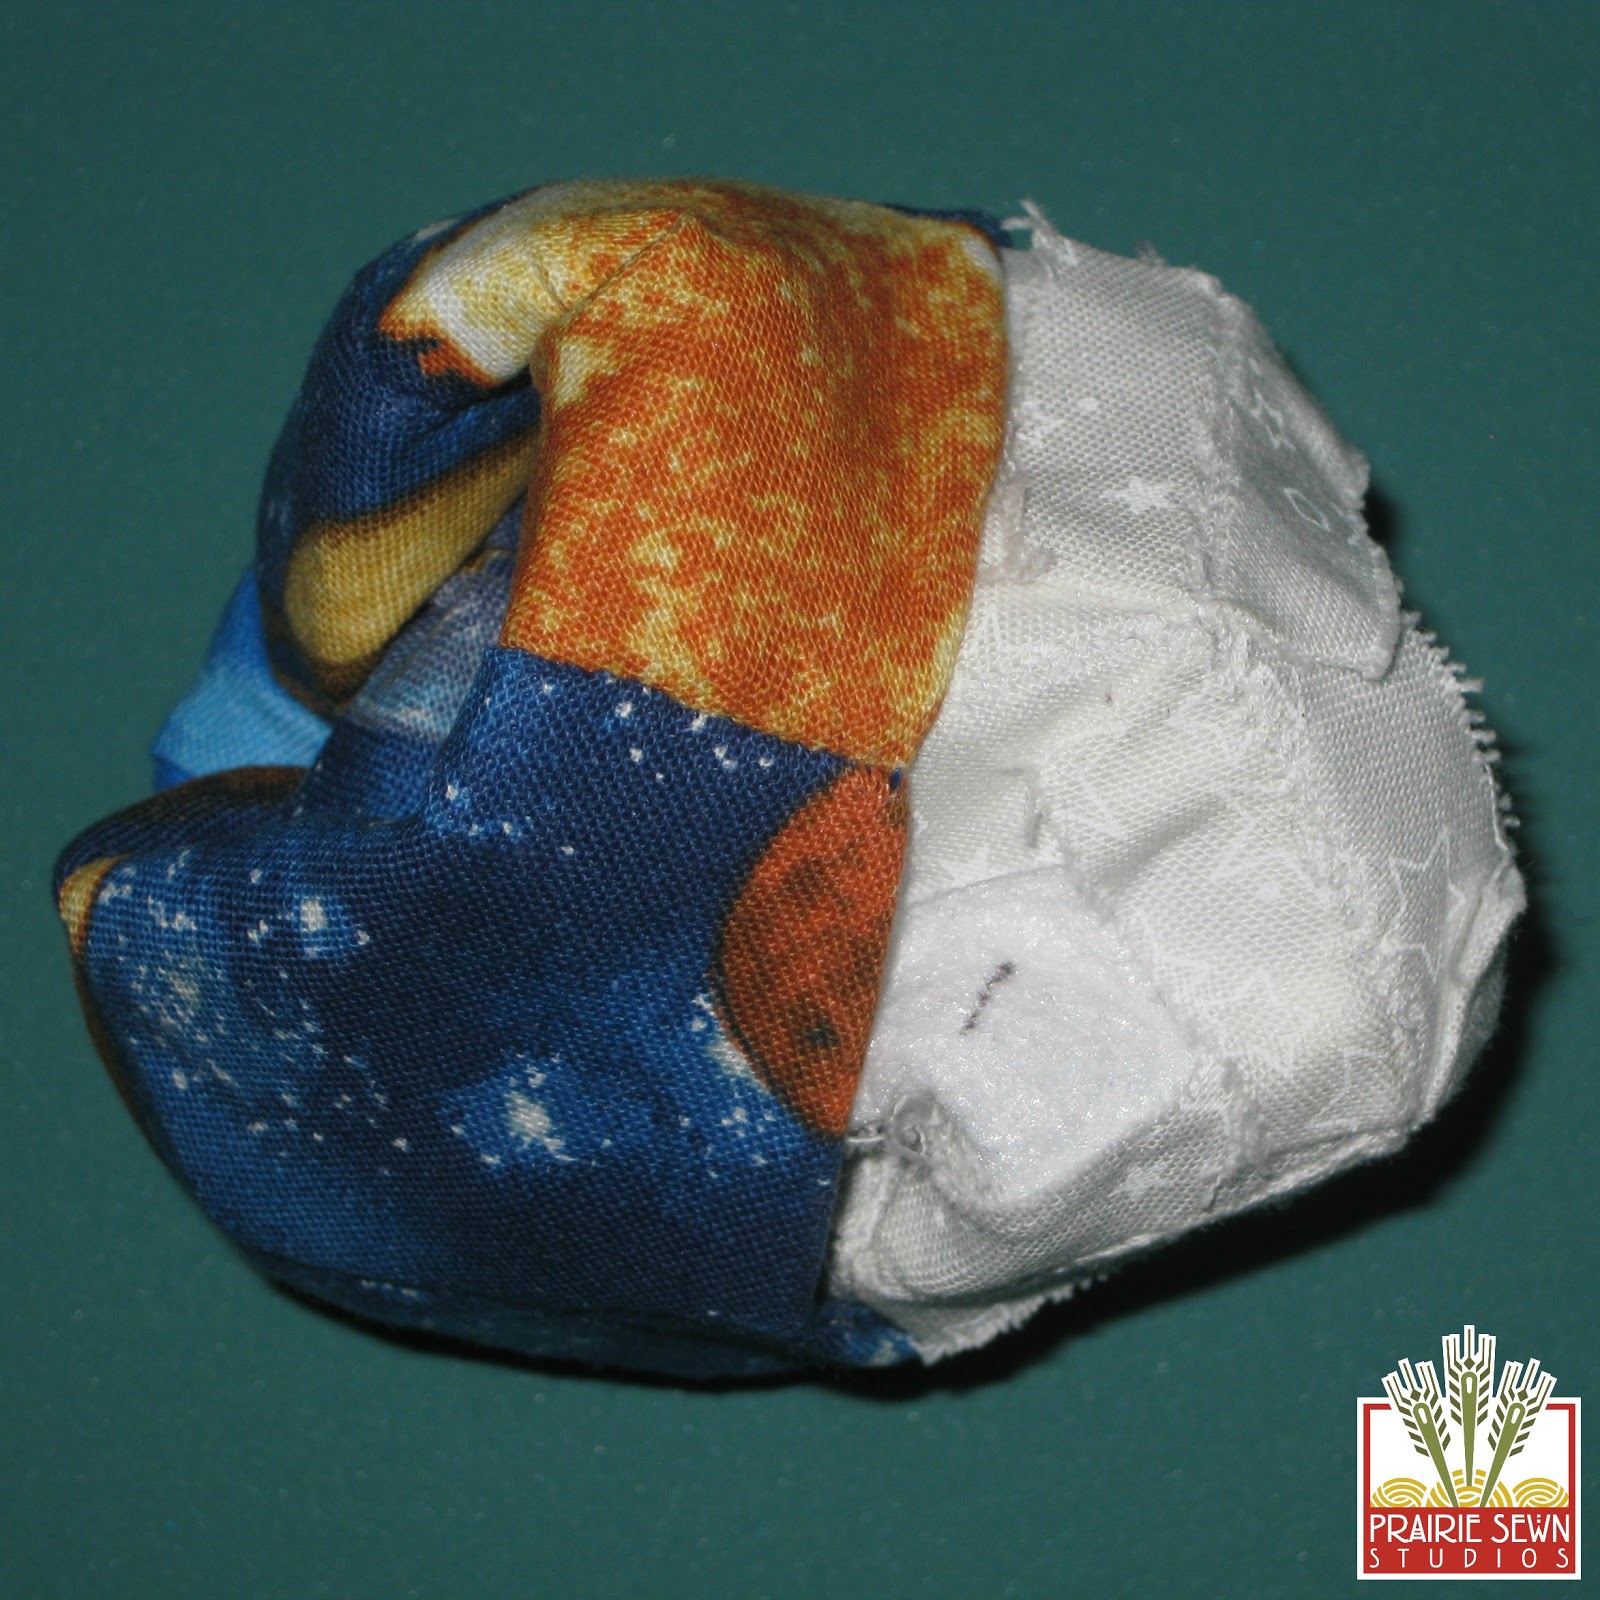
Repeat this process, sewing one segment of the side seam at a time, until all sides have been sewn. Squishing will be necessary as more sides are completed!!
SQUISHING is mandatory!
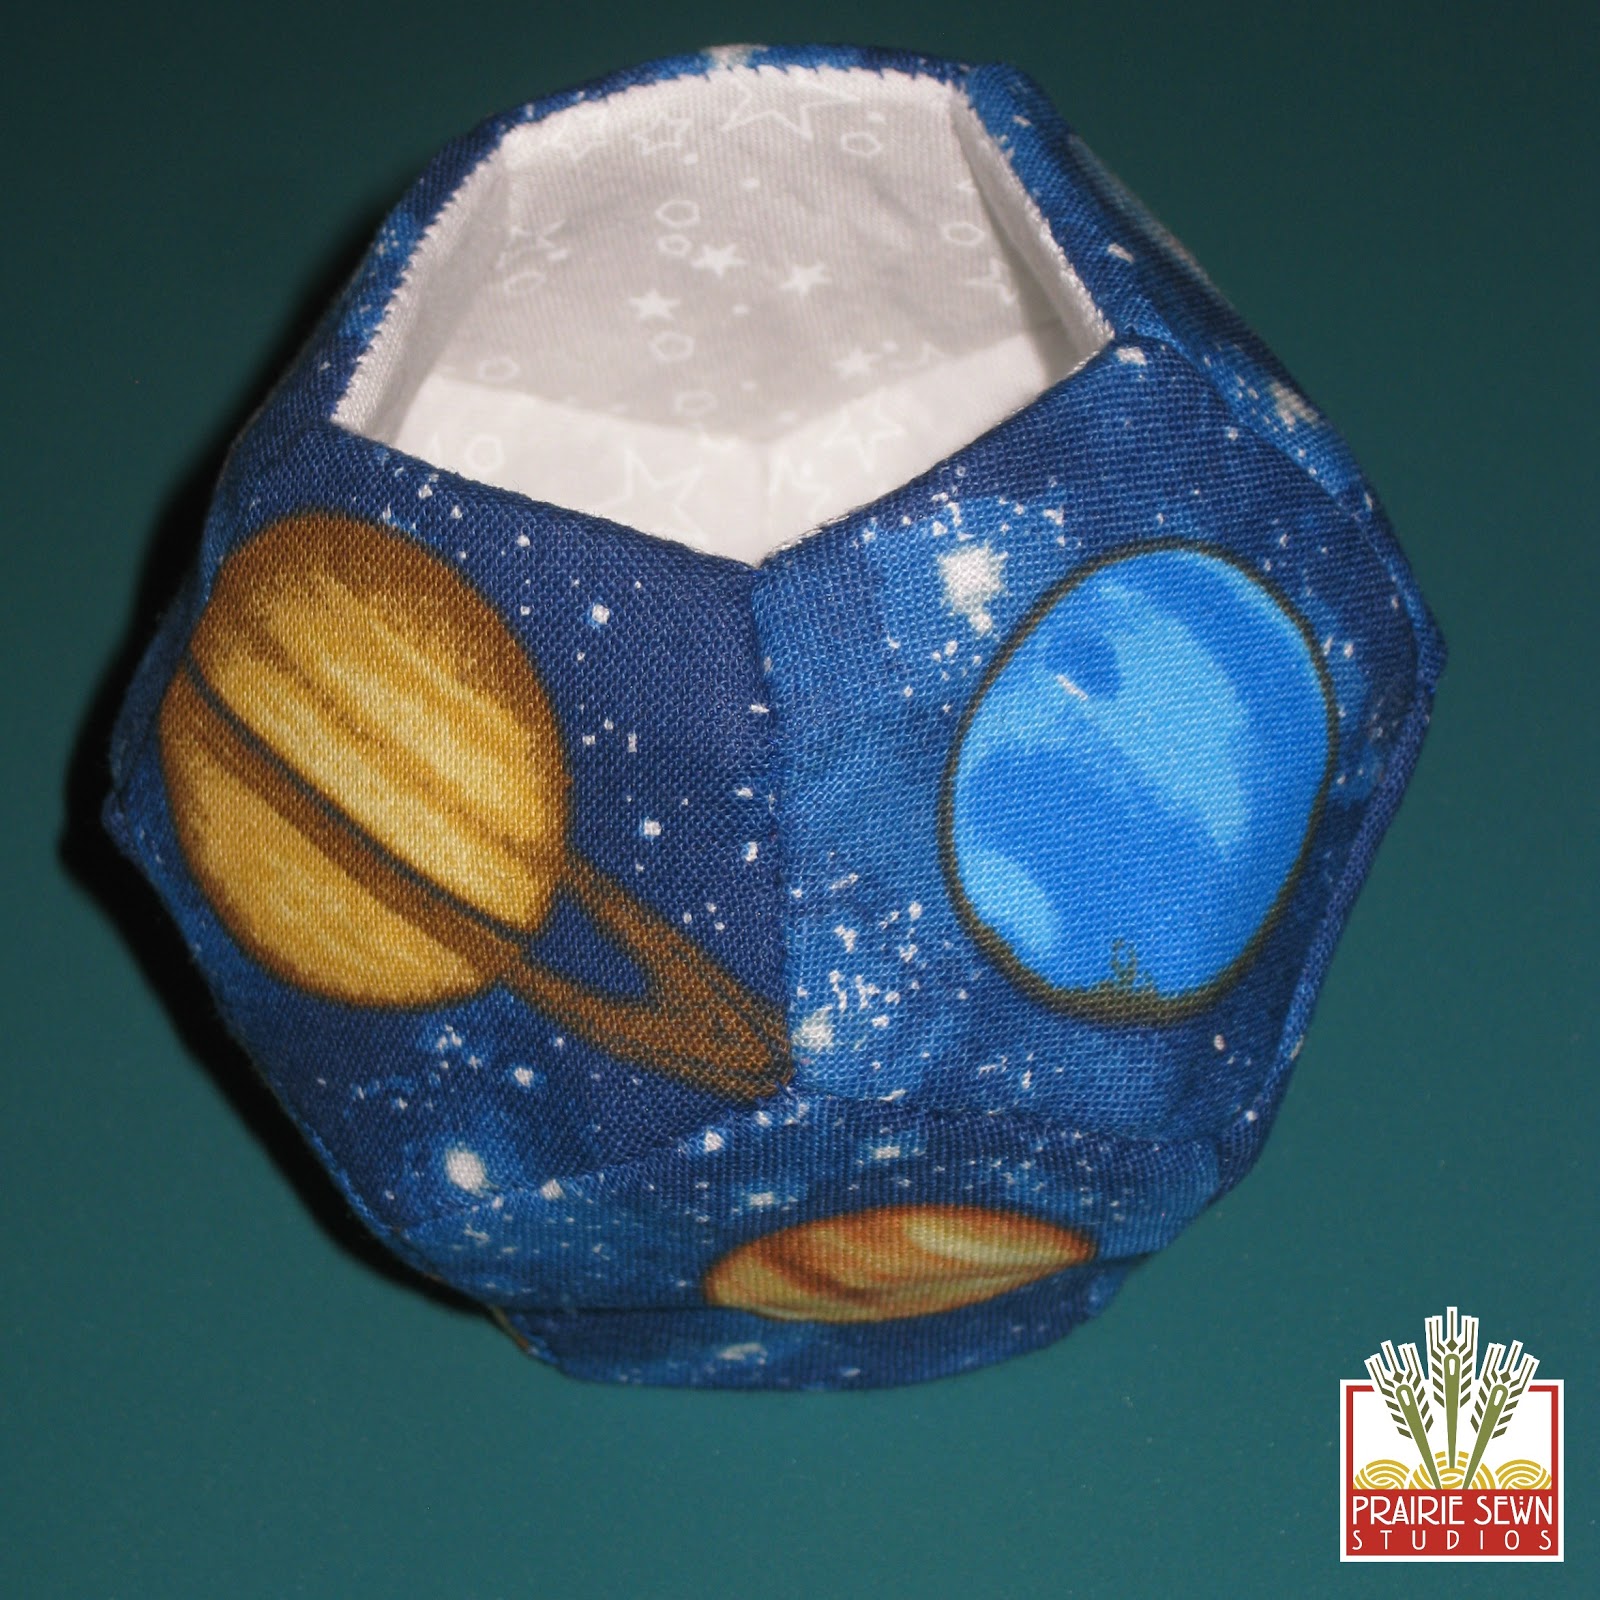
Add the Outer Base to the bottom of the snowball (or is it a Space Ball!)
Enjoy!
Next up:



Leave a Reply