Written by Linda Chaney, mother and Laura Chaney, daughter
Today we’re sharing the second project in our Countdown to Christmas series! As with last week’s Hexagon Based Tulip Vase, you’ll need a copy of Contain It! English Paper-Pieced Accessories for some of the templates and the full directions.
Supplies needed:
- Contain It! English Paper Pieced-Accessories
- Printed copies of Template 121 and Template 122 (be sure to check that it printed correctly by measuring the 2″ square printed on the pattern piece)
- 2 fat quarters of fabric (18″ x 22″) or 16 5″ charm squares
- Stabilizer (Peltex, Timtex or Buckram) measuring 20″ x 25″
- 1/4″ Fusible Tape (we like Steam-a-Seam 2)
- Iron with Steam
- Coordinating thread
- Basic sewing supplies (needle, scissors, thimble, wonderclips or pins etc)
In addition to using some of the templates from Contain It! to make this gift box, the book will also serve as the full set of instructions for prepping the materials and constructing the box and lid. Here is the basic outline of the steps, but be sure to also read the instructions for the cube starting on page 25.
Remember, you’re making TWO separate containers that fit together, the gift box (cube) and the gift box lid.
Directions:
Template 4 – Cube Inner Base and Sides – Cut 5 Stabilizer Pieces
Cut 5 Fabric Pieces
Template 5 – Cube Outer Base and Sides – Cut 5 Stabilizer Pieces
Cut 5 Fabric Pieces
Template 78 – Lid Inner Base – Cut 1 Stabilizer Piece
Cut 1 Fabric Piece
Template 80 – Lid Outer Base – Cut 1 Stabilizer Piece
Cut 1 Fabric Piece
3. Using Templates 121 and 122 that you printed, create your templates and cut the following pieces. Remember to use the 2″ square printed on Templates to ensure it printed correctly.
Template 121 – Lid Inner Side – Cut 4 Stabilizer Pieces
Cut 4 Fabric Pieces
Template 122 – Lid Outer Side – Cut 4 Stabilizer Pieces
Cut 4 Fabric Pieces
4. Follow the directions for cube construction that begin on page 25. Remember that all of the 3-D containers are constructed in the same way with these basic steps. Since you’re making a box and a lid you’ll make two separate containers that fit together to make the gift box.
For the cube you’ll use the pieces from Templates 4 and 5. For the lid you’ll use pieces from Templates 78, 80, 121 and 122
- Make the templates
- Cut the stabilizer pieces
- Cut the fabric pieces
- Fuse the fabric and stabilizer pieces together
- Assemble the Octopus
- Sew the Octopus (hand or machine-see pages 13-15). Remember the Octopus for the lid will look like the Octopus for the Cube – just shorter sides!
- Complete the container with the outside base
Review the detailed directions on pages 9-16 with any questions.
Want to make a bonus container? Make just the lid and use it on your desk for post-it notes or paperclips!
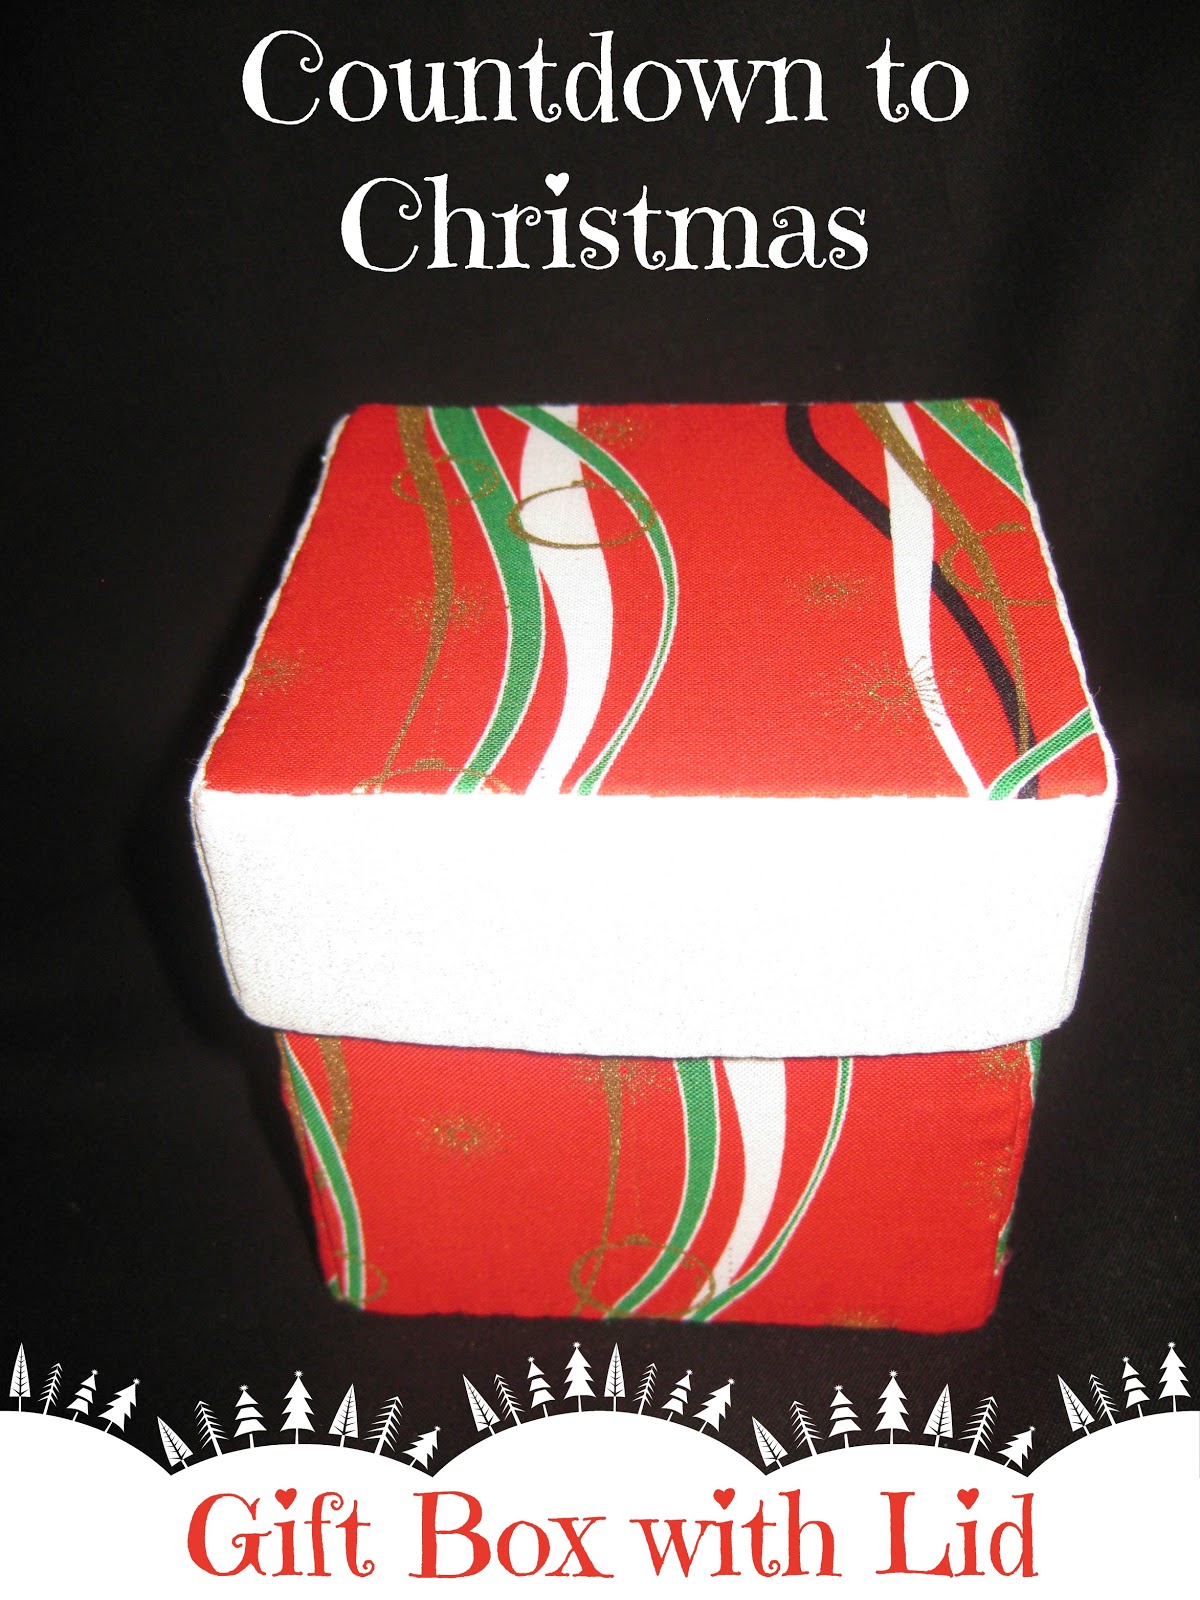
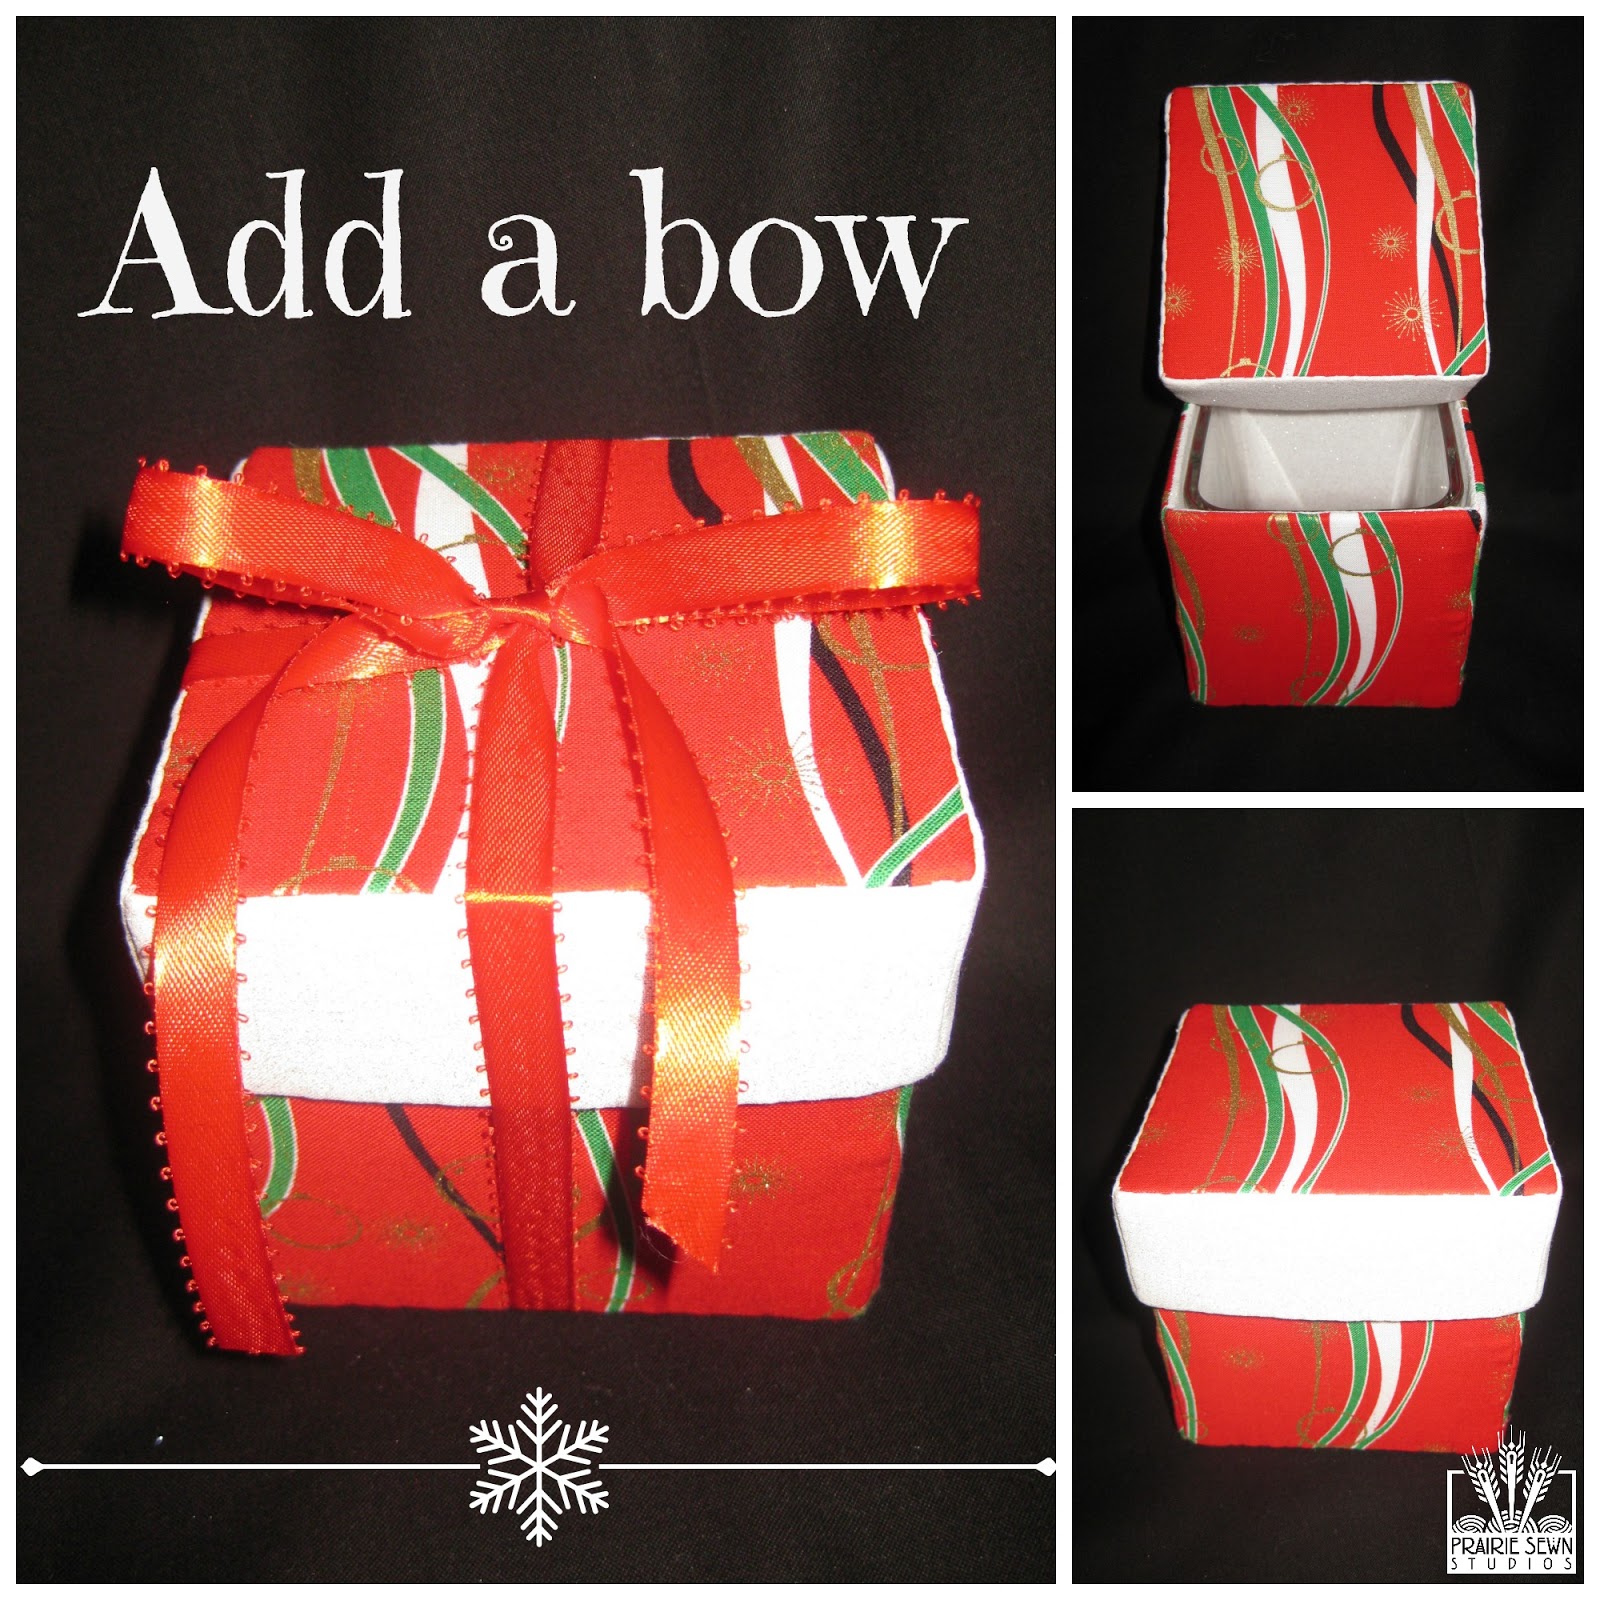
5. Decide what you’ll do with your new gift box! Keep it for yourself? Or give it as a hostess gift when you attend Thanksgiving or another holiday party? You can even tie it up with a bow to make it a true “gift box.”
Either way, be sure to post your pictures on the Prairie Sewn Studios Facebook Page or email them to us at contact@PrairieSewnStudios.com.
Next up:
We’ll see you next week on October 19 for the third project from our Countdown to Christmas with instructions to make the Mason Jar Vases!


Leave a Reply