Written by guest blogger, Christina
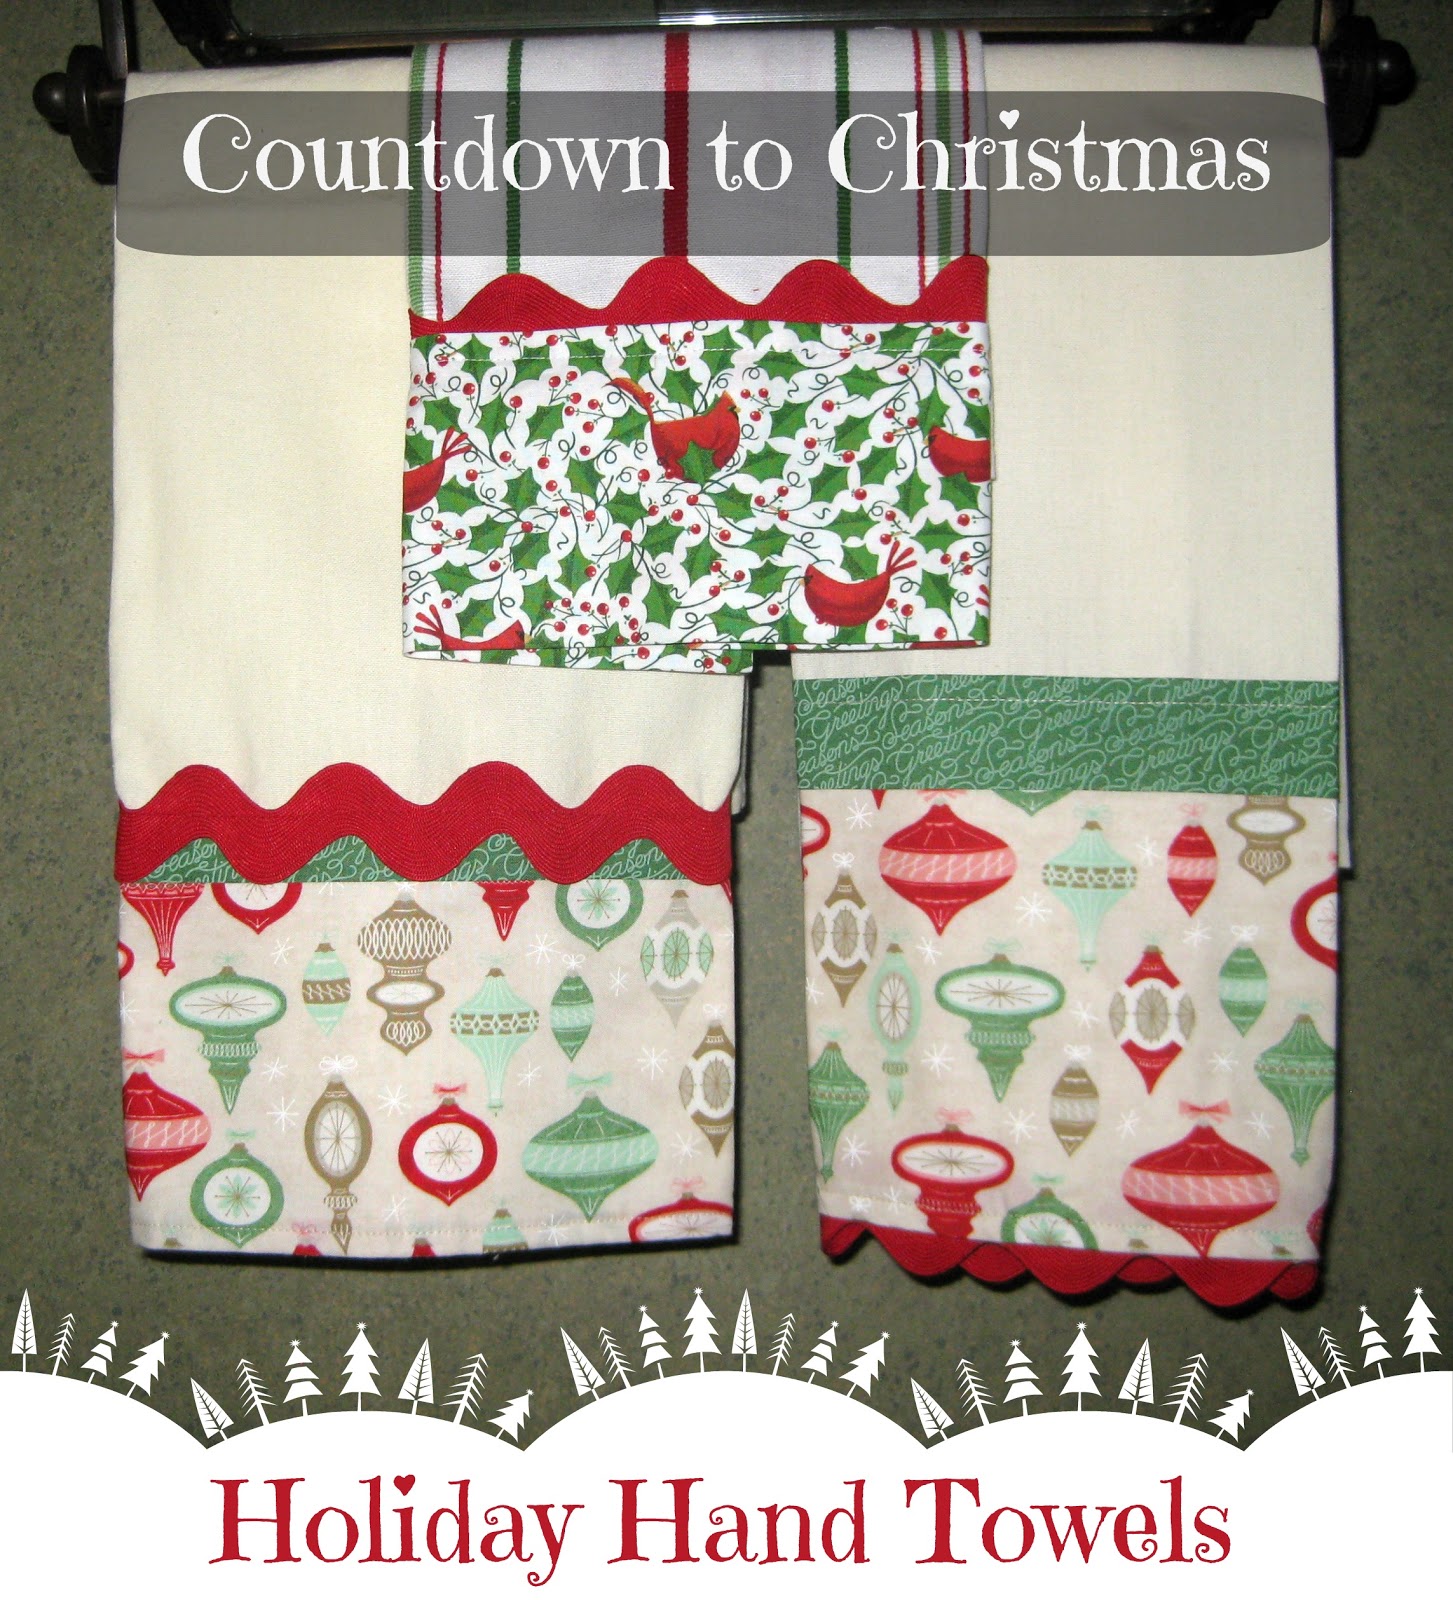
We have a guest crafter and blogger today for our SIXTH project in our Countdown to Christmas series! Our good friend Christina is sharing her directions to make two different festive holiday towels. These holiday towels make quick and colorful gifts for office parties, teachers, gift exchanges or friends.
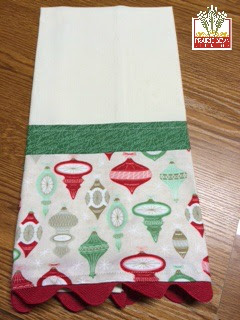
Holiday Towel #1
Materials:
- Basic Sewing tools and machine
- Thread to match fabric & Bobbin to match towel
- Cotton dish towel, 18″ X 26″, washed and hung to dry
- Two coordinating cotton prints, (Allow additional yardage for directional prints)
- 5” x 24” first accent print
- 10” x 24” second accent print
- Large rick rack, ball trim or lace
- Spray starch
- Wash Away Wonder Tape 1/4″ (such as Dritz)
Directions:
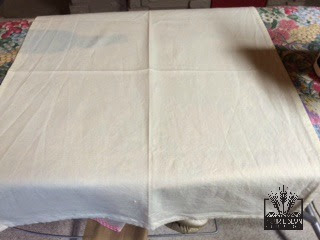
1. Starch and iron towel. Measure the towel width and length (18” x 26”, for example).
2. Fold towel in half lengthwise; press. Fold towel in half width-wise; press.
3. Fold lower half of towel up to the center of the towel, aligning the lower hemmed edge of the towel along the width-wise press line made in Step 1. Press along the new folded edge.
4. Measure the towel’s width along this folded edge. Each towel runs a little different so measure and cut for each one. The measurements listed above (18” x 26”) are used as the example in these directions. Add 2″ to your width measurement (2” + 18” = 20”). Cut the first accent strip 4” x 20”. Cut the second accent print 9″ x 20”.
5. Sew the two accent prints together along their widths, making sure any directional prints are oriented and sewn correctly!
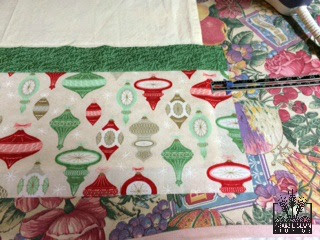
6. Place fabric on top of towel and center it so that an inch is hanging over each side and the bottom.
Turn under fabric raw edges ~ ¼” using the towel as a guide. (These towels are not always even and this makes it look better). Turn these edges under again and press well. Turn under the top fabric edge 1/2″; press well. Either pin fabric accent to towel or hold the fabric accent in place with wash away tape along the top edge and each side seam. Leave bottom edge open to add trim.
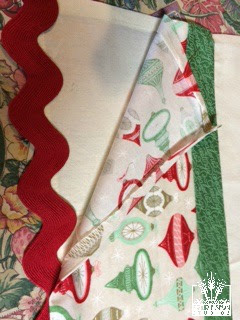
7. Measure along the bottom edge; add 2” to this measurement (18” + 2” = 20”). Cut trim 20” wide. Turn trim under ~1”on both side edges and hold with wash away tape (This may also depend upon the type of trim used). Center trim along bottom edge, sandwiching between the toweling back and fabric accent top. The trim can be held in place on both sides with wash away tape.
8. Now sew the fabric accent on the towel with matching thread. Be sure to use bobbin thread that matches the towel. Sew around all four sides pivoting at each corner and back-tacking at the beginning and end. Cut threads and press! Enjoy!
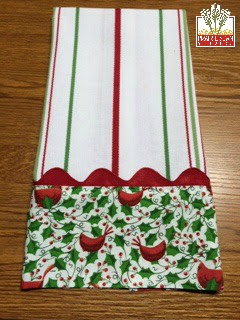
Holiday Towel #2
These quick towels are made using toweling bought at the fabric store. This toweling is finished on the side edges. The one shown is made by Moda Fabrics.
Materials:
- Basic Sewing tools and machine
- Thread to match fabric
- 3/4 of a yard of 16 1/2″ wide toweling (or purchased towel)
- Cotton print, 15” x 20” (Directional fabric requires more material)
- Large rick rack, ball trim or lace
- Spray starch
- Wash Away Wonder Tape 1/4″ (such as Dritz)
Directions:
1. Starch and iron toweling. Turn under the top edge 1/4″ of an inch; press. Turn under again ~1/2”; press well and sew in place.
2. Measure the towel’s width along the bottom edge. Each towel runs a little different so measure and cut for each one. The measurements 16-1/2” x 23-1/2”are used as the example in these directions. Add 2″ to your width measurement (2” + 16-1/2” = 18-1/2”). Cut the fabric accent strip 13” x 18-1/2”.
3. Hem fabric accent along the top and bottom edges of the 18-1/2” edge as follows: Turn fabric accent under 1/4″; press. Turn fabric accent under again 1/2″; press. Fold the 13” length in half, matching the turned under edges. Press.
4. Fold the bottom edge of the towel up ½”; press. Open up edge and place wash away tape along fold line on front and back of towel.
5. Sandwich the bottom edge of toweling between fabric accent edges. Be sure to leave an inch of fabric accent at each side and align the fabric accent edges along the towel press line, being sure to cover the wash away tape. Make sure if print is directional it is not upside down on the front side of the towel!
6. Fold the fabric accent in to match the sides of the towel. Press. Repeat on opposite side. Remove fabric accent from bottom edge of towel and fold right sides together. Sew a seam along the press line on each side edge. Turn fabric accent right sides out and press.
7. Sandwich the bottom edge of toweling between fabric accent edges.
8. Measure along the width of the fabric accent edge; add 2” to this measurement (16-1/2”+ 2” = 18-1/2”). Cut trim 18-1/2” wide. Turn trim under ~1”on both side edges and hold with wash away tape (This may also depend upon the type of trim used). Center trim along fabric accent edge, sandwiching the trim between the toweling and fabric accent top. The trim can be held in place on both sides with wash away tape.
9. Sew across the fabric accent edge. Be sure the trim and fabric accent on both the front and back are stitched through. Trim threads. Press. Enjoy!
Next up:


Leave a Reply