Written by Linda Chaney, mother
The weather has definitely changed for the better with warmer, SUNNY days, budding trees and green grass. Signs of Spring are abundant and EASTER is early! For those that may want to make a quick Easter Bowl based on our technique described in our book, Contain It! English Paper-Pieced Style Containers!, here is the new pattern using a modified egg template for the sides. This bowl can be constructed entirely by machine, or do the sewing by hand. It’s also possible to construct without doing any sewing!
Supplies Needed:
- Contain It! English Paper Pieced-Accessories
- Printed copies of Template 136 (be sure to check that it printed correctly by measuring the 1″ square printed on the pattern piece); Template 20 from Contain It! English Paper Pieced-Accessories
- 2 fat quarters of fabric (18″ x 22″) or 2 pieces of fabric, 7″ x 7″, and 12 charm squares
- Stabilizer (Peltex, Timtex or Buckram) measuring 11″ x 20″
- 1/4″ double Fusible Tape (we like Steam-a-Seam 2)
- Iron with Steam
- Coordinating thread
- Basic sewing supplies (needle, scissors, thimble, wonderclips or pins etc)
In addition to using Template 120 from Contain It! to make this bowl, the book will also serve as the full set of instructions for prepping the materials and constructing container. Here is the basic outline of the steps, but be sure to also read the instructions in Contain It! for further information.
Directions:
1.Gather the supplies listed above and review the basic container instructions in Contain It! starting on page 9.
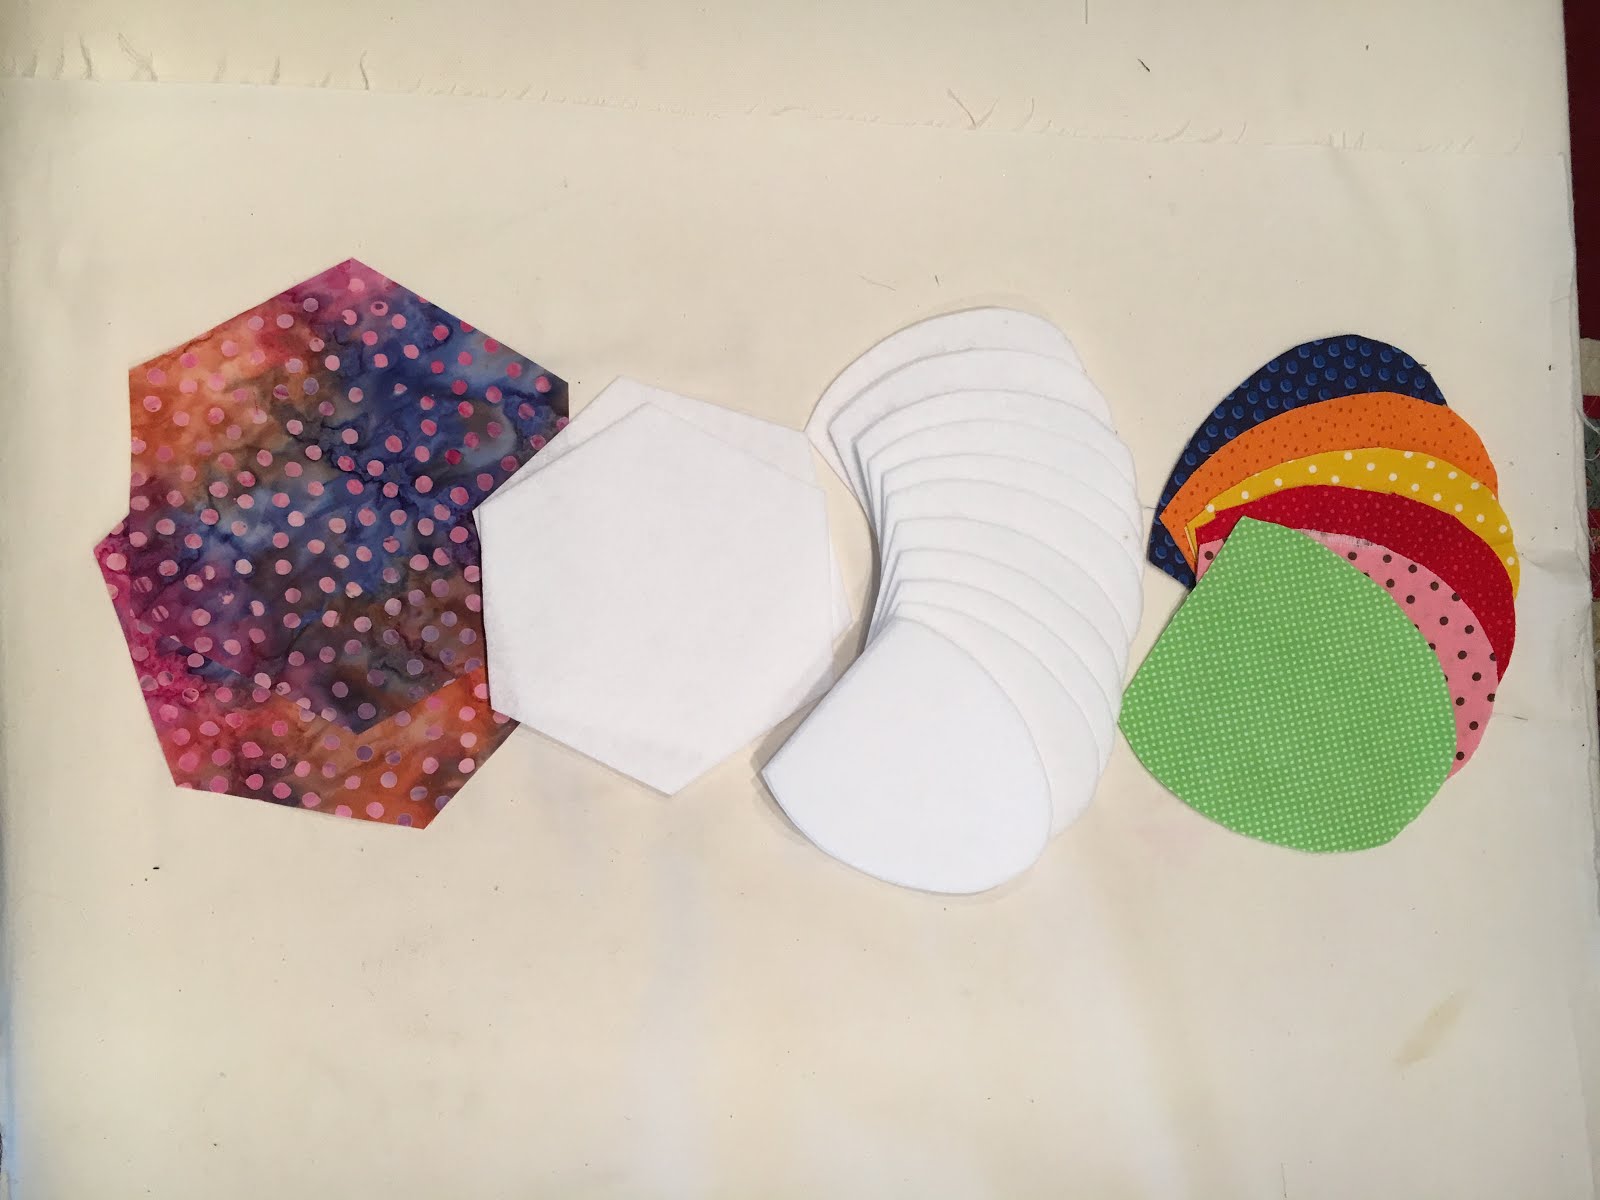
2. Make Template 20 from Contain It! and cut the following pieces. As always, be sure to label everything!
- 2 Stabilizer Pieces
- 2 Fabric Pieces
3. Using Template 136 that you printed, create your template and cut the following pieces. Remember to use the 1″ square printed on the Template to ensure it printed correctly.
- 12 Stabilizer Pieces; Trim ~1/16″ off the bottom straight edge of the 6 Stabilizer Pieces that will be on the INSIDE of the bowl. The Outer Egg Side will be slightly larger than the Inner Egg Side. Be sure to label these pieces.
- 12 Fabric Pieces
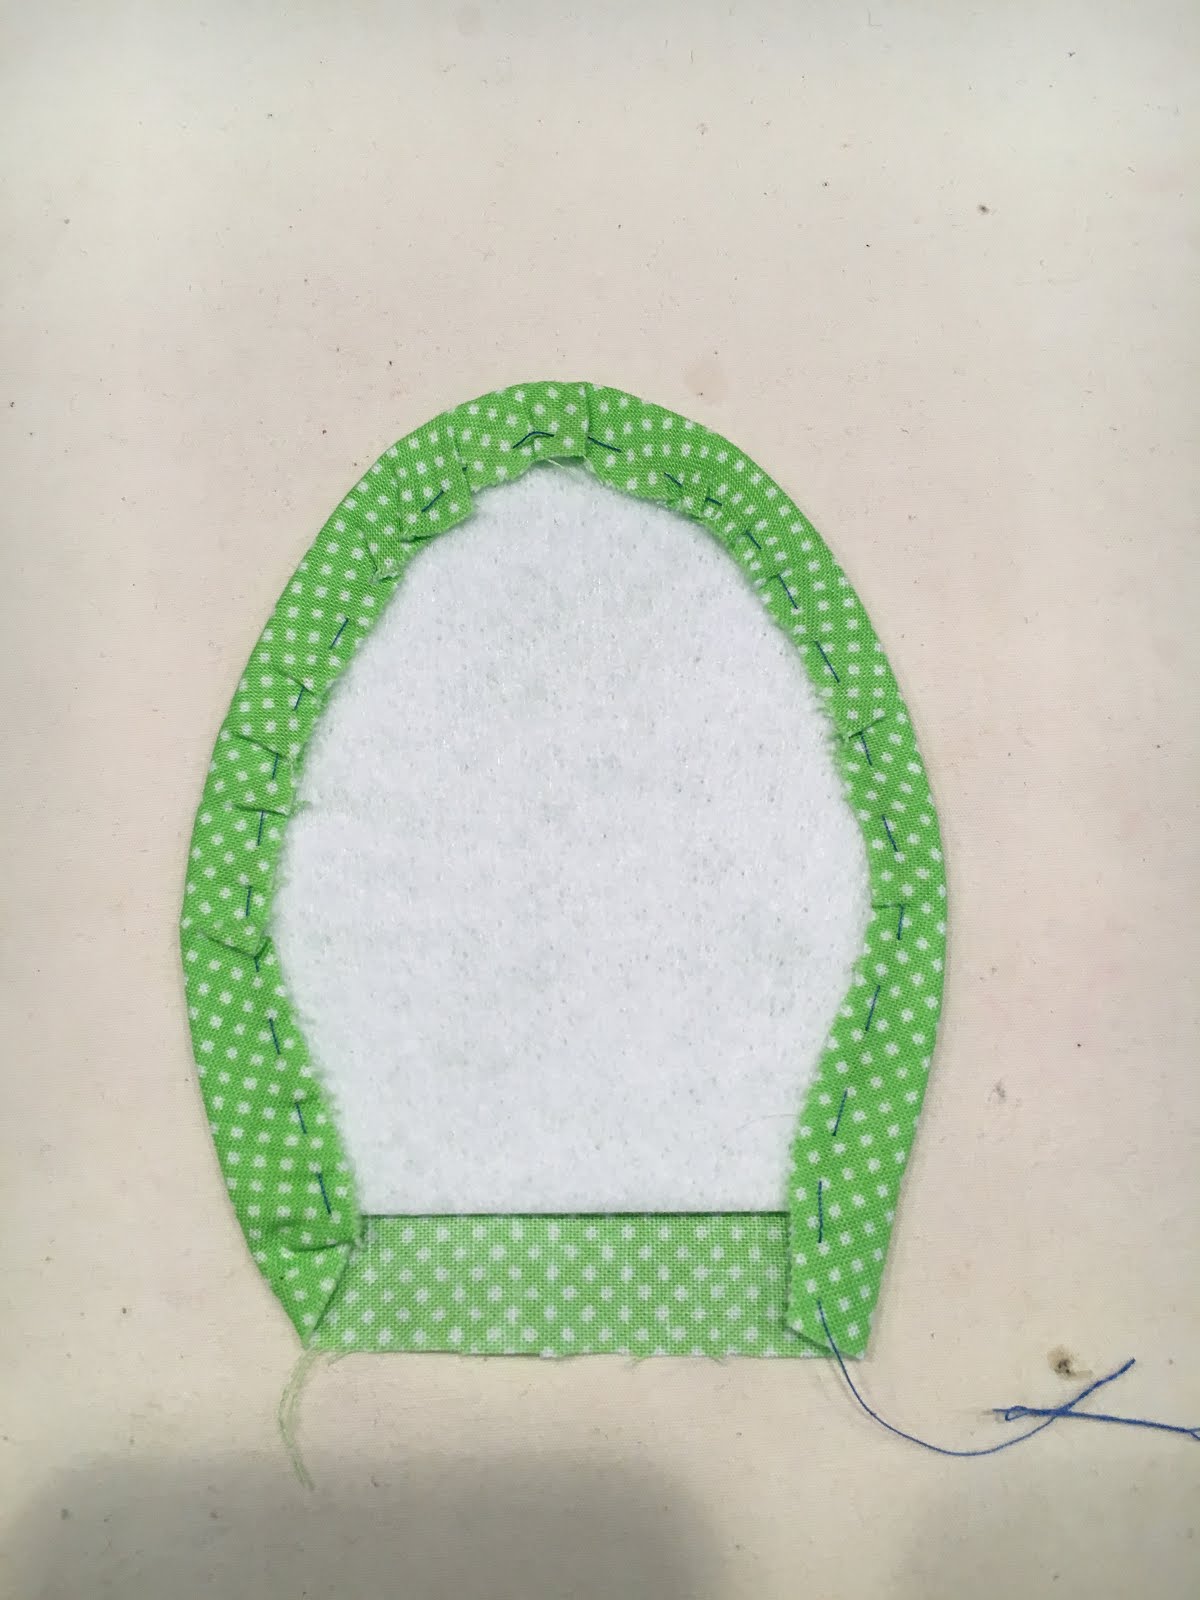
4. Adhere Fabric to Stabilizer as described in General Techniques.
- It may be easier to use a running stitch along the curved surfaces to draw the Fabric in around the Stabilizer piece before adhering to the 1/4″ Steam-a-Seam double fusible tape.
- DO NOT FOLD THE FABRIC UP ALONG THE STRAIGHT, BOTTOM EDGE.
- Only the curved surfaces will wrap around the Stabilizer.
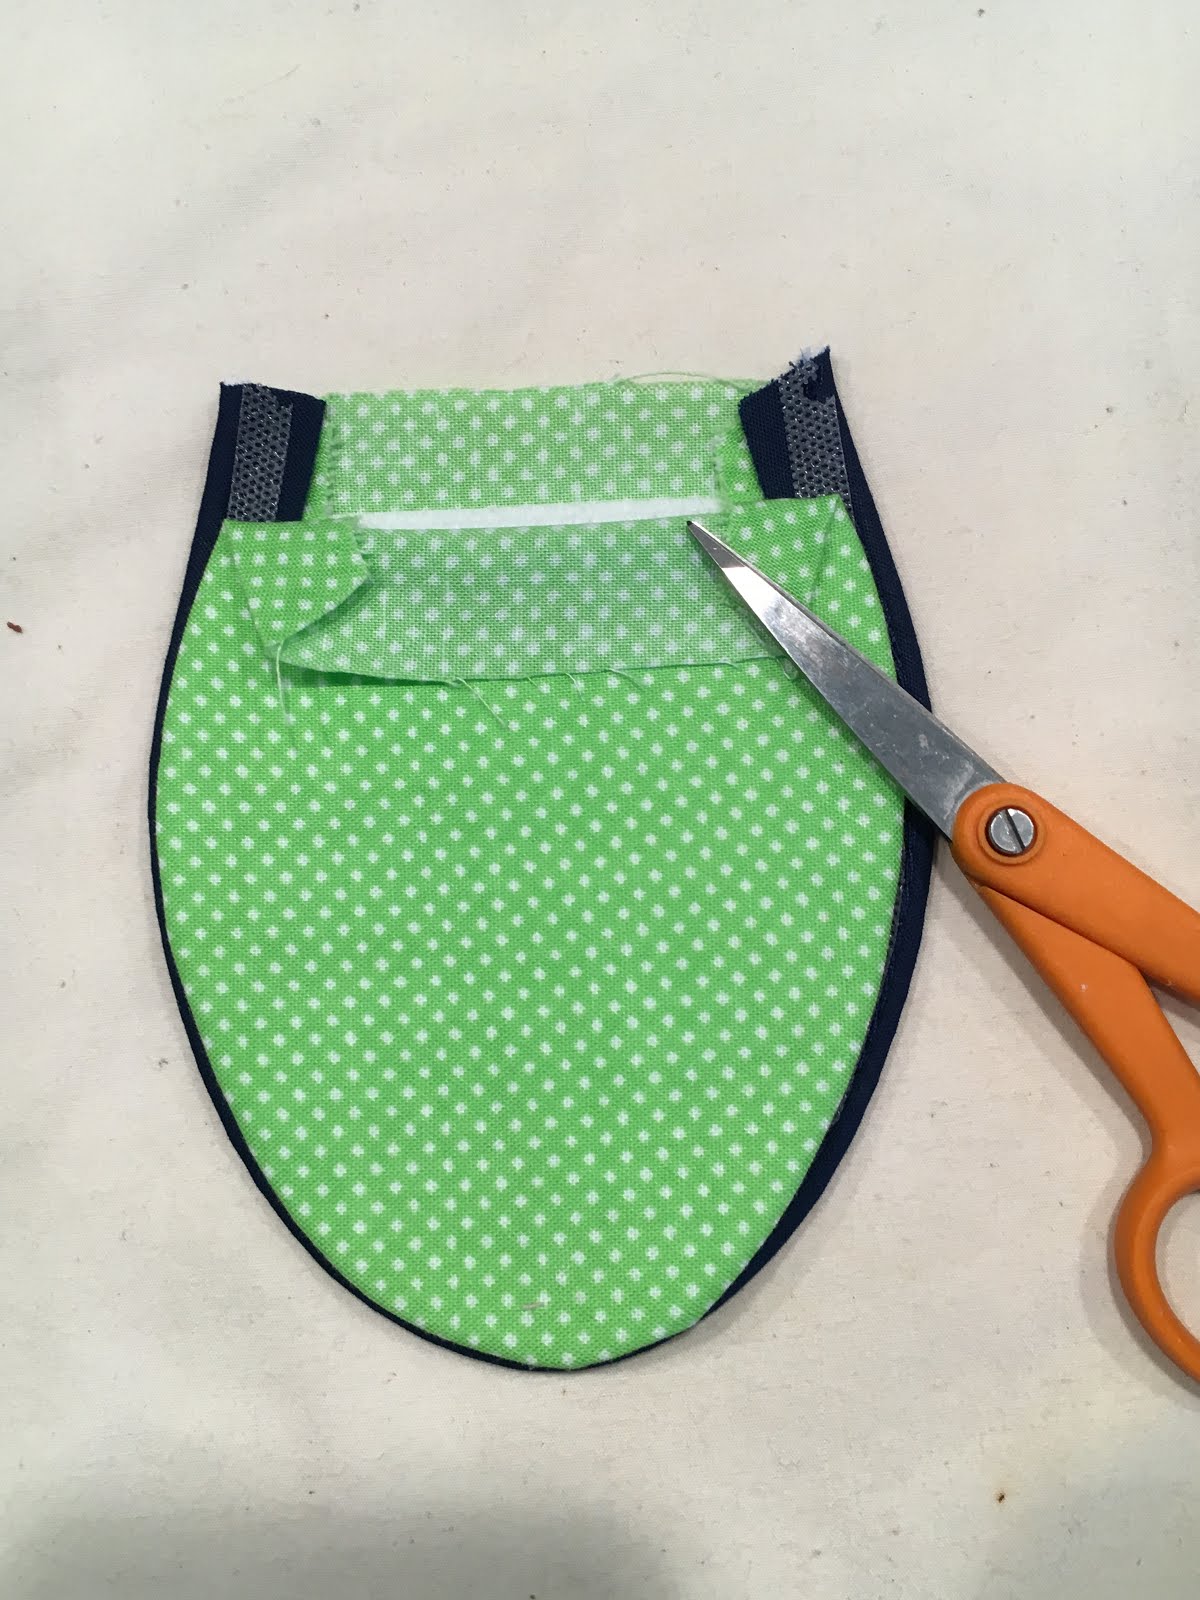
5. Stitch Egg Sides together.
- Place 1 Fabric covered Outer Egg Side wrong side up.
- Place double fusible tape around the outer CURVED edges of the Outer Egg Side.
- Place 1 Inner Fabric Side right side up on top of the Outer Egg Side, aligning the top and sides of the Outer Egg and Inner Egg Sides. Remember that the Outer Egg Side is slightly larger than the Inner Egg Side along the bottom straight edge.
- Fuse in place.
- Stitch close to the outer edge around ALL the entire egg shape OR continue to next step with stitching.
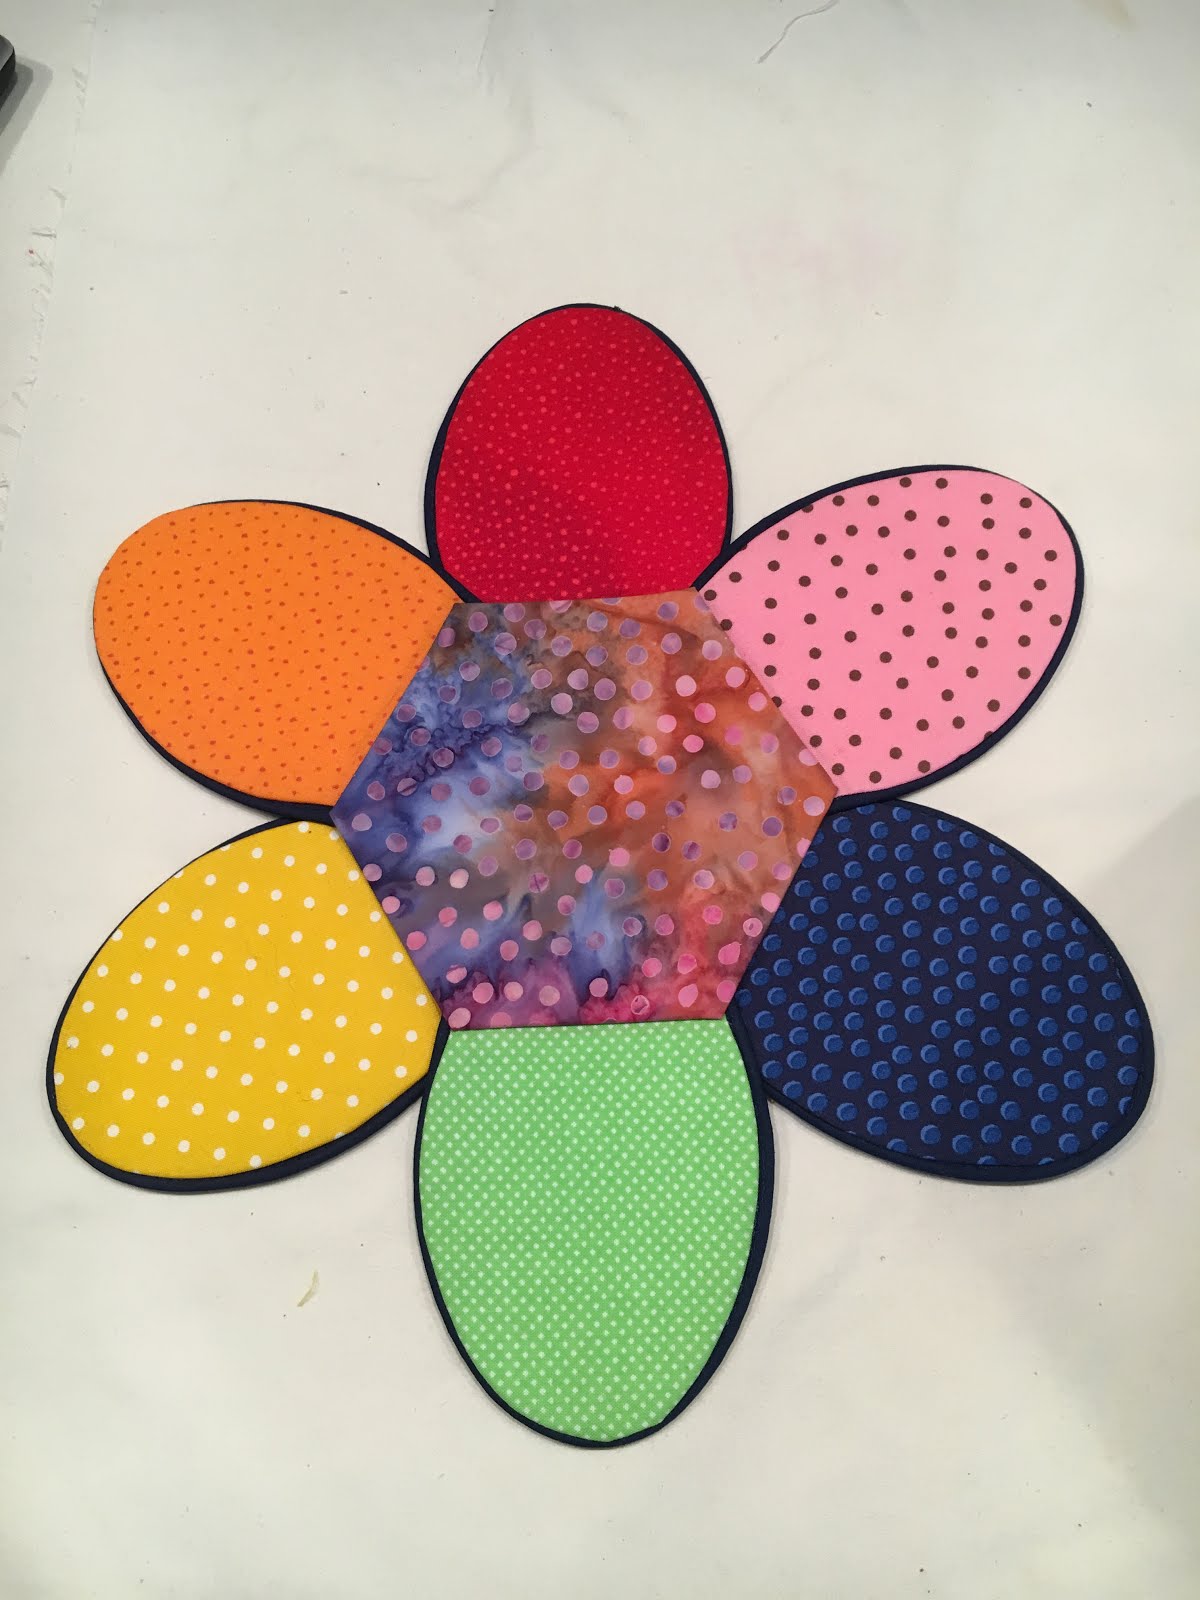
- Repeat for the other 5 sides to create 6 Fabric Covered Egg Sides (Fused Outer and Inner Egg Sides).
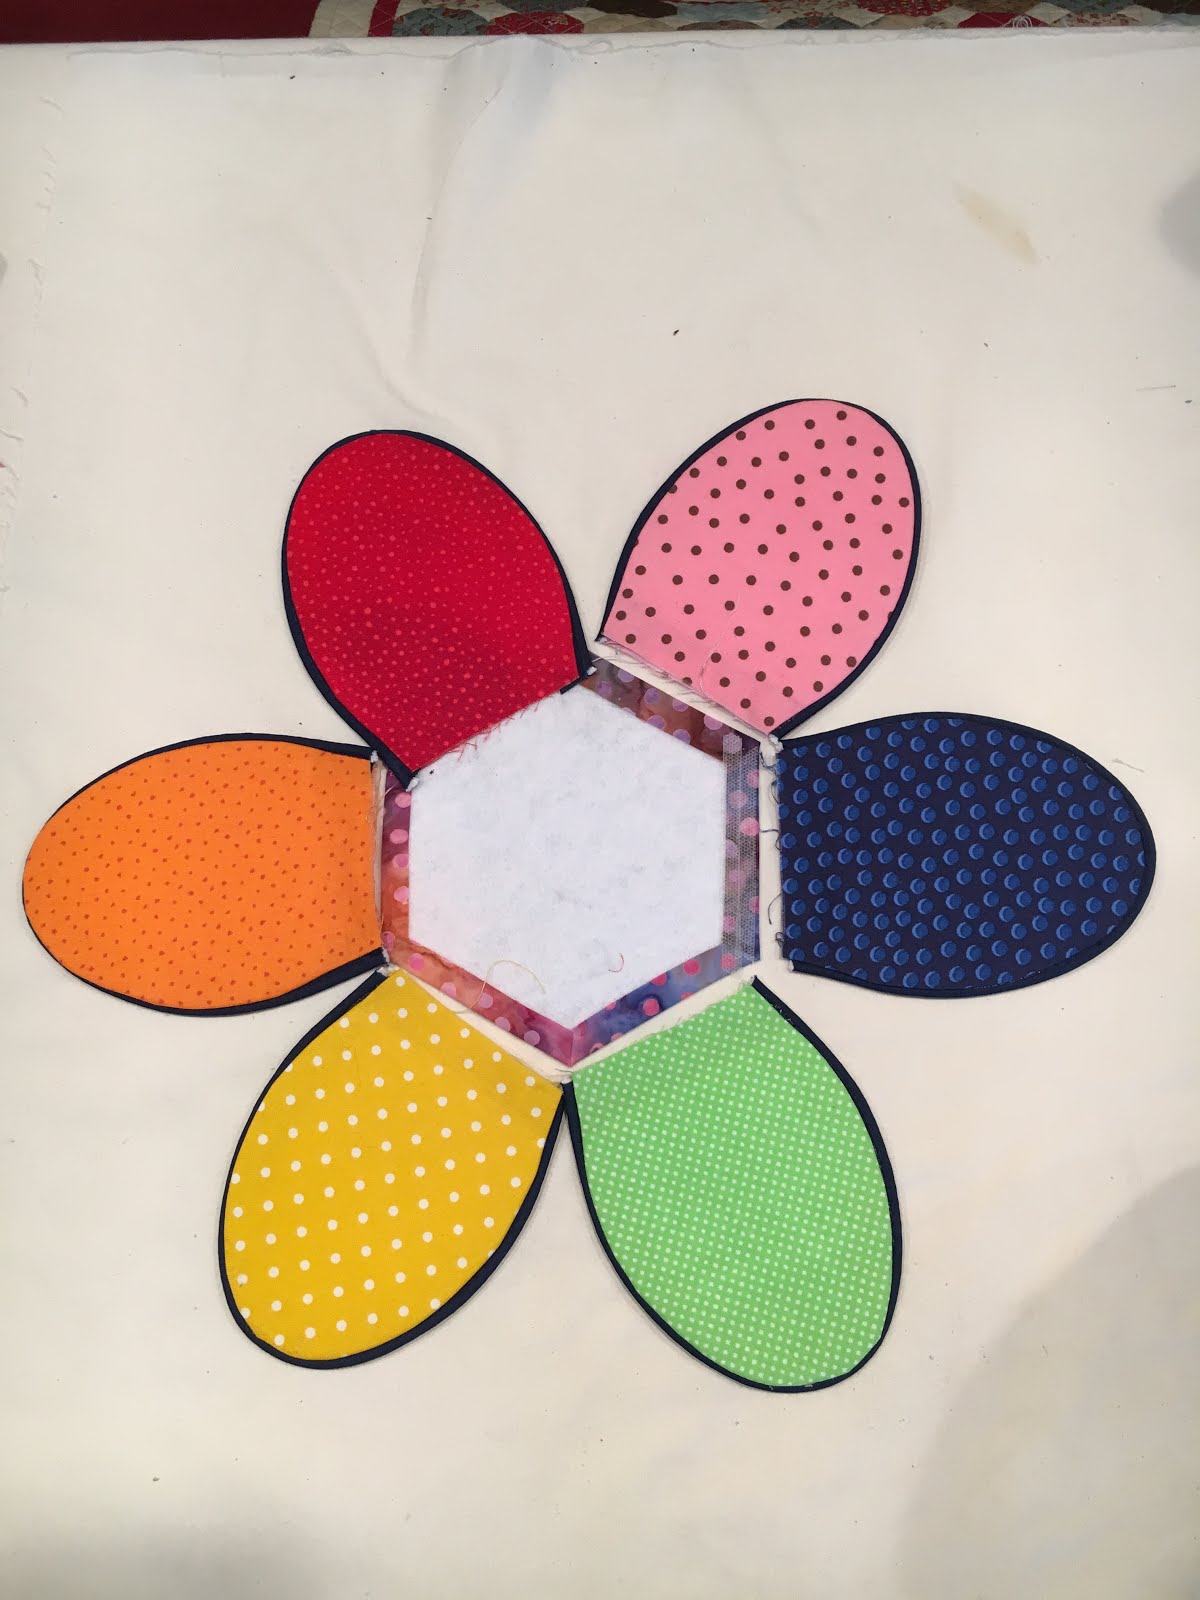
6. Attach the Hexagonal Base.
- Take 1 Hexagonal Base and place it wrong side up.
- Adhere 6 Egg Sides to the Hexagonsl Base with double fusible tape as follows:
- Place double fusible tape on ONE of the six hexagonal edges (call this Side 1).
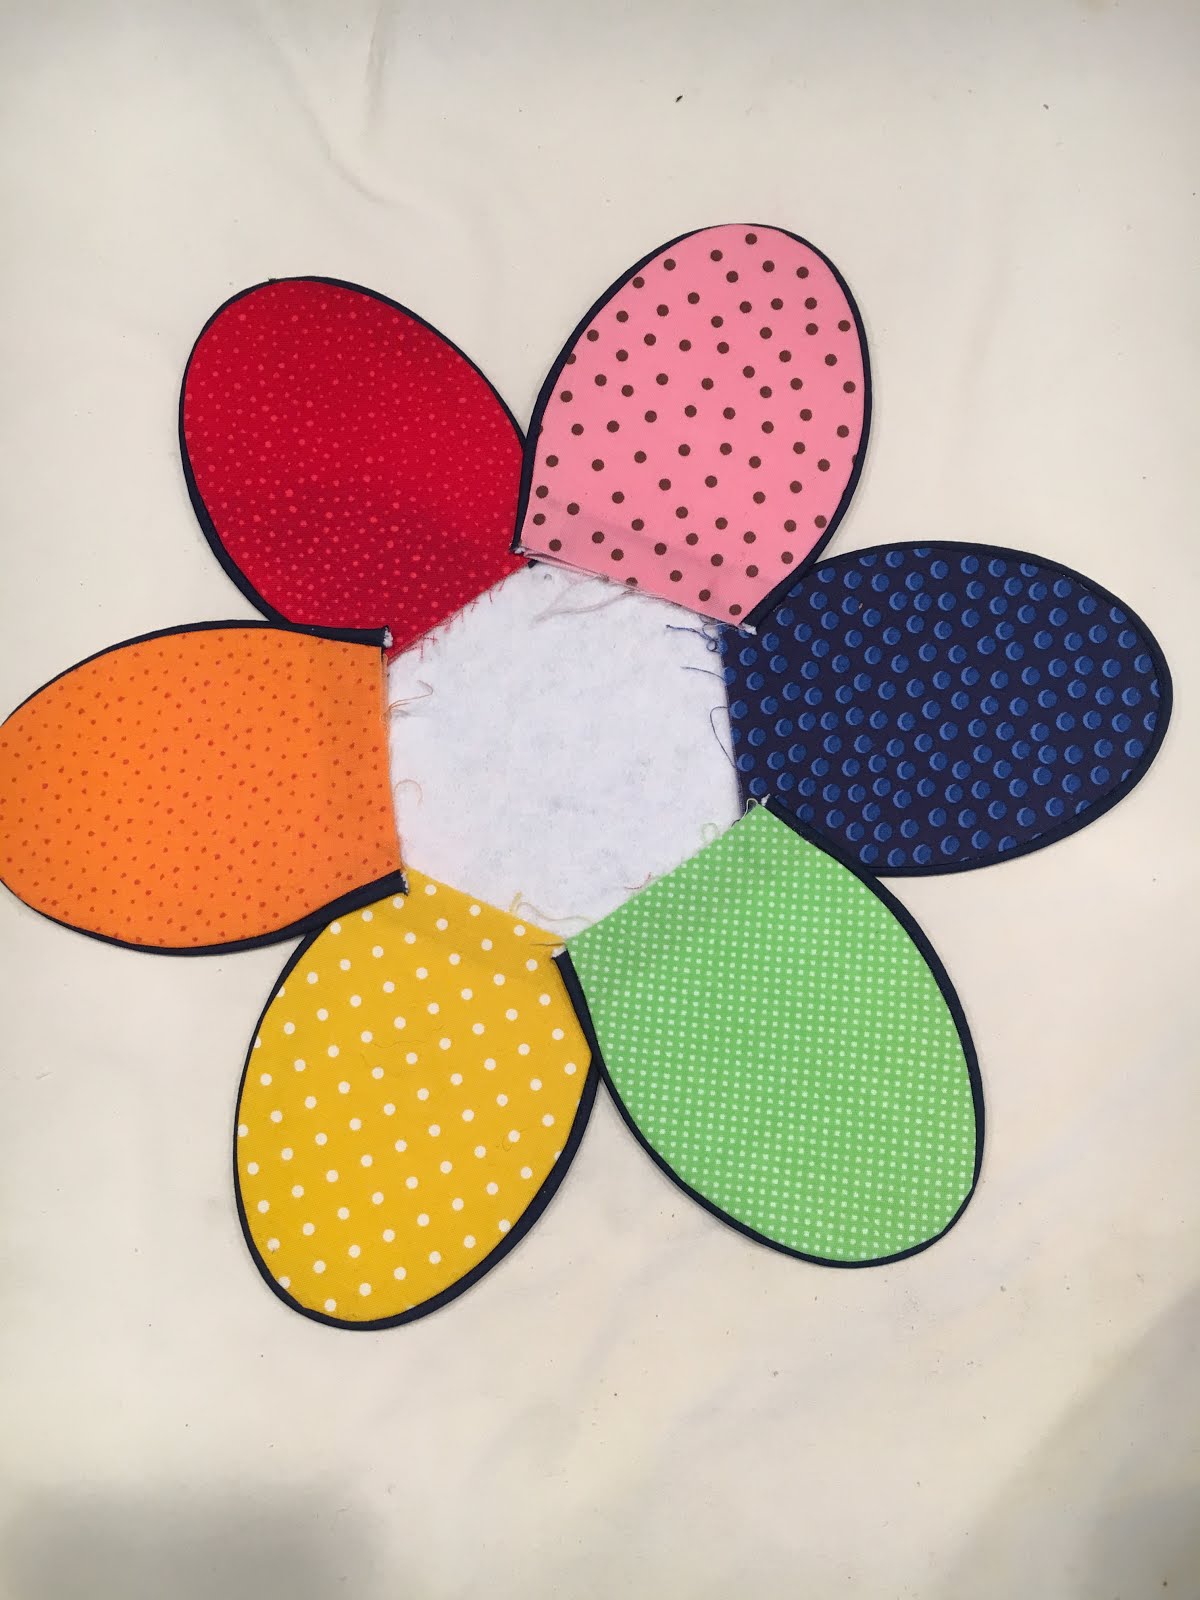
- Butt the straight edge of the Outer Egg Side against the Hexagonal Base edge, allowing the excess fabric on the bottom straight edge of the Fabric Egg Side to lay towards the inside of the hexagon. Iron in place.
- Place double fusible tape on Side 3 and adhere another Fabric Egg Outer Side.
- Continue this process, fusing Side 5, then Side 2, then Side 4, and finally Side 6. The even numbered sides will fall slight to the inside of the finished bowl.
- Place double fusible tape along the inside edges of the second Hexagonal Base.
- Lay the second Hexagonal Base on top of the structure above structure, wrong sides together. Be sure to align the two Hexagonal Bases.
- Fuse in place.
- To reinforce the integrity of the finished bowl, stitch around the Hexagonal Base edge forming the inner base of the bowl.
7. Form the sides of the bowl.
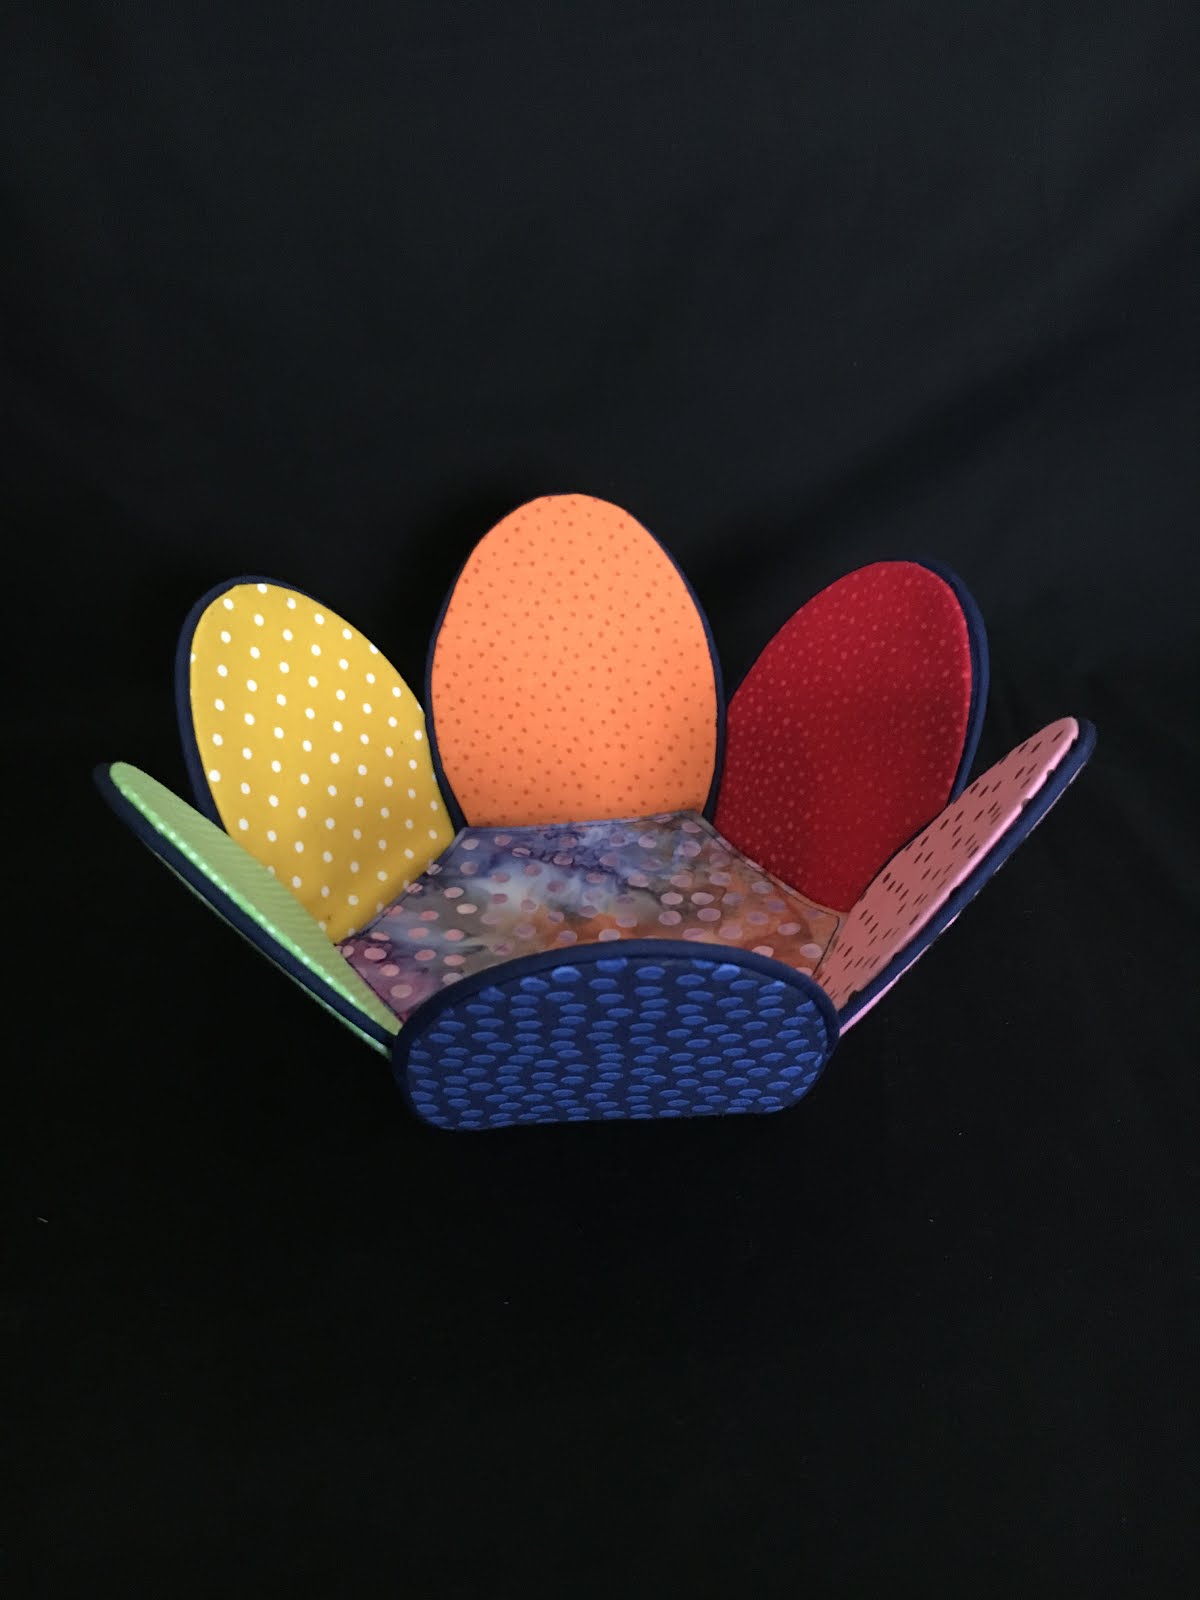
- To form the sides of the bowl, bring two sides up and tack the two sides together at the outer edges. Placement of this tack is your preference.
- Add a decorative element, like a button, at the point of attachment.
- Repeat until all the sides have been tacked at the same location along the Egg Sides.
8. Enjoy your completed bowl!


Leave a Reply