Written by Linda Chaney, mother and Laura Chaney, daughter

To make this Pumpkin with Piping you’ll need a copy of our book, Contain It! English Paper-Pieced Style Accessories.
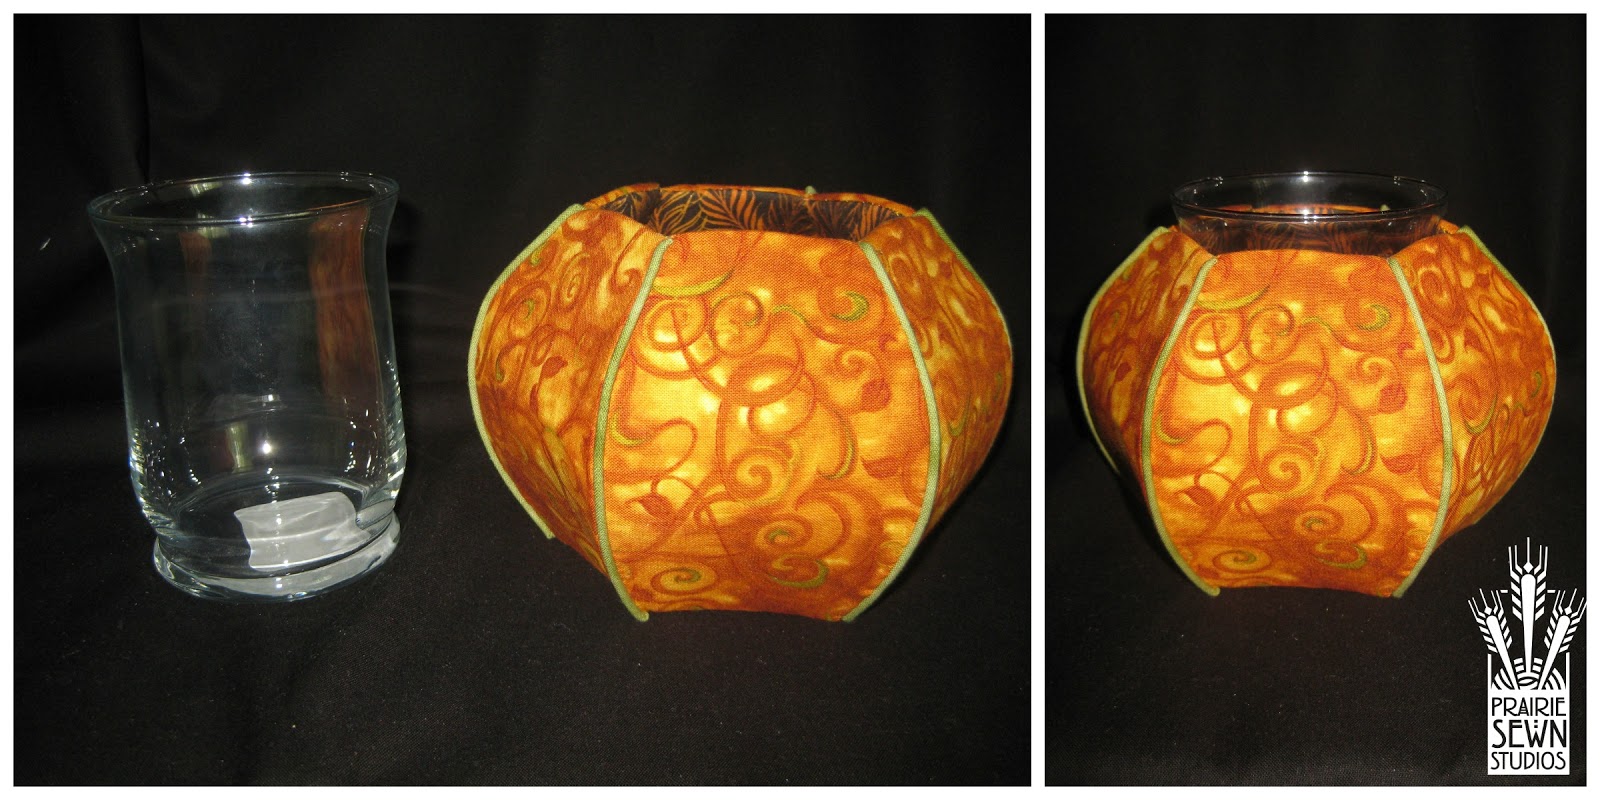
This particular post explains how to attach piping to a container, specifically the small convex scalloped top vase with hexagonal base. Remember that these directions could apply to any pattern within the book for attaching piping to an edge. Please refer to pages 60-63 in Contain It! for instructions on making this convex vase. Use orange fabric with green piping to create the pumpkin look!
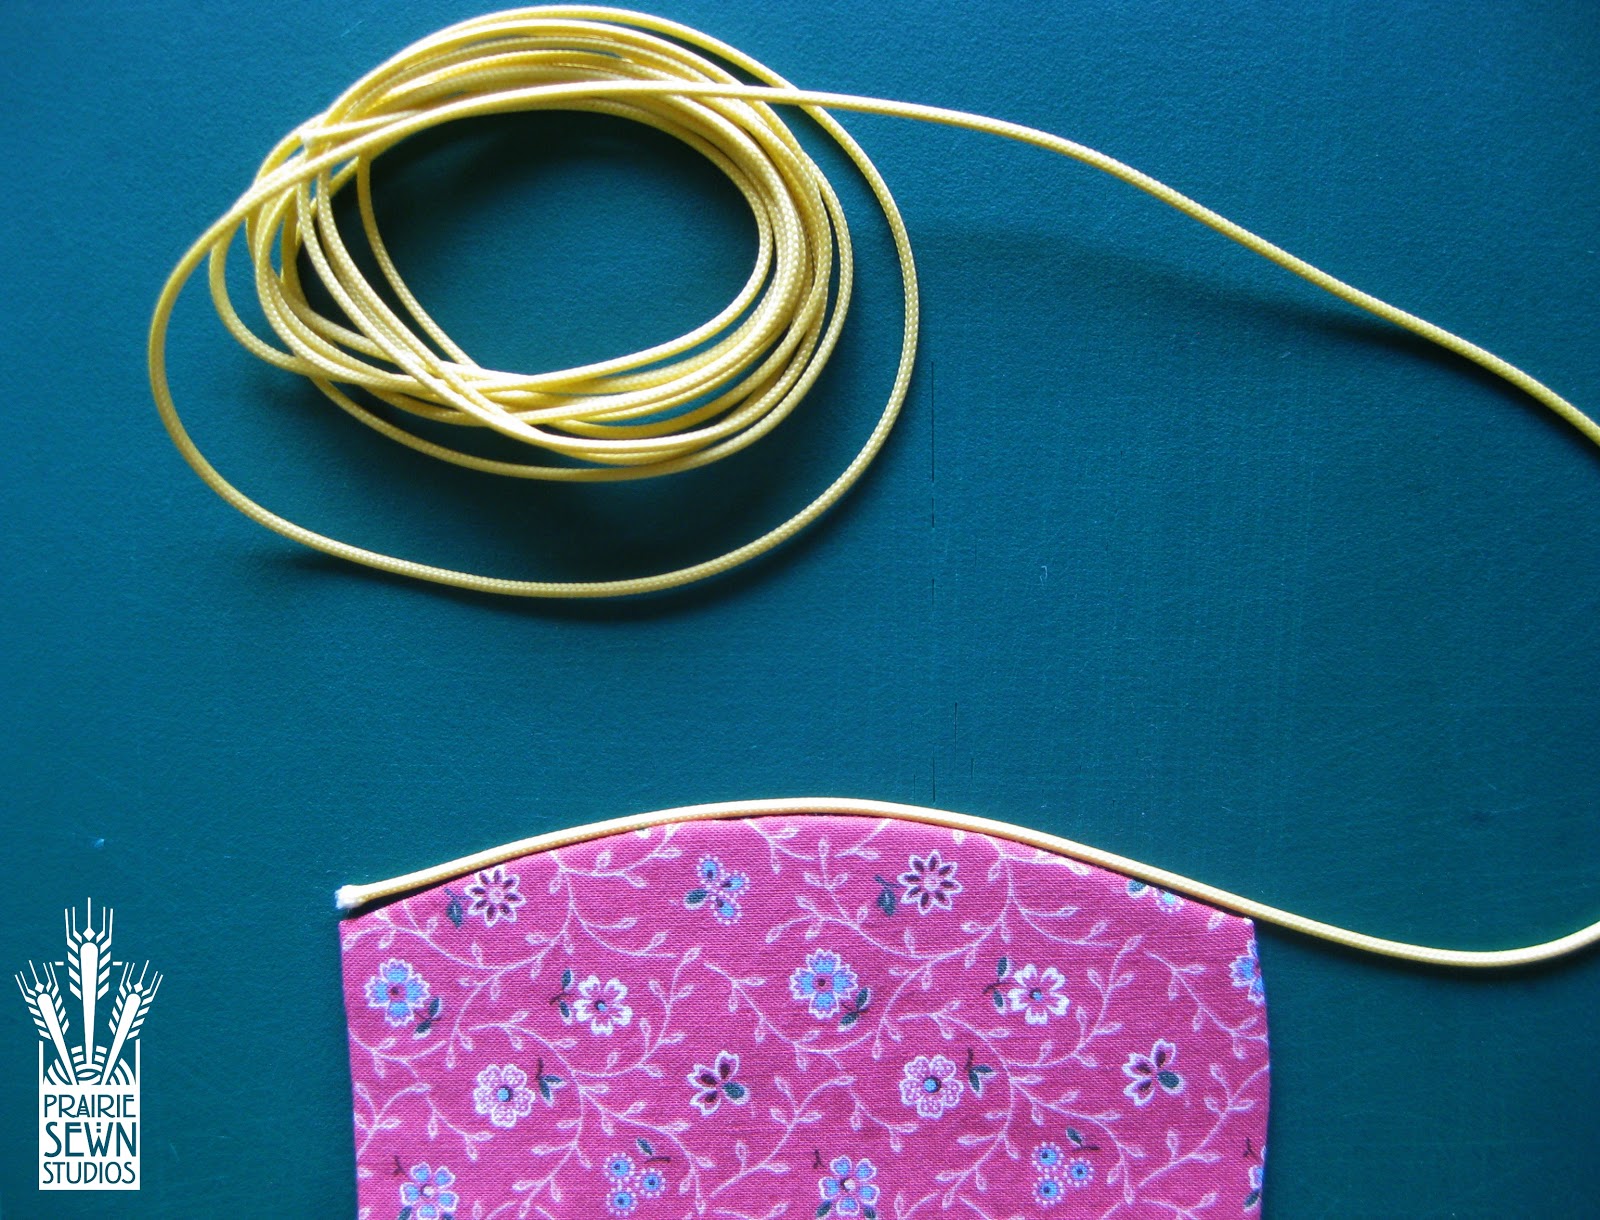
Various materials can be used for creating the piping, including purchased piping. We usually prefer to make our piping using venetian cord as the inner material. It is thin, flexible and washable.
Supplies needed:
- Contain It! English Paper Pieced-Accessories
- 2 fat quarters of fabric (18″ x 22″)
- Stabilizer (Peltex, Timtex or Buckram) measuring 20″ x 25″
- 1/4″ Fusible Tape (we like Steam-a-Seam 2)
- Iron with Steam
- Coordinating thread
- Basic sewing supplies (needle, scissors, thimble, wonderclips or pins etc)
- 1 yard Cording
- Fabric to cover cording
Directions:
2. Make your templates and cut the following pieces. As always, be sure to label everything! Follow the directions in the book to fuse the fabric to the stabilizer with double sided fusible tape.
Template 46 – Inner Side – Cut 6 stabilizer pieces
Cut 6 fabric pieces
Template 47 – Outer Side – Cut 6 stabilizer pieces
Cut 6 fabric pieces
Template 52 – Inner Base (Hexagon) – Cut 1 stabilizer piece
Cut 1 fabric piece
Template 53 – Outer Base (Hexagon) – Cut 1 stabilizer piece
Cut 1 fabric piece
3. Use the fused Outer Side as the measuring tool. Cut a piece of cording the length of the side. 6 strips will be needed, one for each Outer Side.
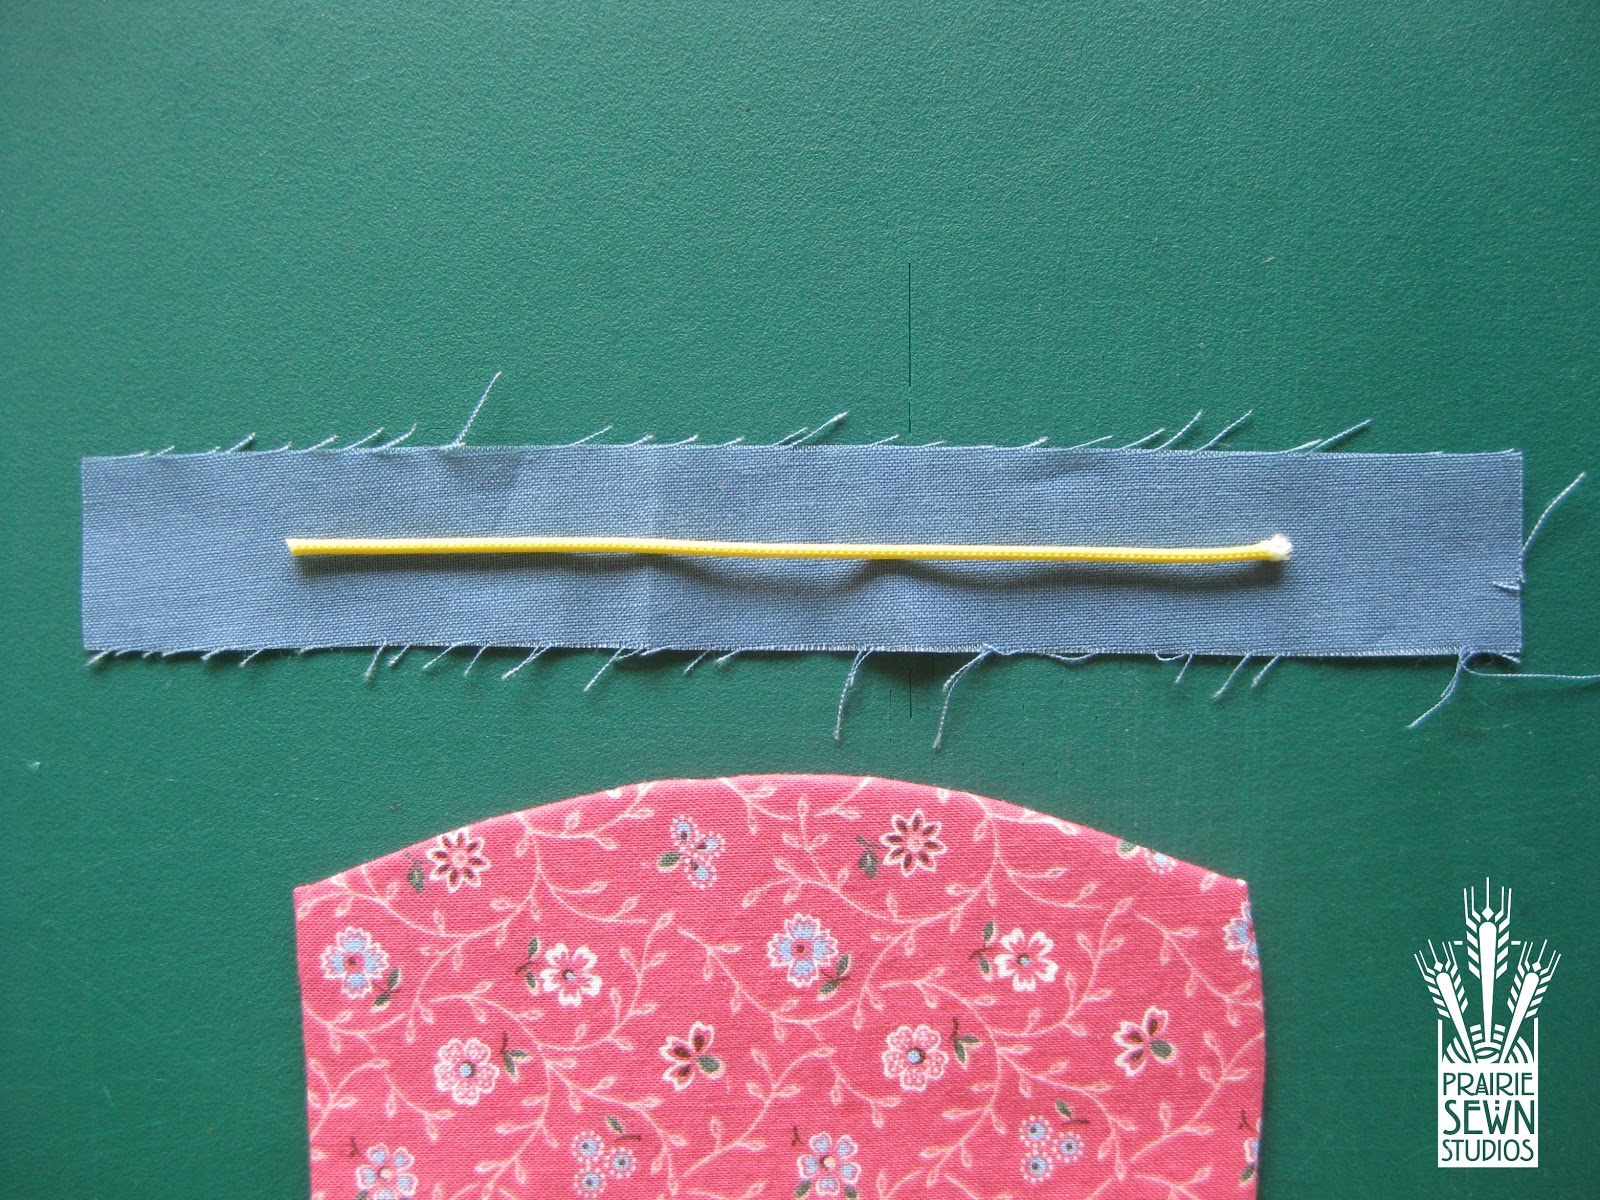
4. Cut 6 strips of cording fabric (the cloth you decide to use to cover the cording) 2 inches longer than the piece of measured cording by 1 inch wide.
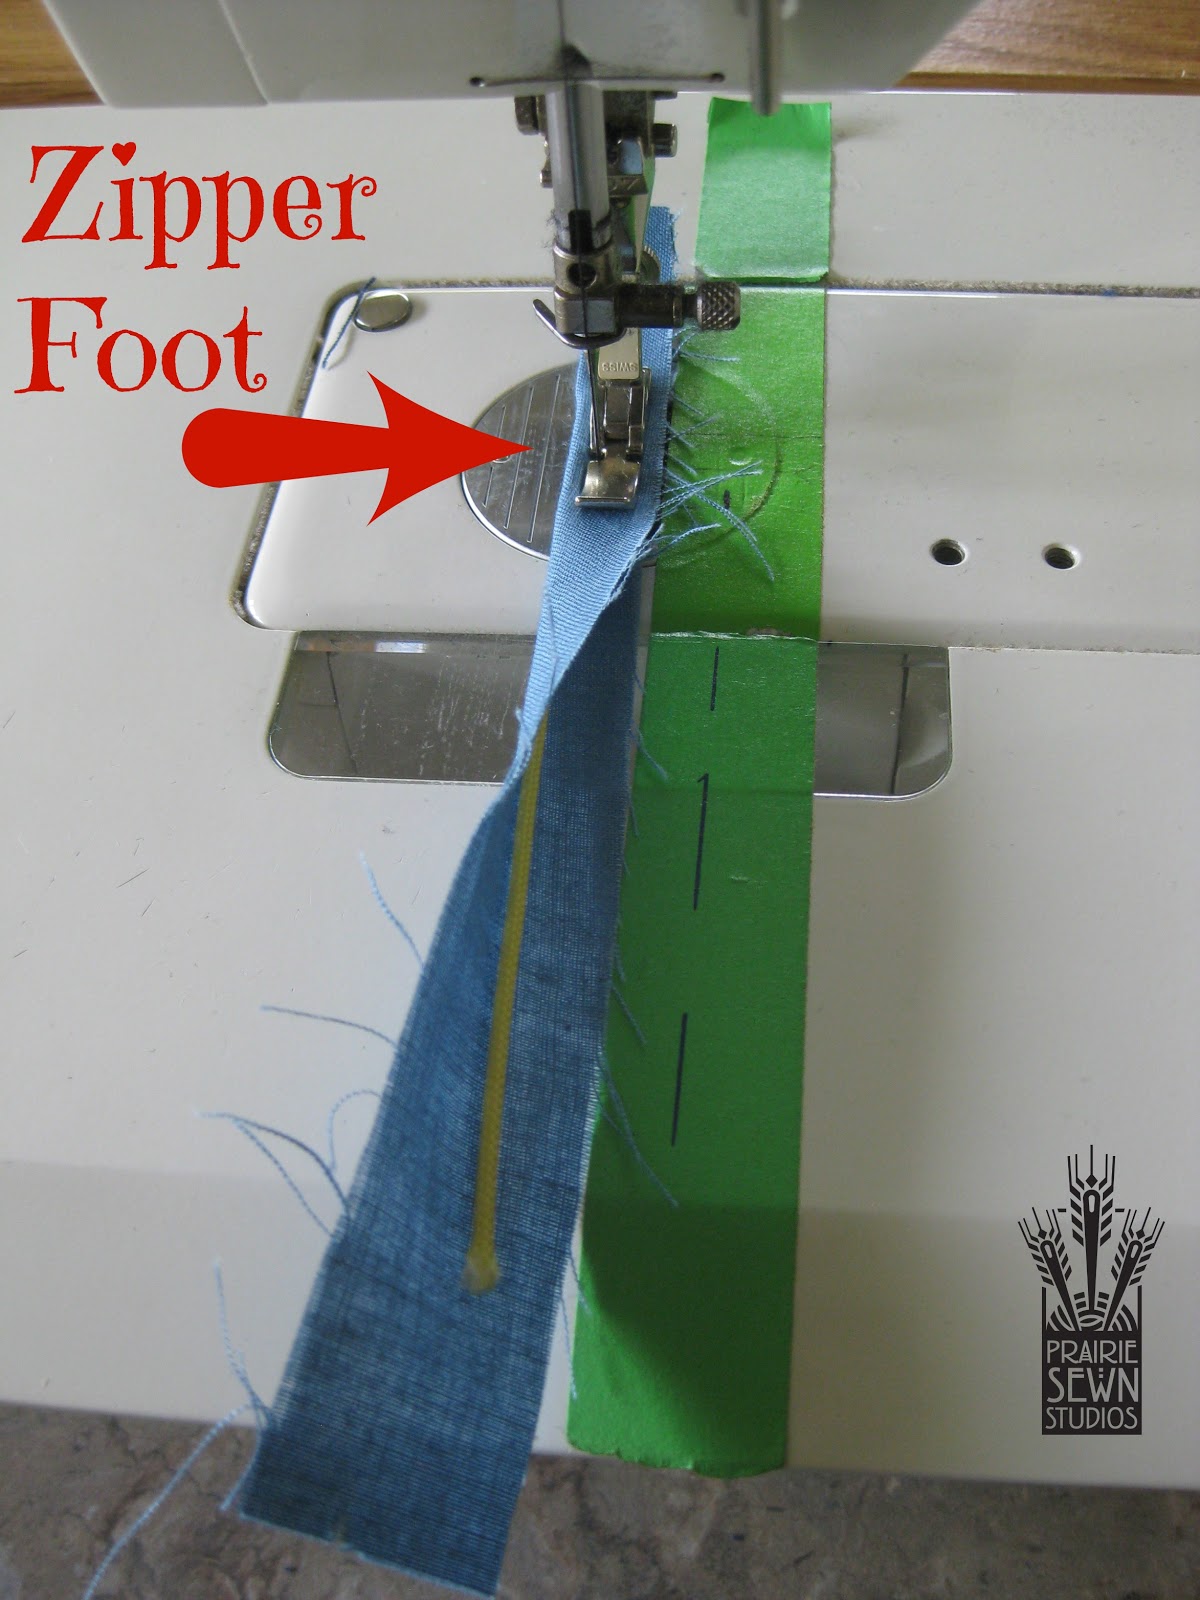
5. Center the cording in the middle of the fabric, leaving 1 inch of fabric at each end. Fold the fabric over the cording, matching edges. Sew along the center of the fabric next to the encased cording using a zipper foot. Try to sew as closely as possible to the encased cording. This is your piping.
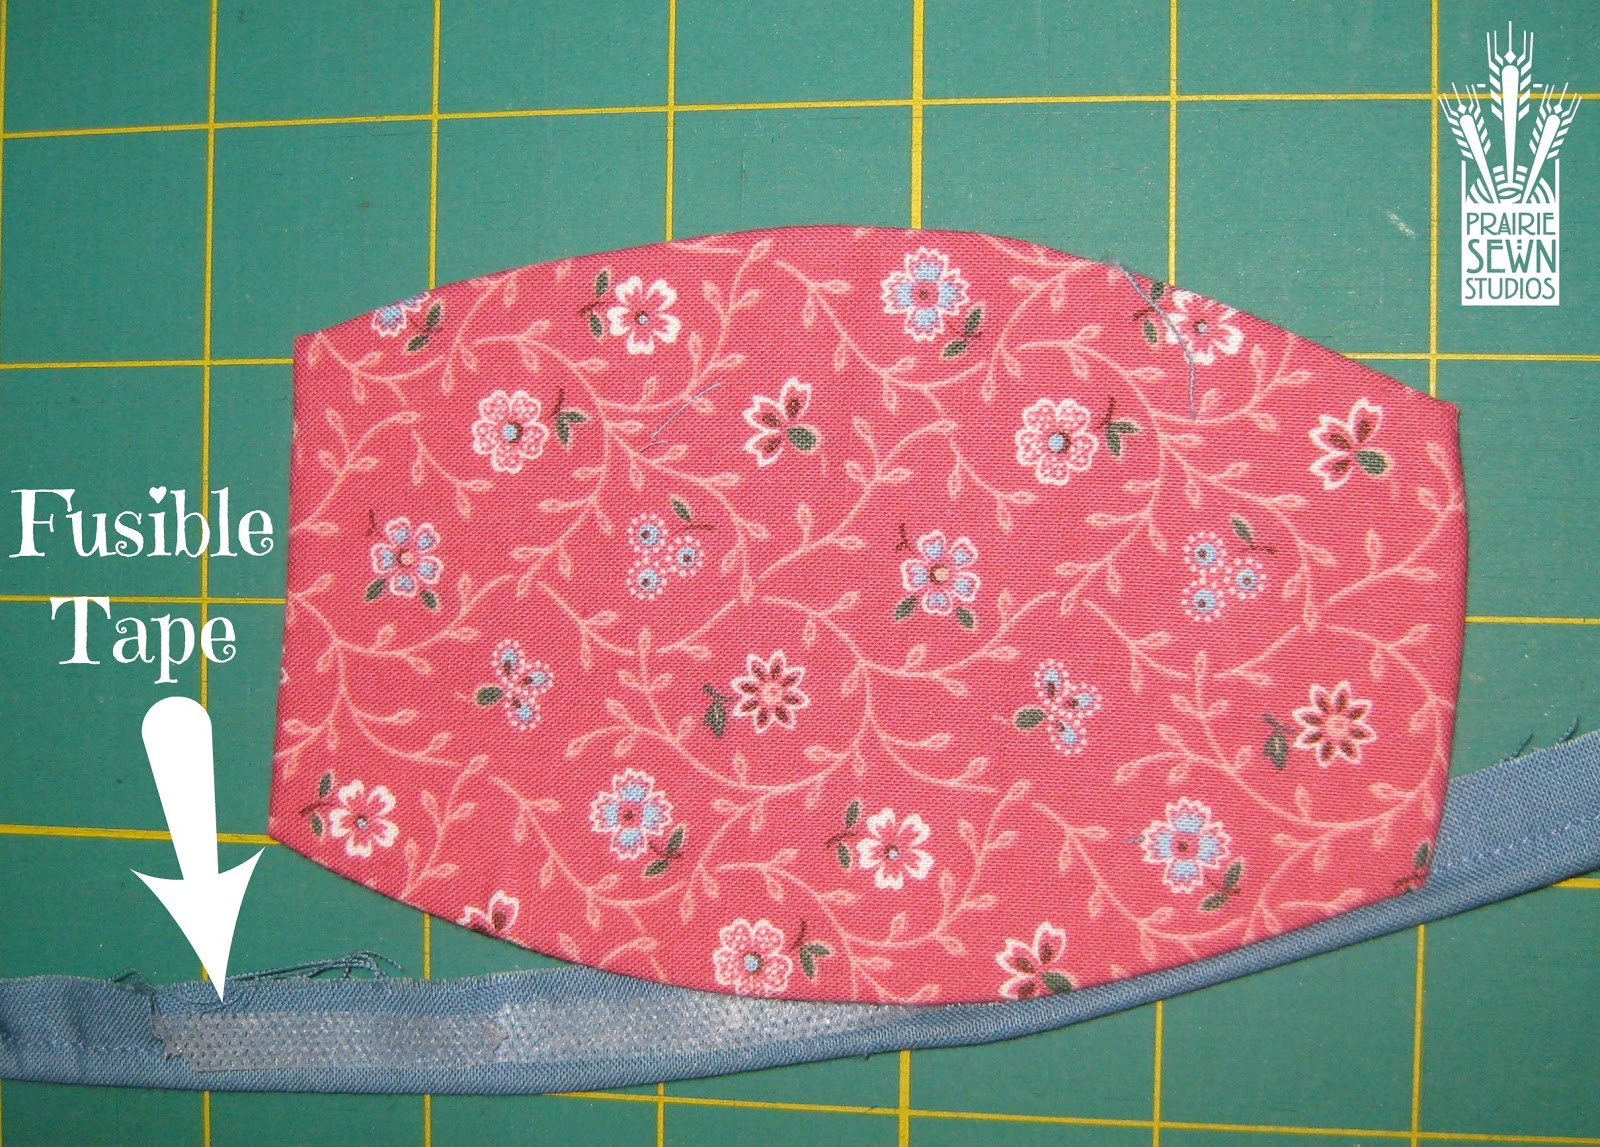
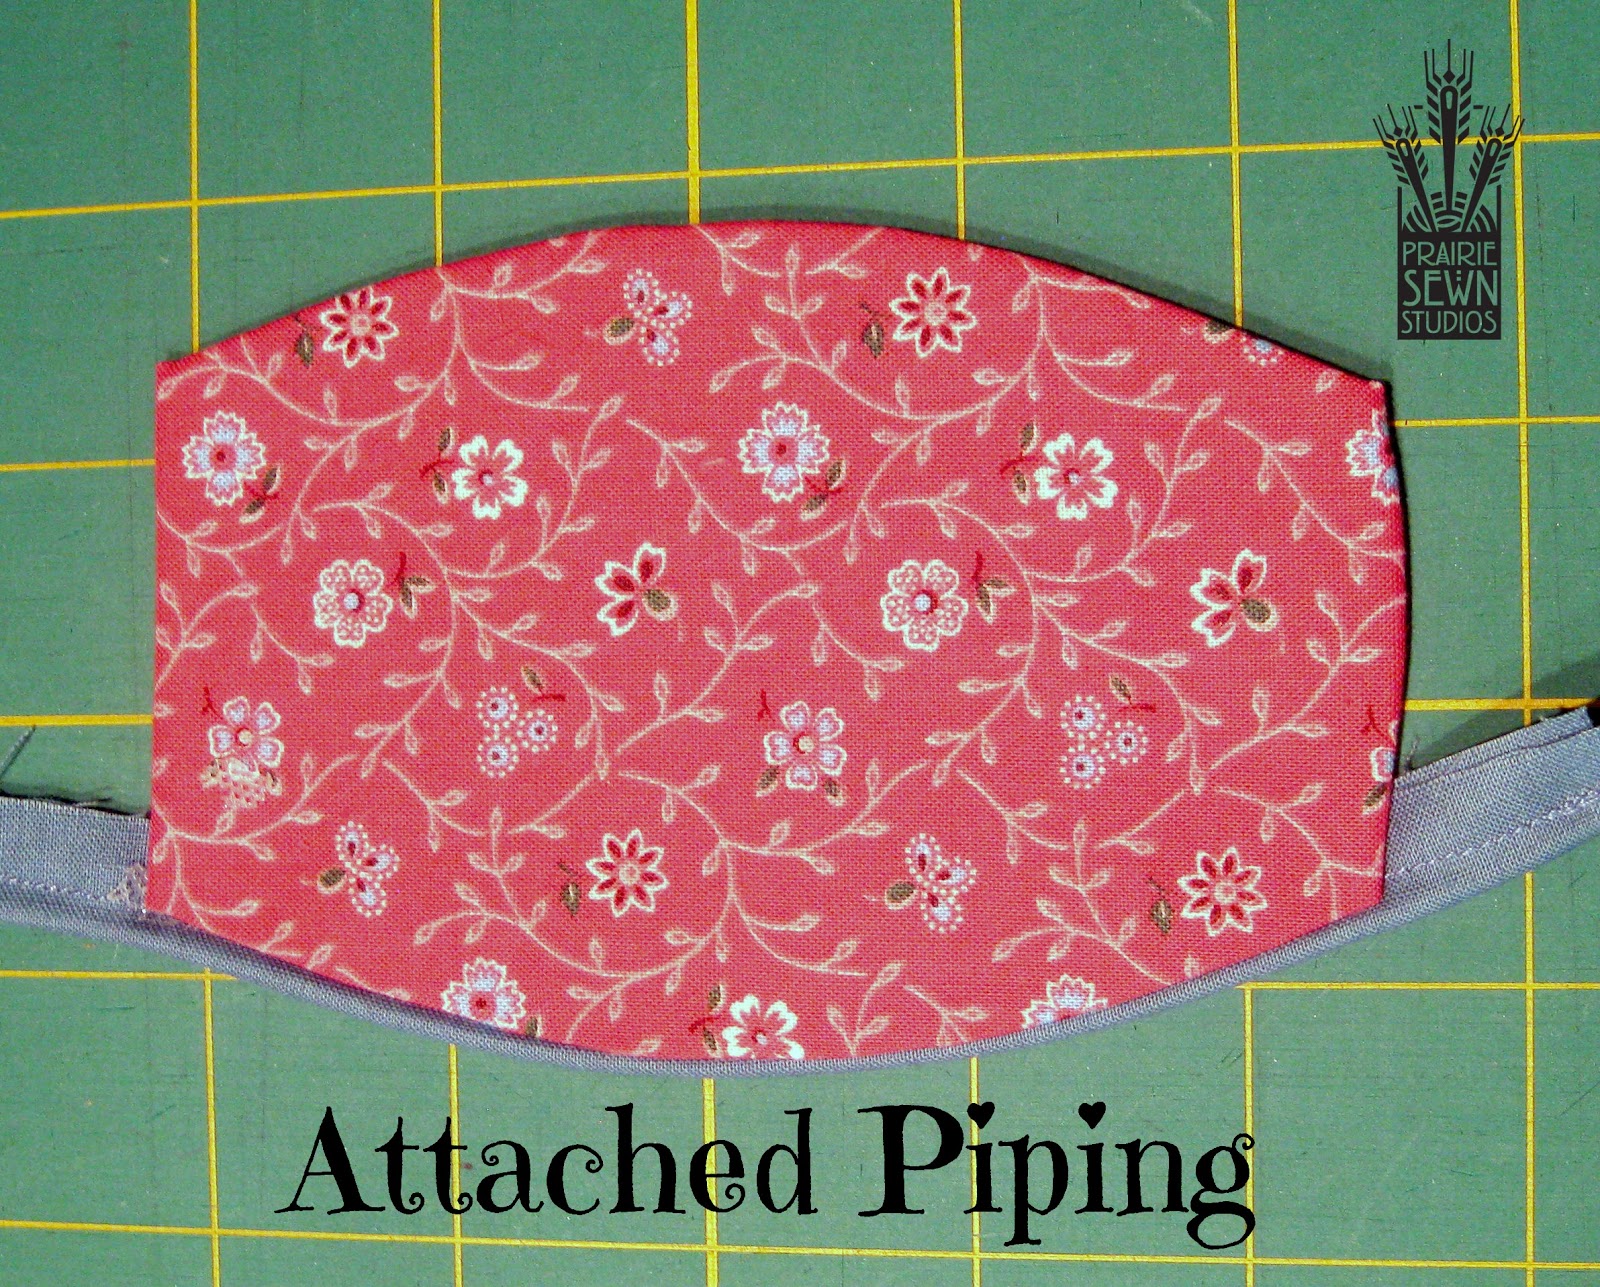
6. Lay a strip of 1/4″ double fusible tape along the stitched edge of the piping, starting 1″ from the bottom of the piping and ending 1″ from the top of the piping. Place Outer Side, right side up, against piping edge with 1/4″ double fusible tape and fuse piping to Outer Side. This can be ironed in sections, rotating the curved edge against the piping from bottom to top.
The piping should lie along the edge of the Outer Side, with an inch of piping extending beyond each end of the Outer Side.
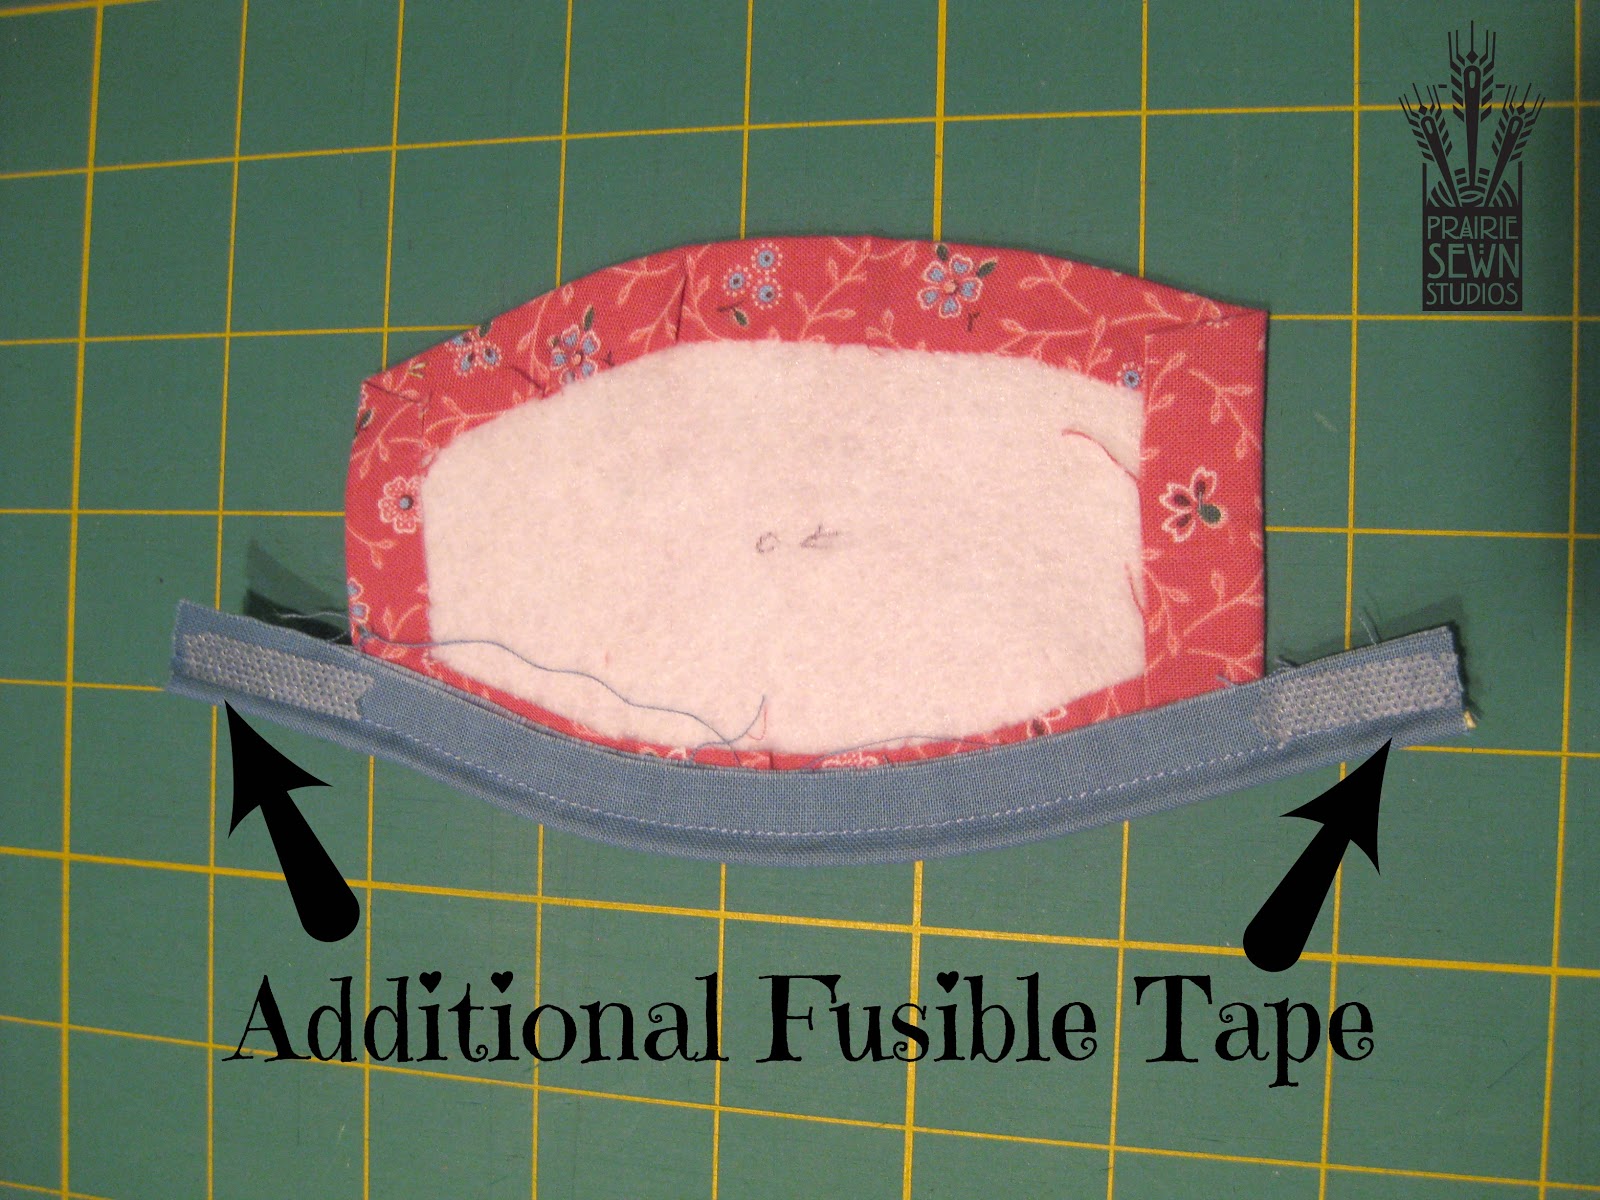
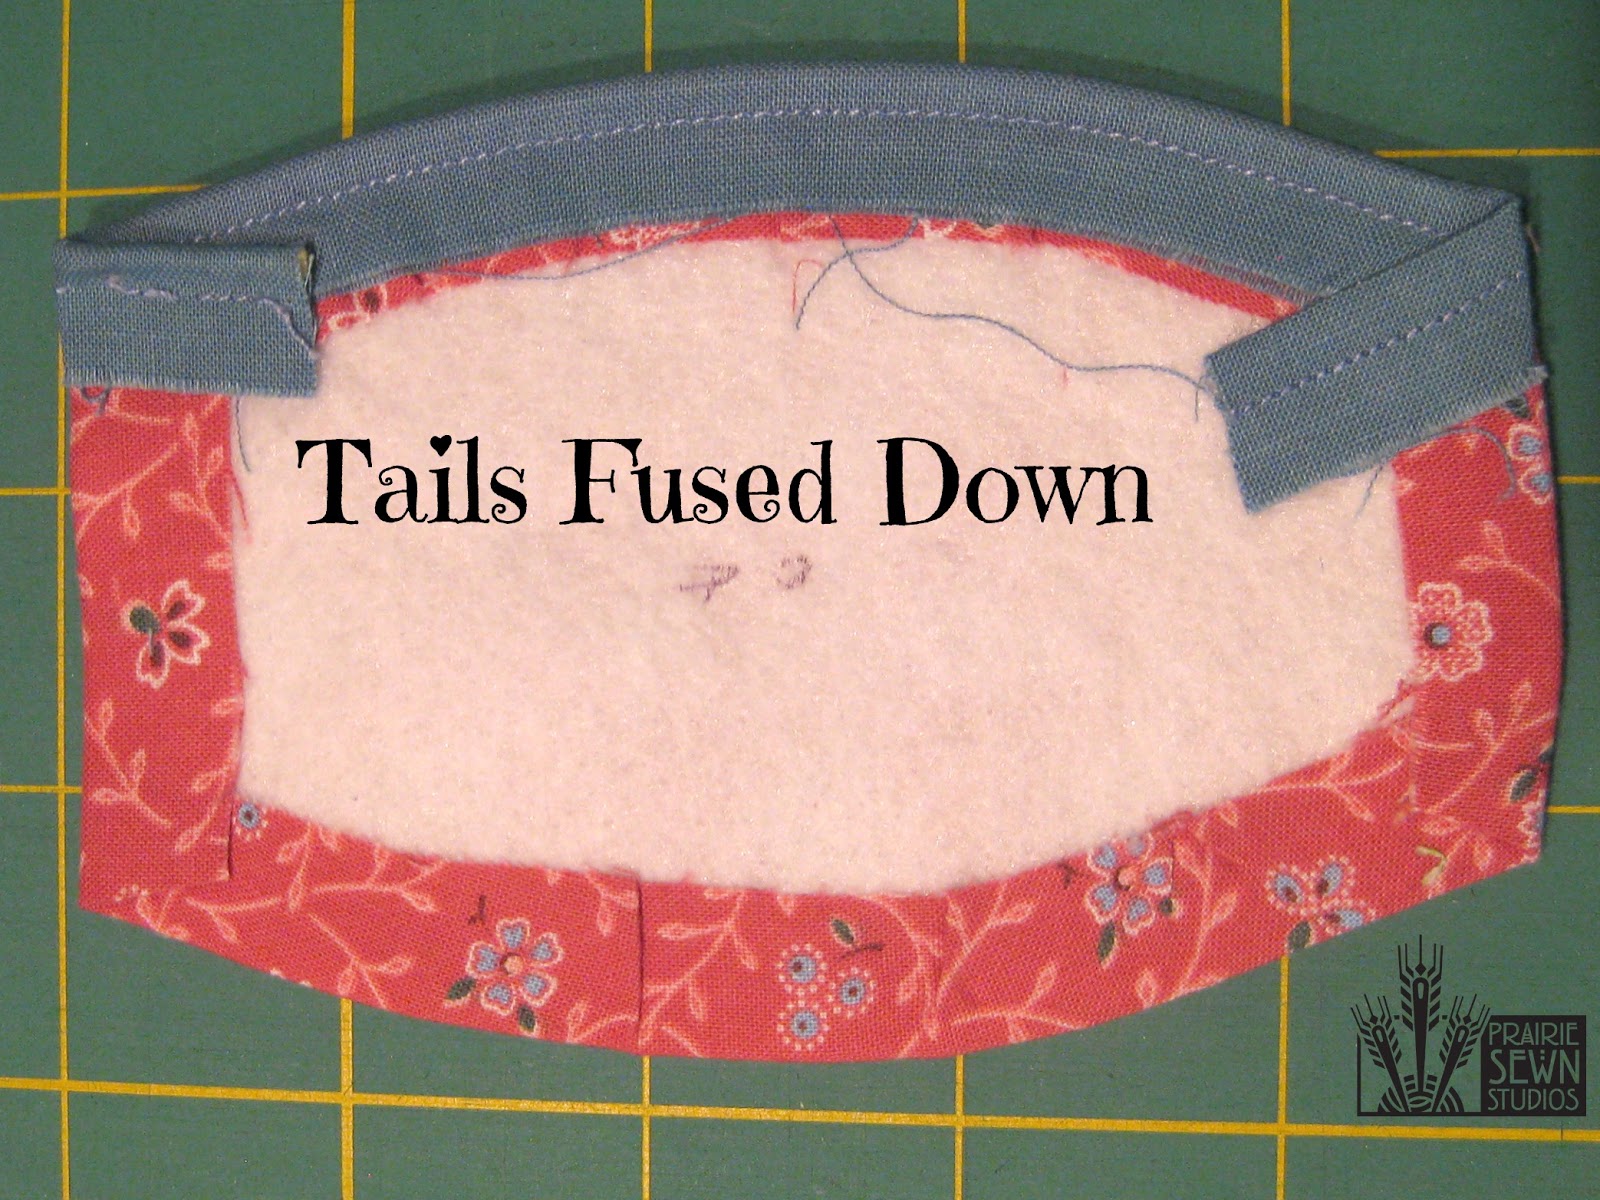
7. Place Outer Side with Piping wrong side up. Lay a piece of 1/4″ double fusible tape to each free end of piping. Fold extra piping over to the inside (wrong side) of Outer Side and fuse in place. The cording itself should be along the edge of the Outer Side and will not slip out of place when the excess piping is folded to the inside. NOTE: If using purchased piping, try to remove extra cording at each end to eliminate excess bulk.
The tails of the fused piping should be on the wrong side of the Outer Side.
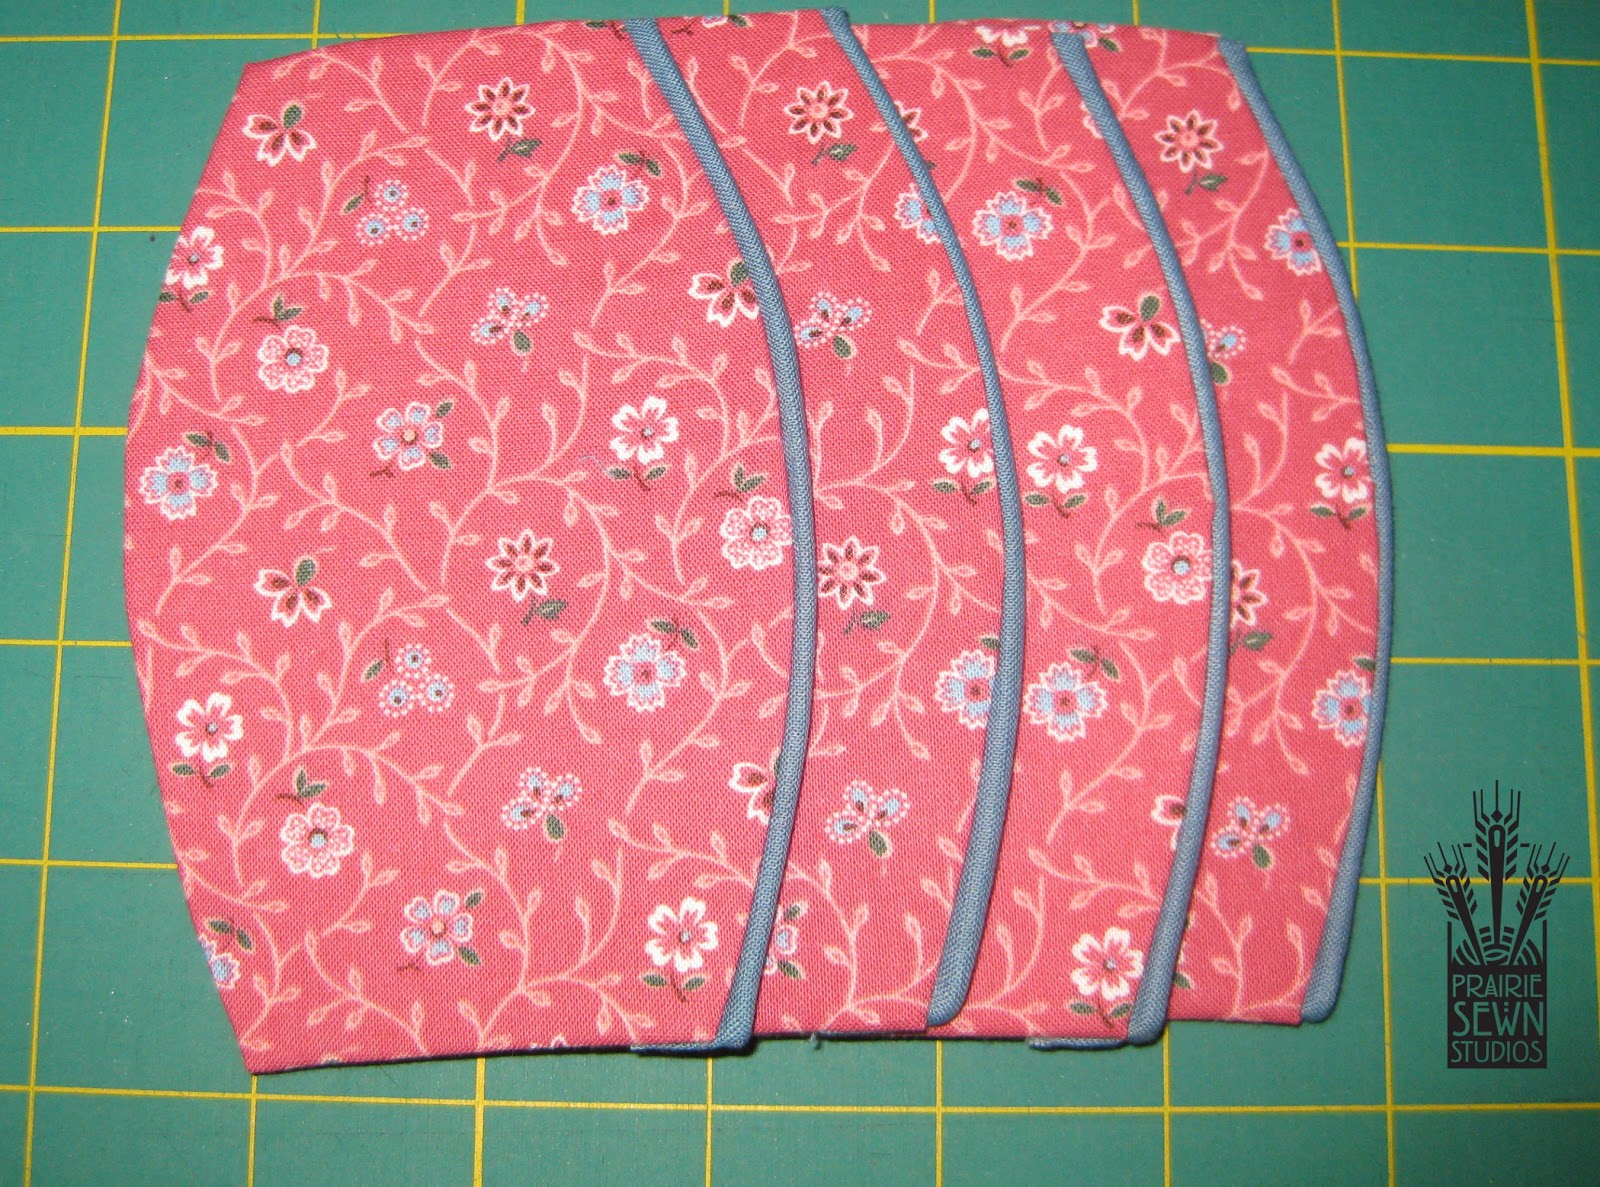
8. Repeat the piping steps for the other 5 Outer Sides.
9. Once the piping is attached to the Outer Sides, start to sew the container together. Lay out the pieces in the Octopus; sew top edges of Inner Side to Outer Side; sew Inner Side to Inner Base. Sew Inner Sides together, starting at Inner Base.
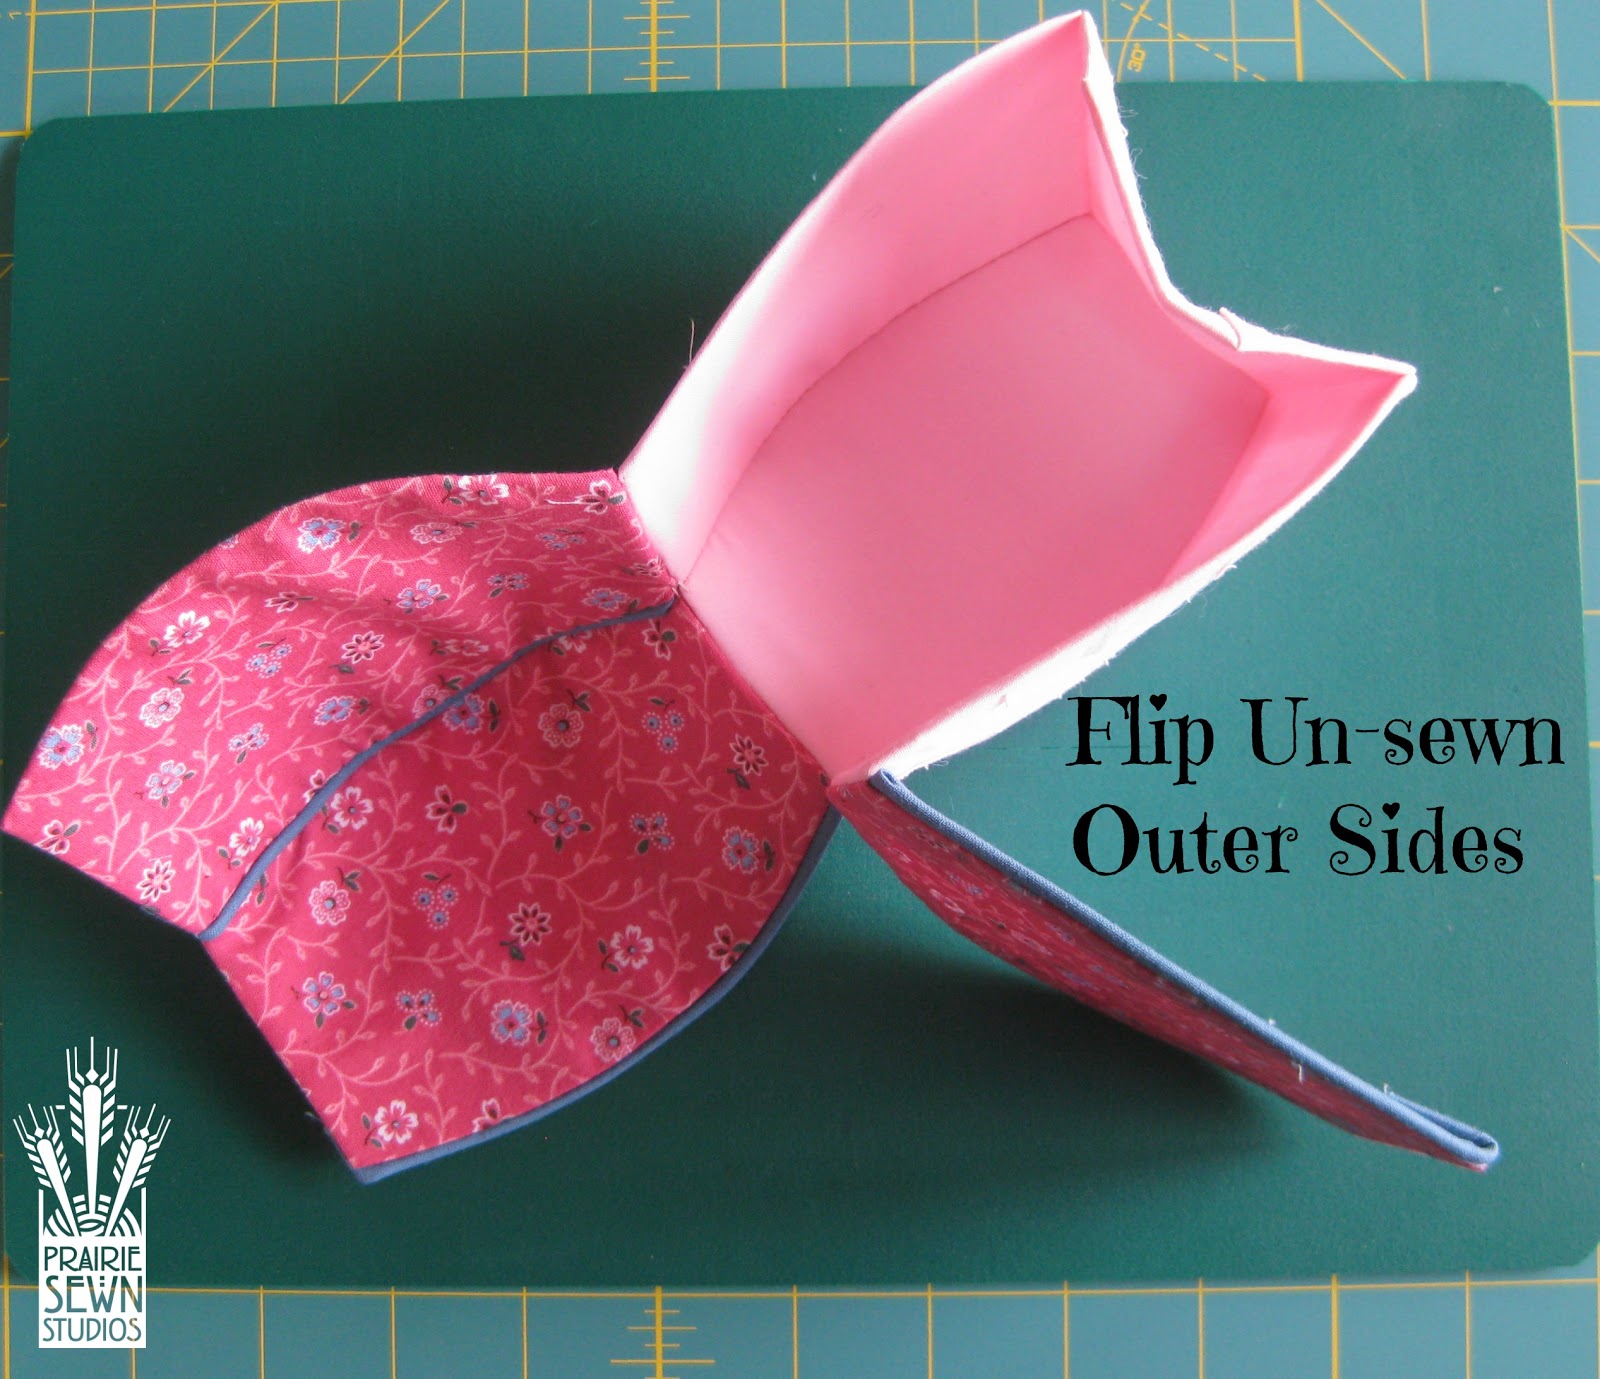
DO NOT SEW OUTER SIDES together as usually done. Instead, continue to sew Inner Sides together. Then flip the Outer Sides, un-sewn, down over the Inner Sides.
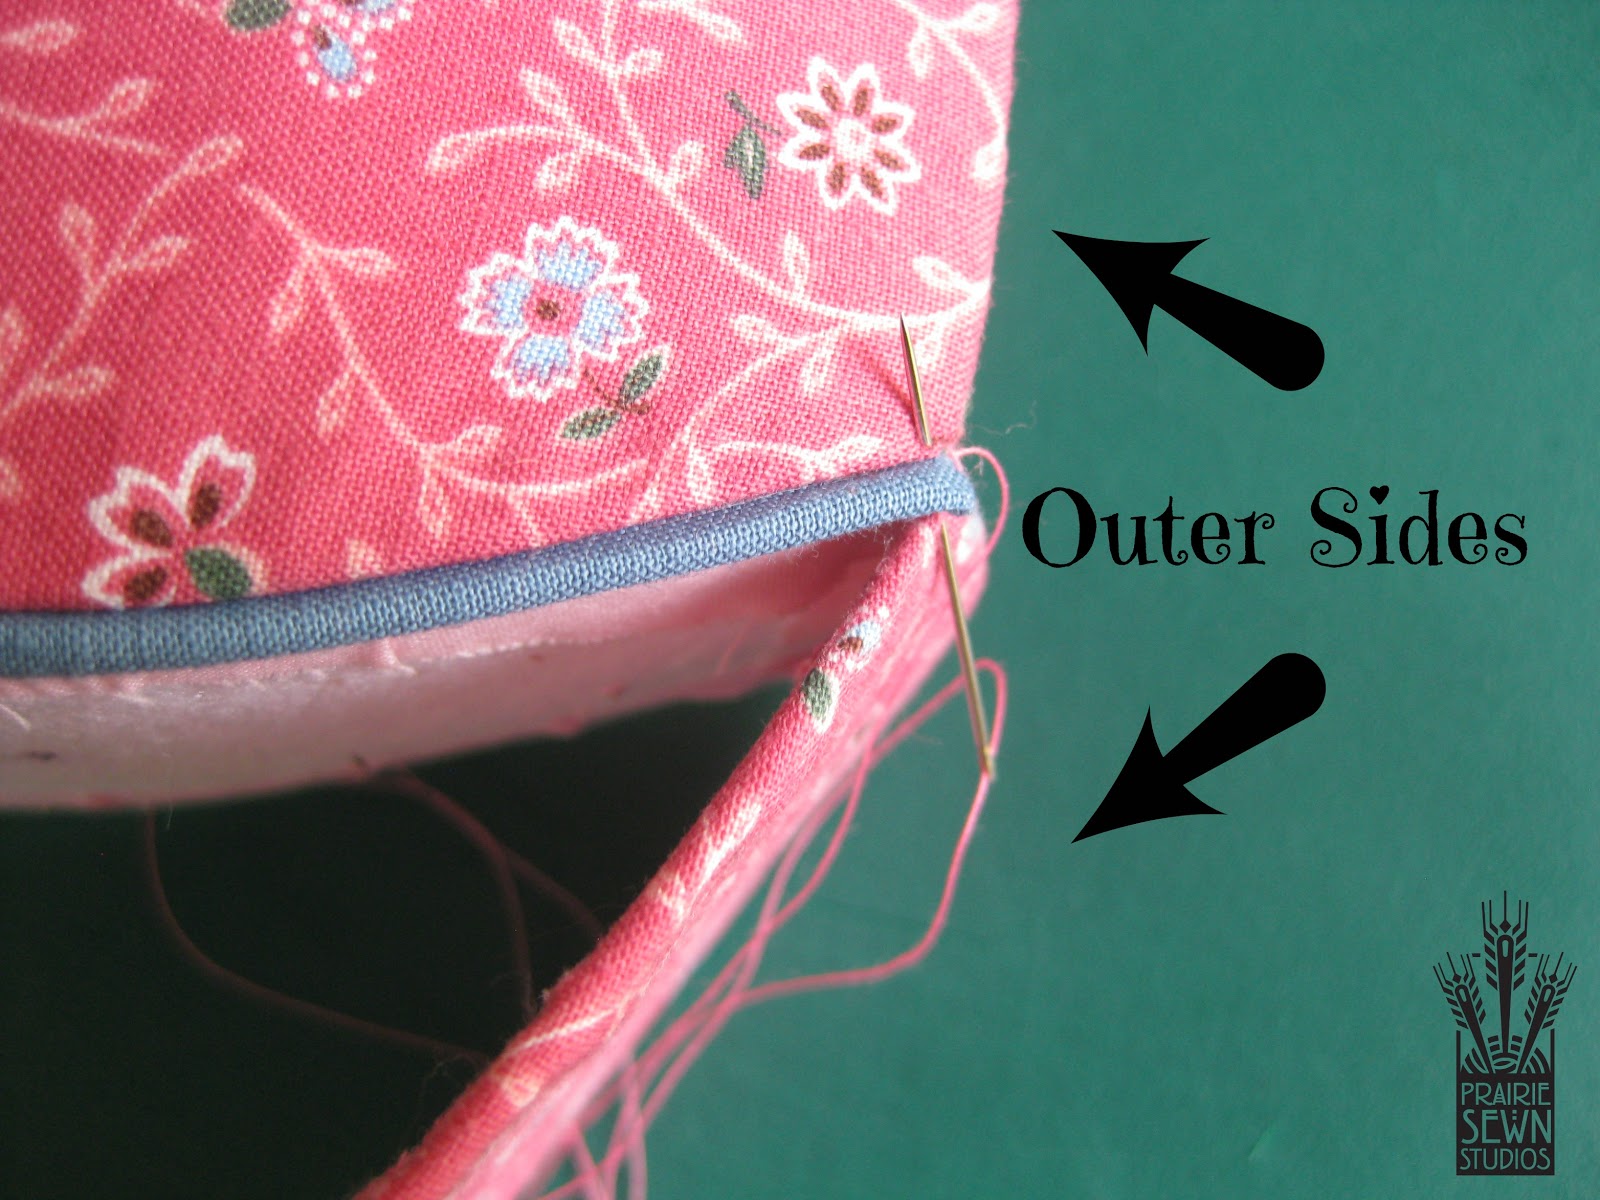
10. Only a partial structure (not all Inner Sides are attached) is shown in the following photographs. Pinch the Outer Sides together. Starting at the top, sew adjacent Outer Sides together, being sure to close the “hole” at the top edge.
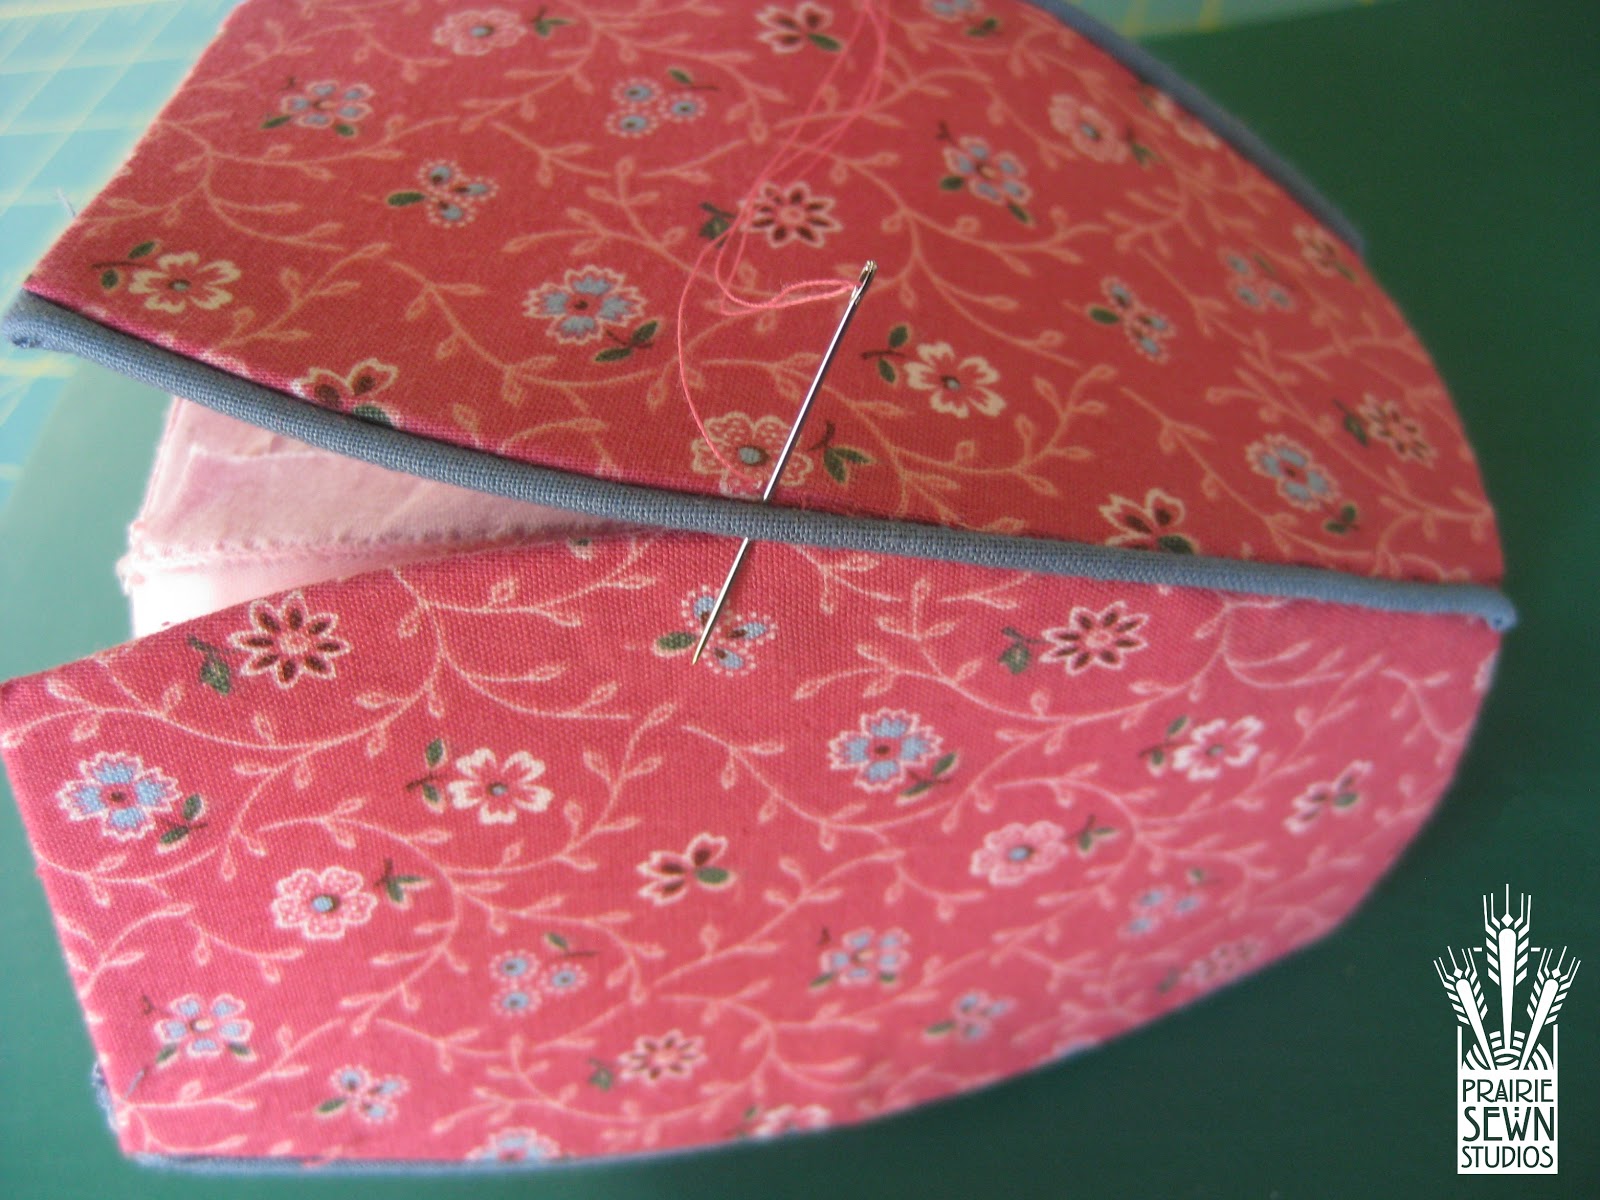
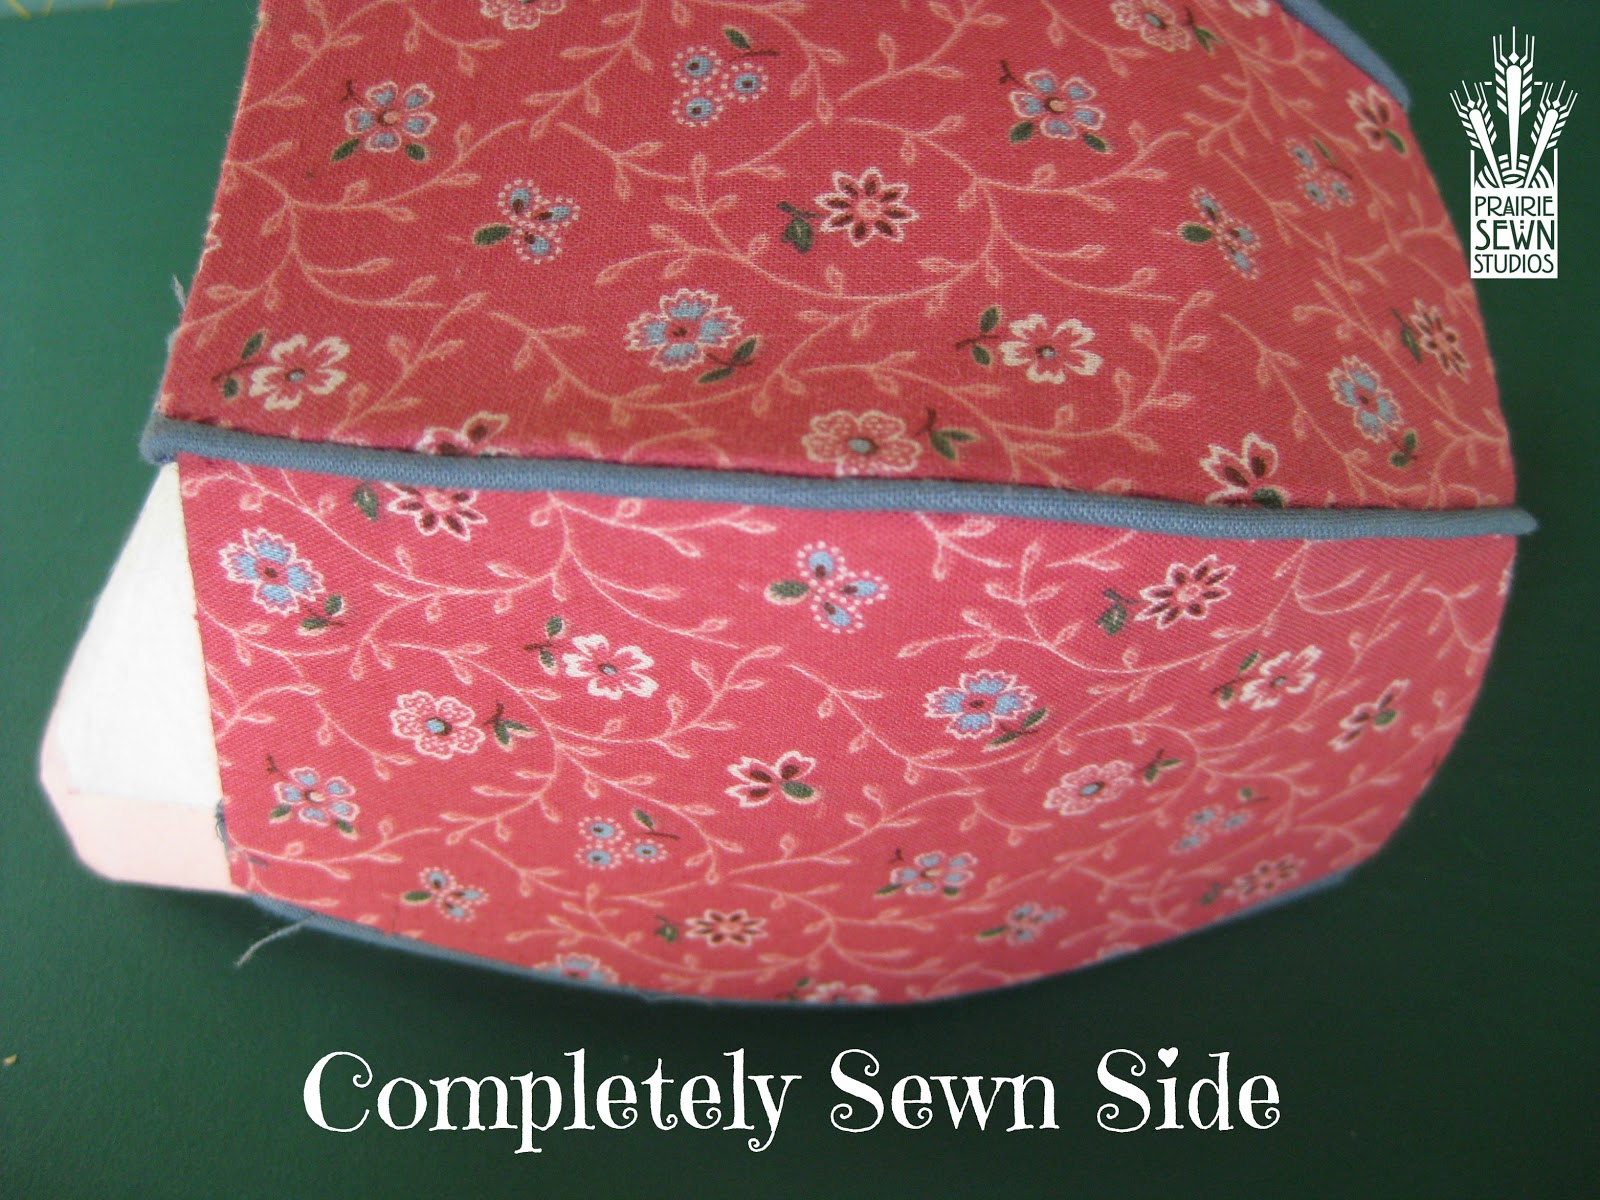
11. Sew Outer Sides together using a Ladder Stitch. Take a small stitch along the edge of the Outer Side, go through the piping close to the stitched piping edge to the other side, take a small stitch along the edge of the Outer Side, go through the piping close to the stitched piping edge to the other side. Continue this process along the entire length of the Outer Sides.
Midway through sewing two Outer Sides together.
12. Check the top edge of the Container to be sure there are no “holes” at the transition from Inner Side to Outer Side. If there are holes, now is the time to close them up. It may be easier to do this by turning the structure inside-out and working from the wrong side. Remember, the structure is squishable!
13. Complete the container by attaching the outer base using either a whip stitch or a ladder stitch
14. Decide what you’ll do with your new pumpkin vase!
A potpourri vase from the local dollar store will nicely inside this container.
Fill with a beautiful bouquet of flowers to decorate your holiday table!





Leave a Reply